If you’ve seen more than a few Hot Thai Kitchen videos, you have probably noticed that I use a mortar and pestle A LOT. This is a tool that many cultures use around the world, but for Thai people it is a core part of our kitchens.
Every Thai kitchen has one, and in this post I want to share with you what we use it for, because I think once you realize how useful it is, you’re gonna wanna join the club. I'll also address some FAQs about these including how to choose the right M&P for you, how to use it properly, and how to clean and care for it.
Note: In this post I'm specifically addressing Thai style mortar and pestles, not molcajetes, cobeks, or any other kinds.
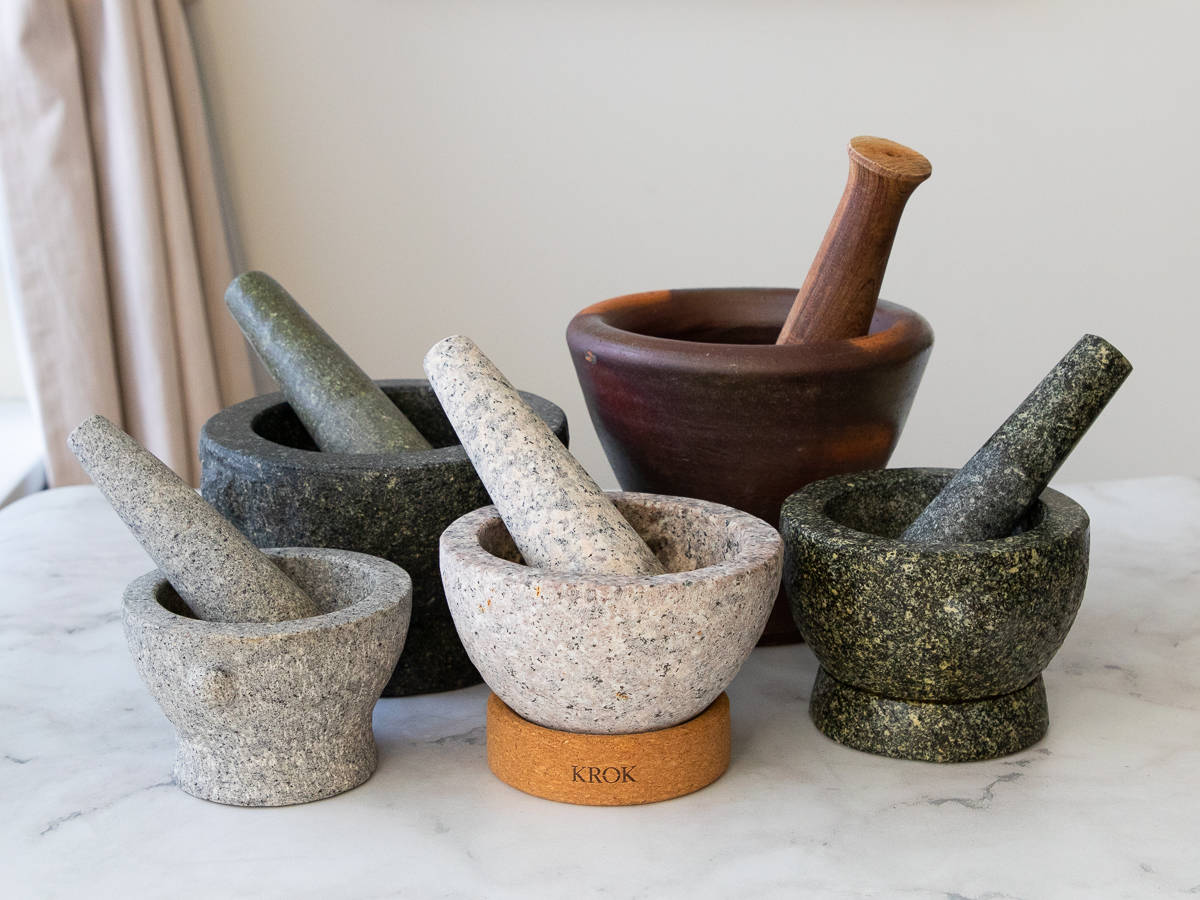
Table of Contents
Jump to:
- Table of Contents
- Watch The Video Tutorial
- What can you use a mortar and pestle for?
- How to Use a Mortar & Pestle - The Techniques
- Mortar & Pestle VS Food Processor & Blender?
- Do I need to season a Thai mortar and pestle before using it the first time?
- How do I care for and clean my mortar and pestle?
- Choosing the right mortar and pestle for me
- About clay, marble or wooden mortar and pestles
Watch The Video Tutorial
If you prefer to watch rather than read, here's a video where I talk you through all the information in this post!
What can you use a mortar and pestle for?
Obviously you can use it for crushing anything, but let’s get more specific. Here are all the things I use it for ...
Peeling and “chopping” garlic
Peeling and chopping garlic is kind of the bane of my existence because I use garlic all the time, but it is way less painful with a mortar and pestle.
To peel garlic: A quick smash of the cloves and the peel slips off effortlessly, and if the bottom is hard and woody, I use the edge of the mortar as a cutting board to slice it off.
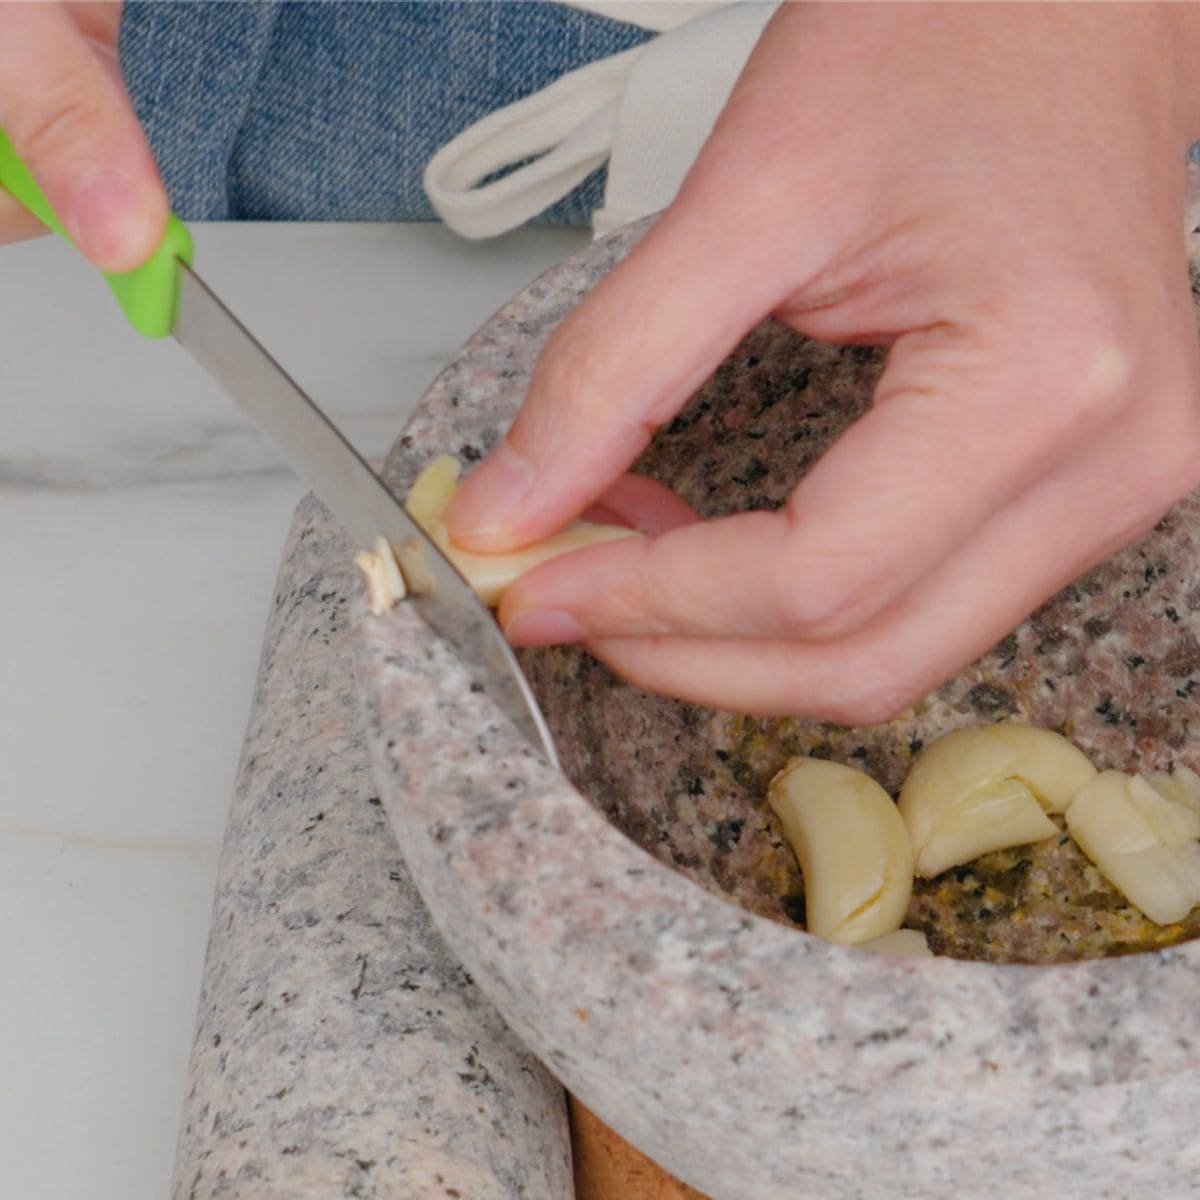
To "chop" garlic: After peeling, I just pound the garlic to the extent that I need. For a “rough chop” I leave it chunky, and if I need it “minced” I keep going until I have kind of a paste. This whole process takes less than a minute!
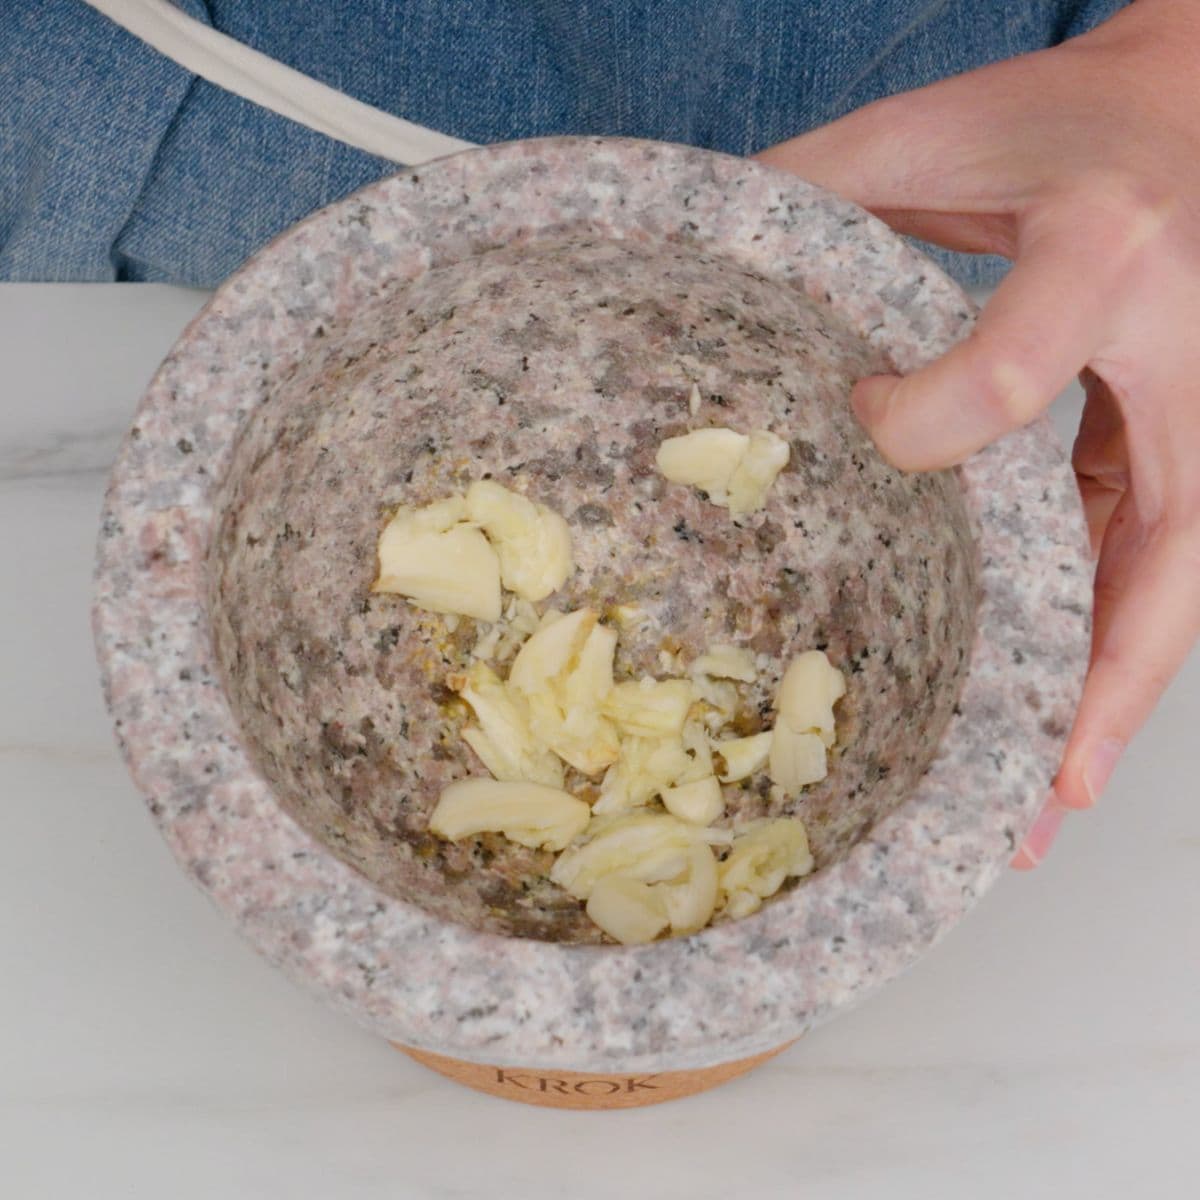
And because this bruises the garlic rather than just cutting it, more cells are broken and more garlic flavour will be released into the dish! This is why pesto aficionados will agree that THIS is the best way to make pesto.
"Chopping" Chilies
When you use a knife to chop hot chilies, you end up with pieces, and the heat doesn’t distribute evenly into the dish; AND you end up with chili landmines all over the dish. This is why Thai people like to pound our chilies into a paste. It distributes the heat more evenly throughout the food.
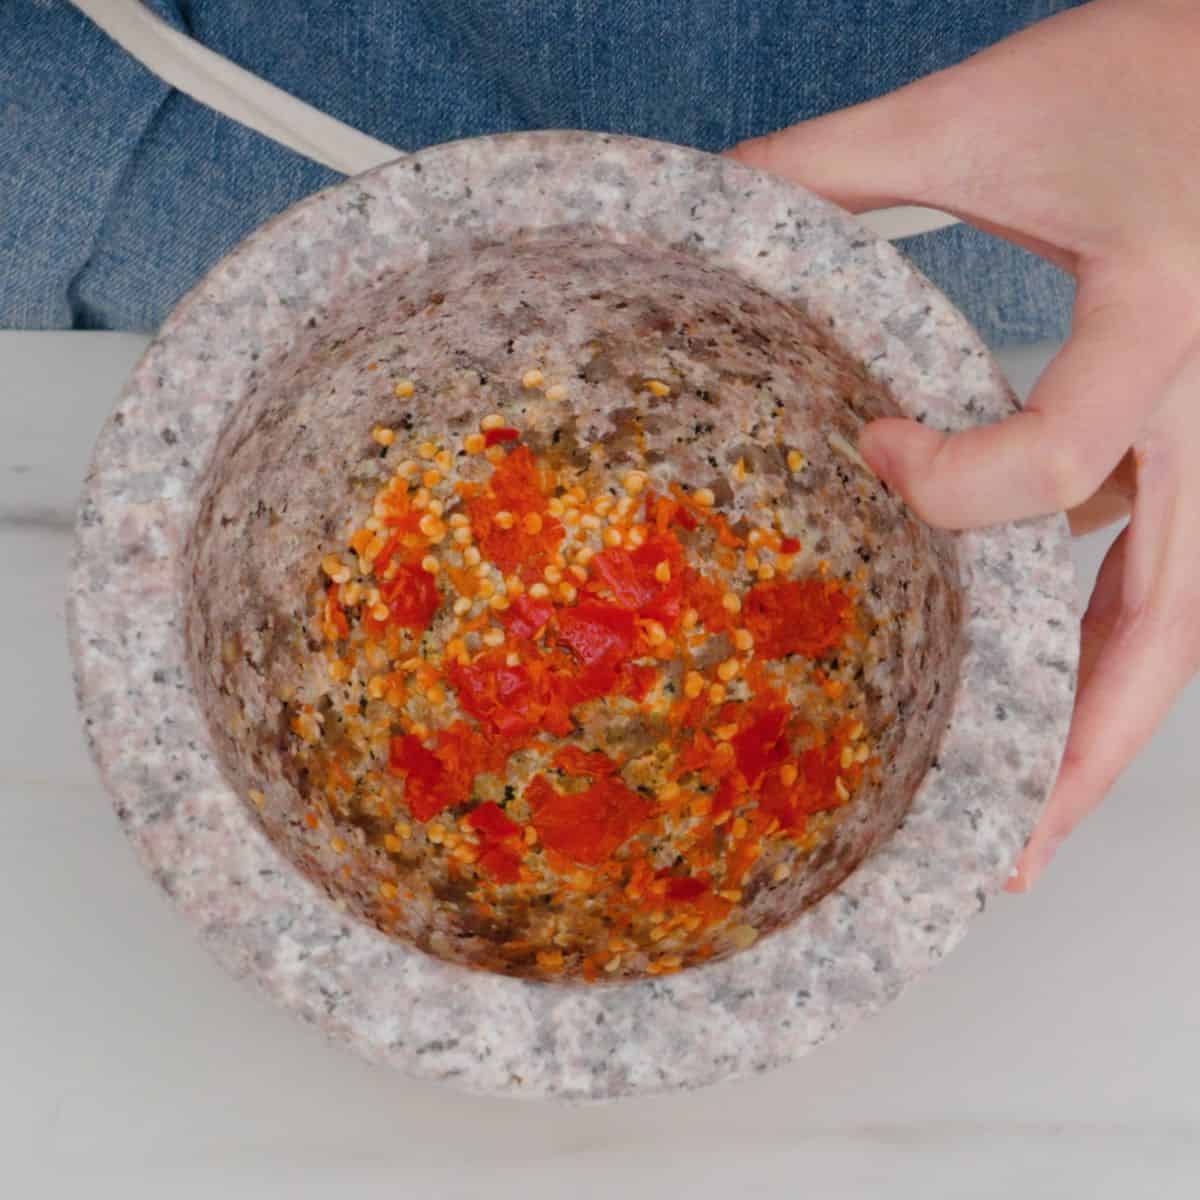
And FYI any thin pieces of chili skin left after pounding aren't gonna cause a problem because that’s not where the heat is. The goal is to break down the pith and flesh and disperse all the seeds.
Alternatively, if you’re making soups you can also lightly crush to break and bruise the chilies so they can gently infuse the heat; and then since it’s still in one big piece, you can easily remove or avoid it after.
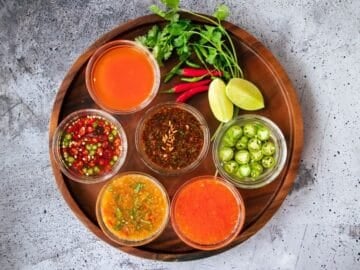
Making Sauces, Dressings, Marinades, and Curry Pastes
Next is a big category of making marinades, sauces, dressings, and curry pastes. Let’s just call them “sauces” for simplicity.
Many sauces, Thai or otherwise, require that you add aromatics like garlic, ginger, or shallots. To get the flavour out of these aromatics, they need to be finely minced or grated…OR better yet…pounded!
This is one of my favourite uses of the M&P because I can pound all of the herbs at once; so it’s faster than mincing or grating herbs one at a time, and again we bruise and mash all the cells to extract maximum flavour in a way that chopping won’t do.
THEN the mortar doubles as a mixing bowl so I can finish the whole sauce in here without using more dishes.
Grind spices fresh every time
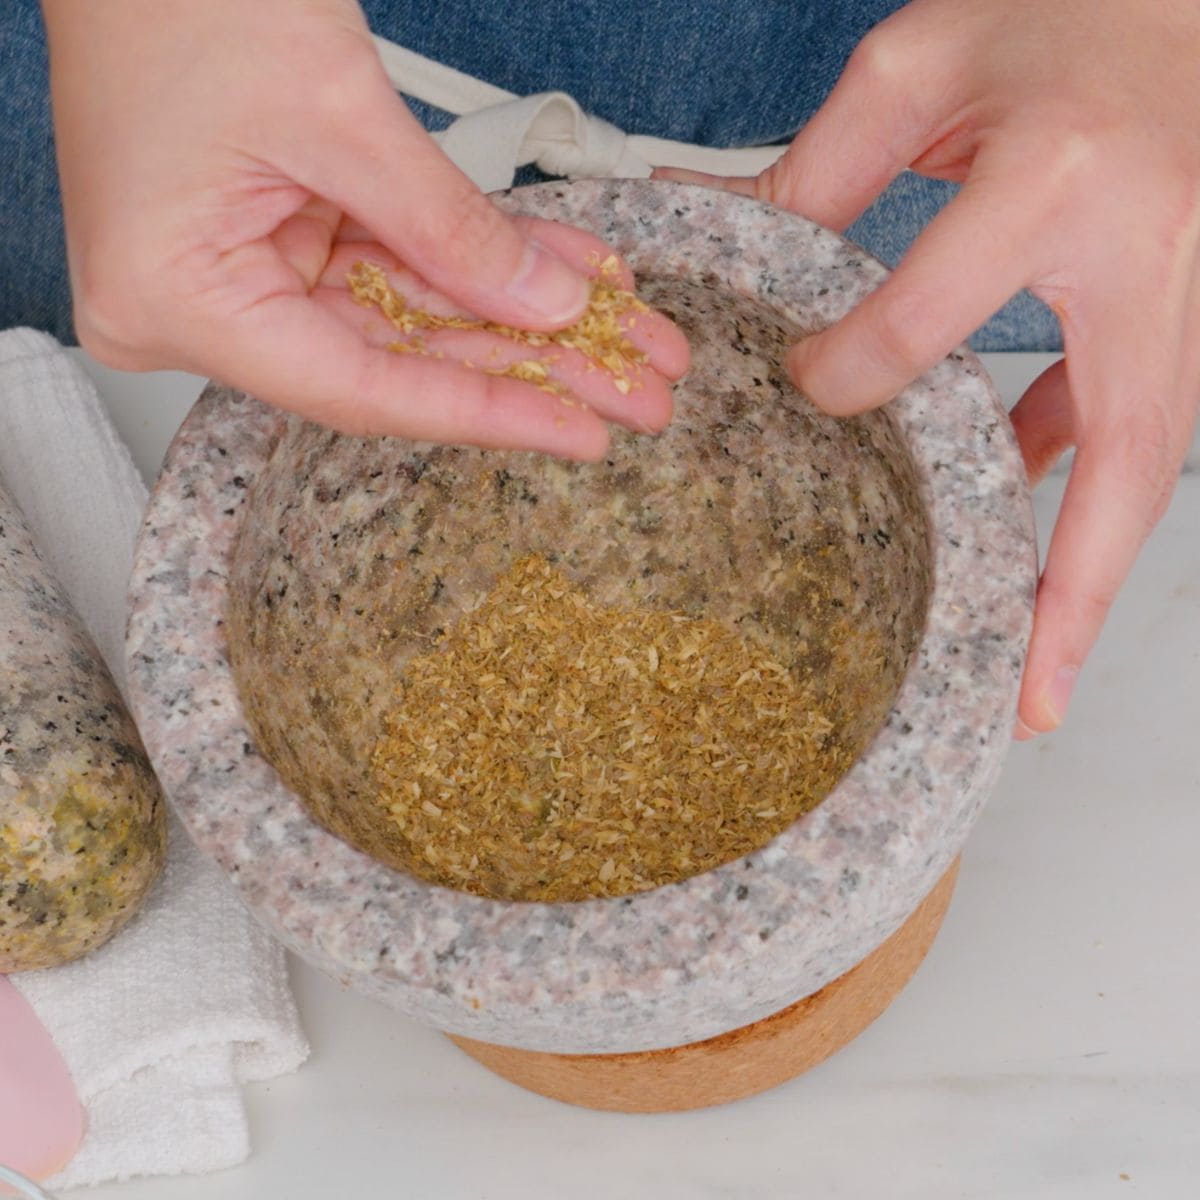
We all know that when it comes to spices the best flavour comes from grinding whole spices fresh, because pre-ground spices lose their flavour quickly. But many of us use pre-ground spices anyway because it is just more convenient than having to pull out a spice grinder for just half a teaspoon of cumin.
But if you keep your mortar and pestle on the counter, the process takes just seconds. In fact, in the video above I showed you how I ground up 1 teaspoon of cumin in just 18 seconds!
Chopping Nuts
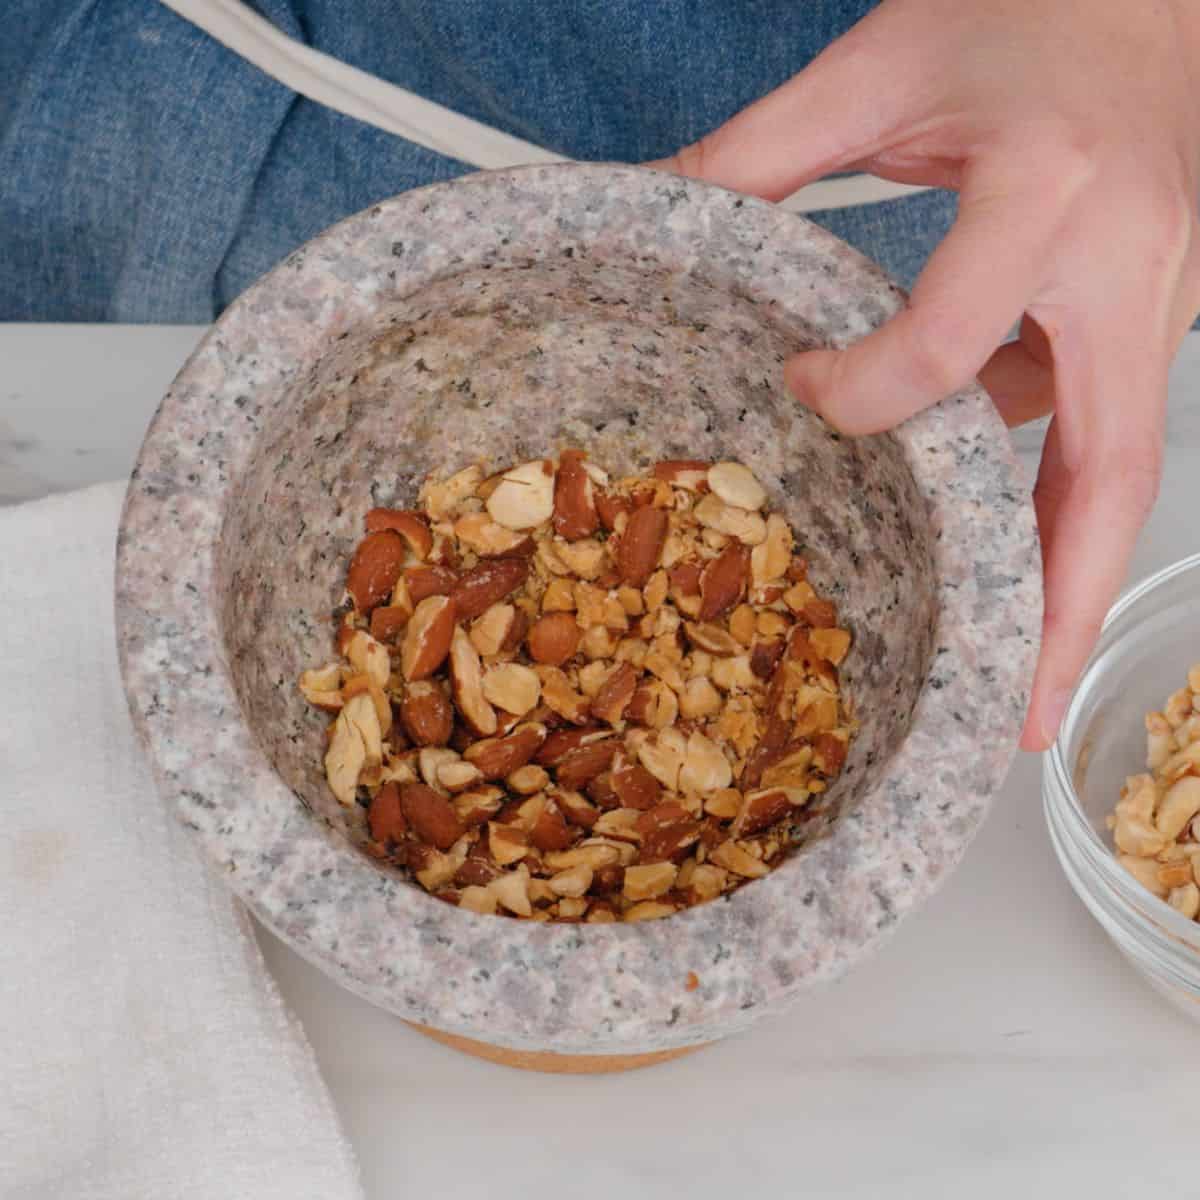
If you need roughly chopped nuts, you could chase them around a cutting board with a knife, which I hate doing; OR you can just give them a couple of pounds in a M&P and you’ve got it ready to go, all contained within a bowl.
Getting more aroma out of sesame seeds
People often put toasted sesame seeds on things, but usually the seeds don’t make any difference at all because they’re kept intact. When sesame seeds are intact, the aroma is trapped INSIDE. But giving them a 3 second grind in a mortar, just until they break but still look whole, will release the nutty aromat you should be getting!
Save this recipe!
How to Use a Mortar & Pestle - The Techniques
There are 2 main techniques when it comes to using a mortar and pestle: Pounding and grinding.
Pounding is a simple up and down motion that we use for moist ingredients like fresh herbs. If there is enough volume, stuff will eventually ride up the sides, so you also want be sliding the pestle off the side back down towards the center. If you’re doing extensive pounding like a curry paste, it’s a good idea to use a spatula and give it a flip every once in a while to redistribute and make sure you don’t miss anything.
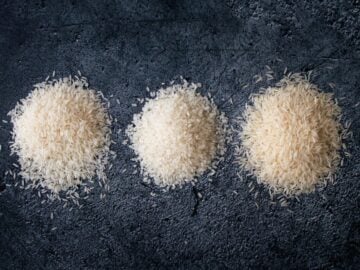
Grinding is a circular motion where you don’t lift the pestle. This is good for dry ingredients such as spices and rice for making toasted rice powder. But before you grind, you wanna give it a couple of pounds first to break them into smaller pieces as too-big pieces of spices will just roll around under the pestle. Breaking them first creates the traction needed for the grinding to work.
Usually when I grind dry things, it's combination of pounding and grinding, but don’t overthink it - most of the time it will be very intuitive what motion is best for the thing you’re working with.
Mortar & Pestle VS Food Processor & Blender?
Does it seem like "too much work" to manually grind things? Listen, sometimes, blenders and food processors are exactly what you need, but they’re not without their limitations.
Beyond the fact that it’s a pain to pull out and clean these giant appliances every time, you cannot use them for small amounts of food. If you don’t enough volume in a food processor or blender, stuff just sticks to the side, and the blade just spins in futility.
So when you’re looking to do small jobs - like a few cloves of garlic, a handful of nuts, or a few teaspoons of spices - the mortar and pestle does not have a minimum limit, even a big one can grind ONE peppercorn if you wanted to!
Sometimes, however, I prefer to use a coffee grinder for dry ingredients if it’s either a larger amount, or if it’s dried chilies, which are quite tough to break down manually.
Do I need to season a Thai mortar and pestle before using it the first time?
*It is important to note that this discussion pertains only to Thai granite mortar and pestle, and does not apply to a molcajete or Indonesian cobek, which are not made from the same stone.
You will see advice on the internet suggesting that you should pound some dry rice in your M&P before you first use it the first time to "clean" it and prevent tiny bits of stone going into your food.
First, let me say that as you use the M&P over the years, you’re grinding stone on stone year in year out, there is going to be wear and tear on it. Teeny tiny amounts of granite particles are going to come off over time. Case in point: if you look at old mortar and pestles, they are gonna be smoother than brand new ones.
But granite particles are not toxic, so it is not a problem you need to worry about. In the same way that when you cook food in cast iron cookware, some iron will come out into your food, and that’s totally fine.
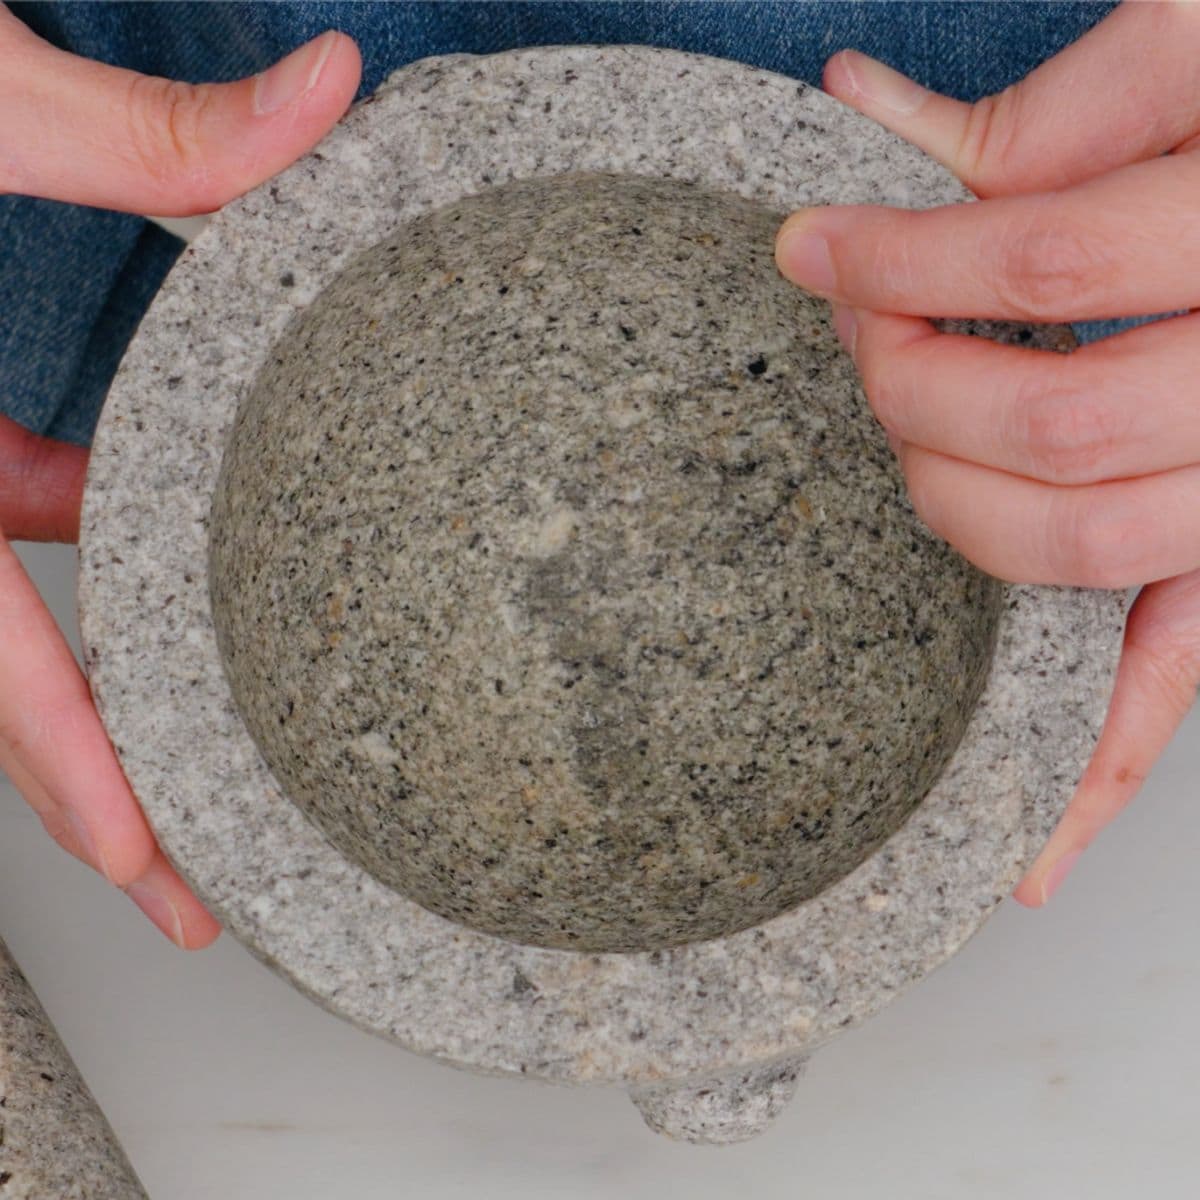
With that out of the way, I personally do not do anything to my new M&P aside from giving it a good scrub with dish soap and water. A good quality, granite mortar and pestle should already be well-finished and smooth on the inside, with a very slight texture that's natural to granite. Grinding rice in it one time is probably not gonna do much to further "polish" the stone.
However, if it’s not a good quality set, the inside might feel a little too rough, THEN there might be good reason to smooth it out with an initial grind in some way. You can certainly try rice, but I’ve seen people just grind it empty with a bit of water until it feels smoother (probably more effective than adding rice which will add a cushion).
BUT if you keep finding visible amounts of rock dust coming off even after using it many times, THAT is the sign of a low-quality mortar and pestle that may not even be granite. The material is not strong enough to be made into a mortar and pestle, and you should definitely get a better one. (Yes, these awful products are out there.)
But in either case, you don’t need to “season” it like a cast iron pan or a carbon steel wok; in the sense that you do not need to coat it with anything. You just want the bare stone.
How do I care for and clean my mortar and pestle?
Just hand wash it with soap and water like regular dishes and air dry, that’s it. Nothing special needs to be done to it at all; it is a basic, low maintenance tool. But I would not put it in the dishwasher because the chemicals in dishwasher detergent can be quite harsh and it might wear out the stone faster, so handwash to be safe.
Choosing the right mortar and pestle for me
There are a few factors to consider when it comes to choosing the right set for you, but the most important thing is probably size. In theory, the bigger the better, because the bigger it is the more versatile it is and the more power it has due to the bigger pestle.
The obvious problem here is that big ones are heavy and a pain to move around; and speaking from experience, the more of a pain it is to move around the LESS likely you are to use it. So there’s a balance to strike here.
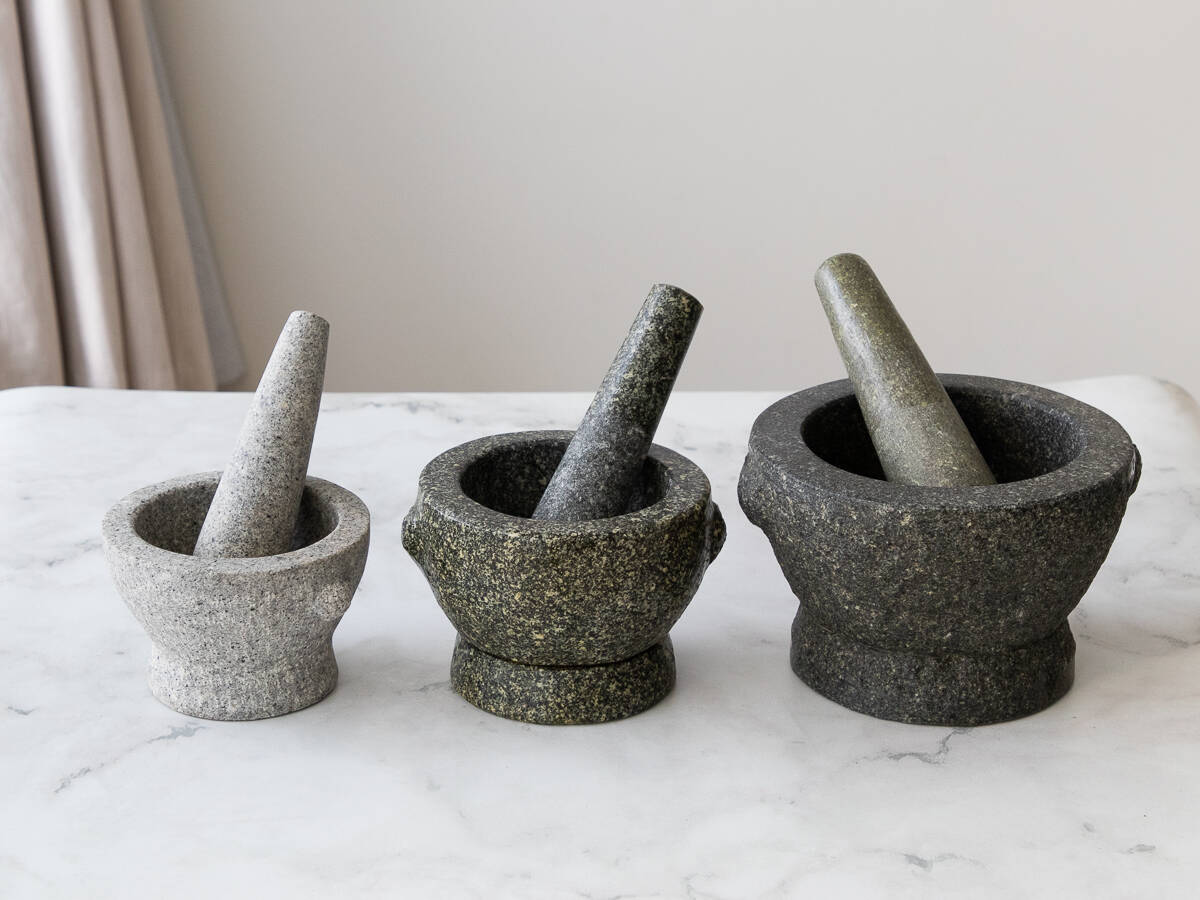
So in the ideal world you’d be over the top like me and have one of every size, but if you’re gonna have just one, then here’s what I recommend:
- 1 cup capacity is the smallest I would go, because any smaller than this and it’s not gonna be very useful. This is gonna be good for light duty things like garlic, chilies, and spices. But because it's light, you will use this all the time.
- 2-cup capacity is probably a good all-purpose size for most people. You can tackle tougher things like lemongrass, you have more room for a larger amount of food, but it is heavy enough that I start to think twice before picking it up.
- 3-cup capacity is great if you want maximum versatility, you often cook for a crowd so you need to volume, and/or you wanna hand pound pesto and curry pastes. A 3-cup capacity will do it all, and for most people, I don’t see a reason for going any bigger. (It IS heavy though.)
Bottom line is, consider what do you want to use it for AND what is the weight threshold that will not deter you from using it. The last thing we want is for this to become a beautiful doorstop.
If you want to check out a version of a large-but-light mortar and pestle made in Thailand, check out Krok, which has been cleverly designed to provide the best of both worlds! (Affiliate)
About clay, marble or wooden mortar and pestles
Choice of material is another thing to think about, and obviously I love my granite one simply because it is the strongest and heaviest for the size. Wood, marble, or even metal just don't usually have the heft that's required for many tasks. Again I will stress that this discussion only pertains to Thai-style M&P, not molcajetes or Indonesian cobek.
But, you might have seen a large clay mortar and pestle in Thailand or on my channel, what's THAT all about? This is a different style of mortar and pestle where the mortar is large and more conical in shape, and is made from either clay or wood. The pestles are always wood.
This is what I call a light duty M&P, or lao-style M&P, and they are made specifically for pounded salads such as green papaya salad. The aromatics are pounded first, and then the salad is finished in the mortar, which is why it has to be big because it’s also your mixing bowl. The pestle is lighter because you don’t want to annihilate your vegetables.
If you wanna get this in addition to a stone M&P, welcome to the club, but I don’t recommend this as your only one because it’s too light for a lot of things; unless of course you make pounded salads regularly. But if you have one of these, hot tip: you can also use it to mash potatoes!


Do says
Hi Pailn
Where can I buy a good quality Thai wooden M&P for making Som Tam and the granite stone as well that isn’t made in China or Taiwan imported wood or granite from there?
Rod says
I always thought soap was a no no for Thai style mortar and pestle.
I just use hot water and occasionally uncooked rice for cleaning
Alexi says
Should I be concerned for lead in the clay Thai/Lao Mortar and Pestle or other contaminants in the clay?
Shanker Dutt Bhargava says
For manufacturing Cilantro/coriender chutney I want to use Mortar & Pestle. For technical reasons, I donot want to use blender, mixi. Details of requirement:
Production: 200 kilogram every day in 8 hours
Material: Grey granite
Capacity: How much one person in 8 hours would be able to grind
How many M&P I would need for 200 kg total poduction
size, specs, number and price?