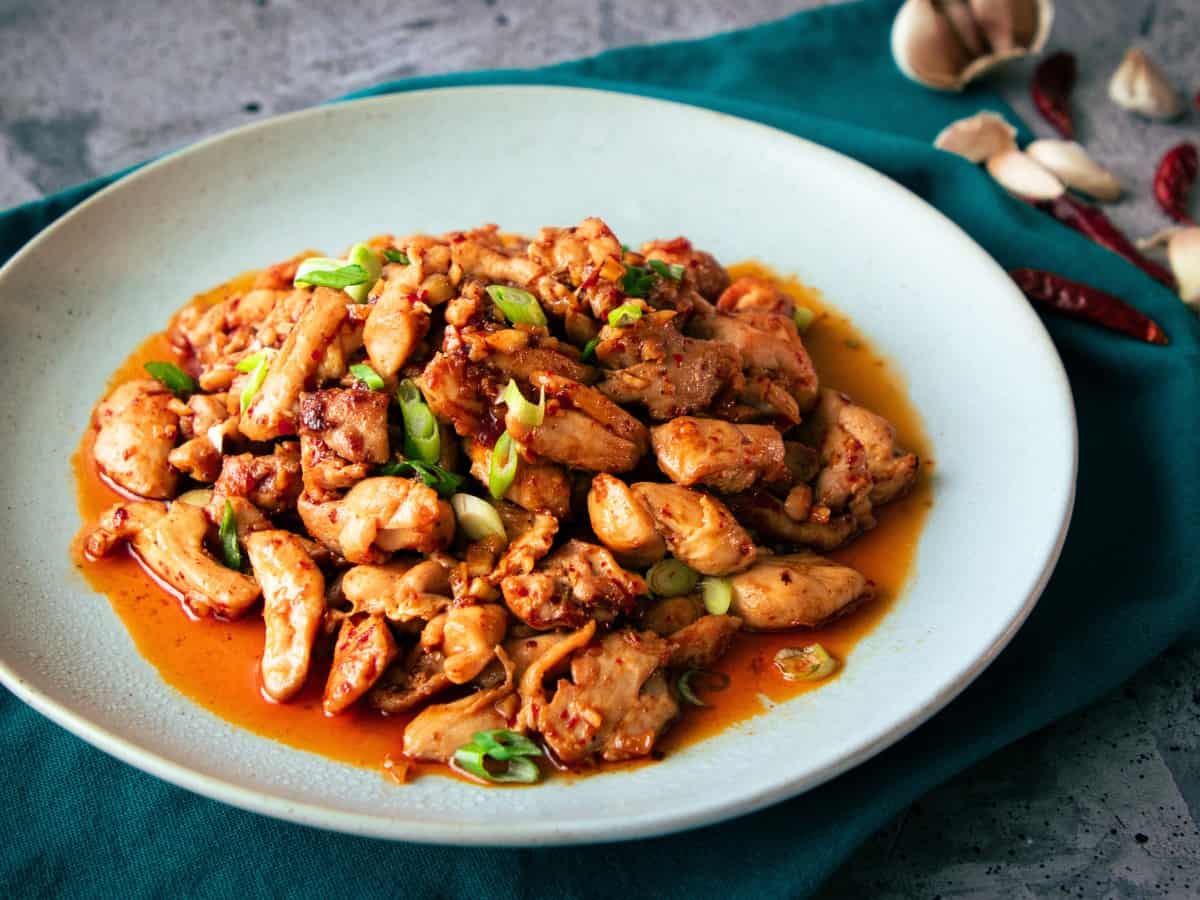
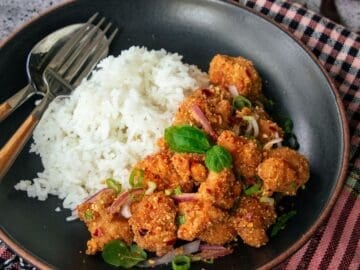
This is a delicious chicken dish that is so simple, you can make it even without a fridge. YES, and I know, because I came up with this recipe during the time that my fridge was broken! So I had been cooking with ingredients that only come from the freezer (thank goodness for the backup freezer) and dry storage. This is how I came up with this absolute winner of a dish: chili garlic chicken - which packs a punch of flavour with just a few ingredients - and no fridge required!
What is Chili Garlic Chicken?
Chili garlic chicken was inspired by my popular chili garlic noodles recipe, but I decided to try it with chicken instead of noodles, and it worked amazingly. It is a simple stir fry with chicken and lots of garlic and dried chilies. It's seasoned with basic Thai seasoning sauces that you probably already have if you've cooked Thai food before, and it's meant to be served with jasmine rice.
Though it is not a traditional Thai dish, it uses ingredients that are staples in any Thai kitchen. I always like to remind people that Thai people don't cook from a list of existing dishes; we also create and innovate using ingredients that we have in our kitchens, and those dishes count as Thai food, too!
Ingredients and Notes
Here are all the ingredients you'll need, and some important notes about them. For amounts, see the full recipe card below.
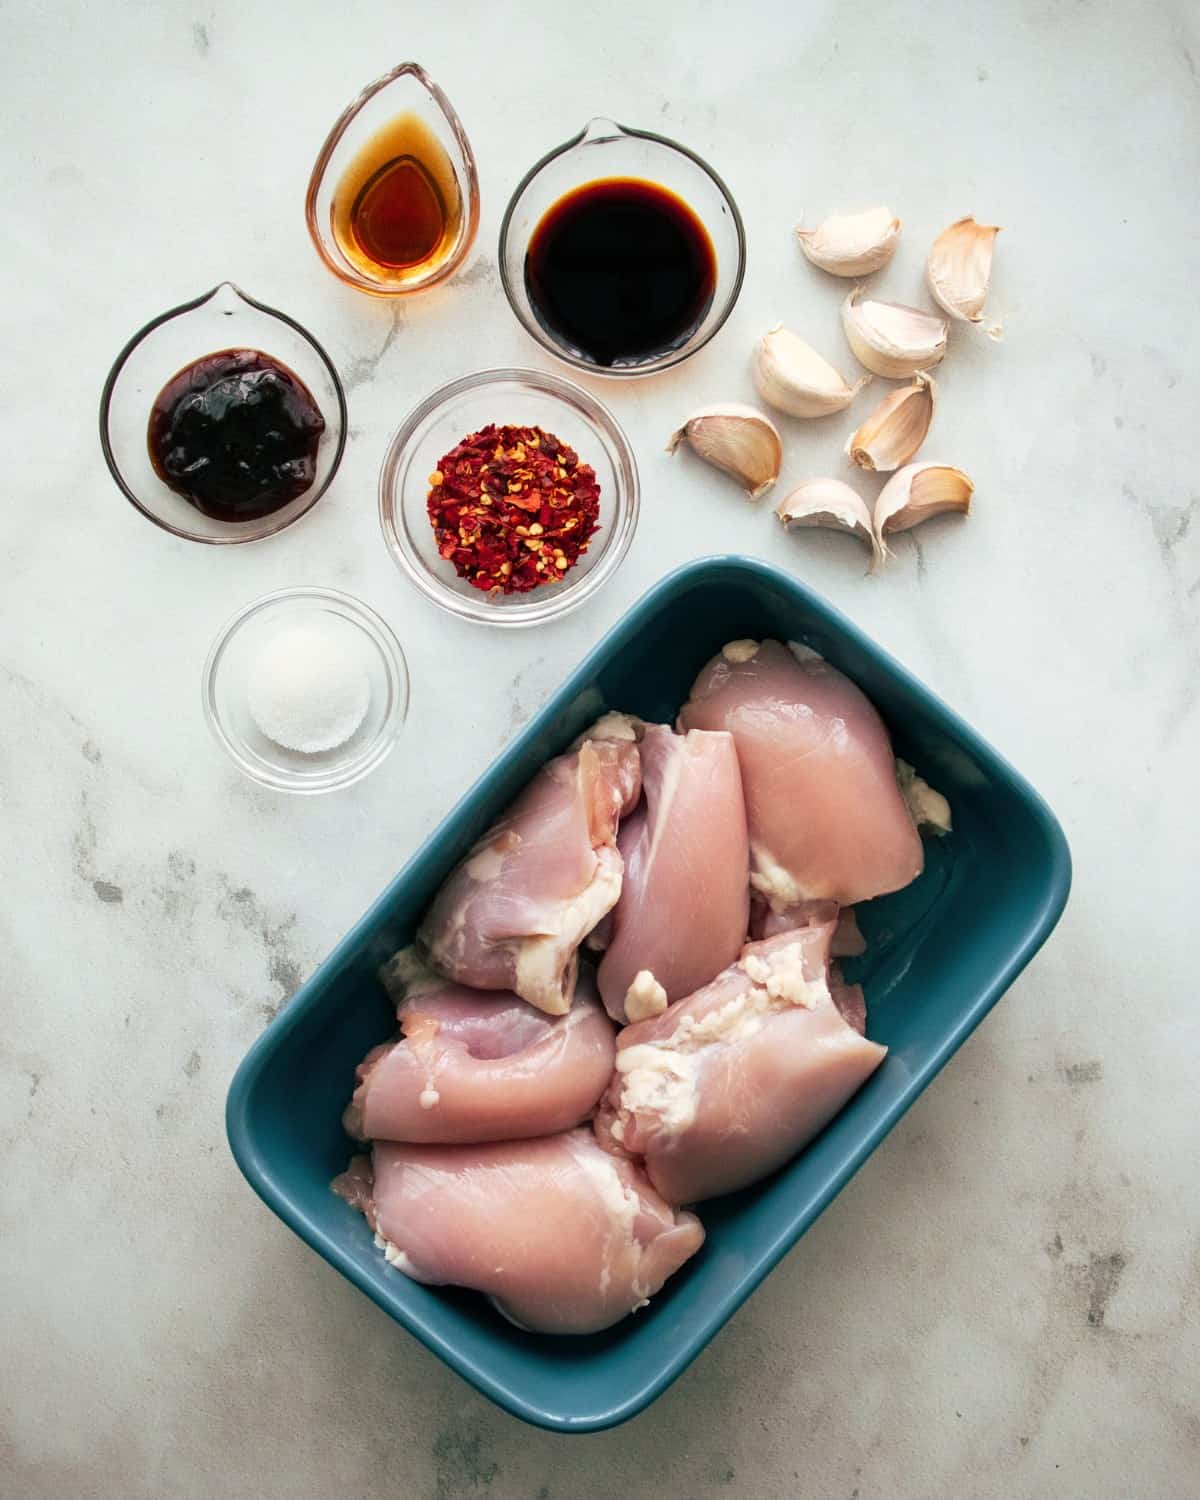
- Chicken thighs; boneless, skinless. Dark meat is always my preferred cut for chicken stir fries because it's juicy and essentially overcook-proof in a stir fry. But if you really prefer breasts, or if that's the only thing you have, it will also work in this recipe with no modification needed.
- Fish sauce. See my post about how to choose high quality fish sauce.
- Oyster sauce. Oyster sauce comes in various qualities, so make sure you are using a good one! See my post here about how to choose good oyster sauce.
- Golden Mountain sauce or soy sauce. Golden Mountain Sauce is a type of Thai soy sauce, and the flavour is similar to Maggi Seasoning for those who are familiar with that. I love it in this dish, but whatever soy sauce you've got on hand will work just fine.
- Sugar. This will help with flavour and browning of the chicken.
- Chili flakes or chili powder; mild to medium. It's important to use mild or medium chili flakes otherwise you won't be able to add a lot, and you'll be giving up on the chili flavour. Generic "red pepper flakes" you find at Western grocers work great for this, as they tend to be quite mild. I used chili flakes from an Indian store, and that got me about medium spiciness. You can also use whole dried chilies and grind them up; guajillo or puya peppers are great milder options.
- Garlic.
- Optional garnish: chopped green onions, cilantro, or Thai basil add a little freshness and a pop of green that makes the dish look much prettier! If using Thai basil, I like to go easy on it as I don't want the dish to taste overwhelmingly like Thai basil.
- Jasmine rice for serving if you want to keep it Thai, or you can serve with another carb of your choice. I've had this in a sandwich and it was great, and it would probably go well with noodles, pasta, even mashed potatoes!
How to Make Chili Garlic Chicken
Here's a bird's eye view of the process. The full instructions are in the recipe card below, and if this is your first time, I highly recommend watching the video tutorial to ensure success!

- Marinate the chicken with fish sauce and sugar. Mix well and let it sit while you prep the other things.
- Combine oyster sauce, Golden Mountain sauce or soy sauce, sugar and water; stir until the sugar is dissolved.
- If your chili flakes are large or you're using whole chilies, blitz them into small flakes.
- Heat a wok until very hot, add the chicken and let it sear until brown on the underside; about 2 minutes. Do this in 2 batches if you don't have a powerful stove.

- Flip the chicken (you don't need to flip every single one) and let it cook on the other side, stirring occasionally, until the chicken is fully cooked through.
- Remove the chicken from the pan, leaving all the juices and oil behind.
- To the same pan, add the garlic, and saute on medium heat until golden, adding more oil as needed if the pan looks dry.
- Add the chili flakes and saute for about 30 seconds or until they darken slightly and it starts to smell toasty.

- Once the chilies are toasted, add the sauce immediately. (Chilies burn fast so move quickly to add the sauce!)
- Let the sauce simmer for 20-30 seconds, then add the chicken back in.
- Toss the chicken with the sauce until well coated and the sauce has reduced enough so that not much liquid is pooling in the pan.
- Top with a little chopped green onions, cilantro, or Thai basil if you wish. Serve with jasmine rice or whatever carb you want!
Modifications - How About Not-Chicken?
No chicken? No problem, here are a few other proteins this recipe would work well with:
- Shrimp. Skip the marinade, as frozen shrimp typically come with salt added. Try to use larger shrimp if possible so they can stand up to the sauce; at least size 26/30.
- Tofu. Chili garlic tofu just sounds amazing doesn't it? I would use firm tofu and then fry/pan fry/air fry the tofu first to get the exterior firm and chewy so it will hold on to the sauce better. Better yet, try using my frozen tofu trick to get the sauce to penetrate inside the tofu.
- Noodles. After all, this whole dish was inspired by chili garlic noodles, so check out that recipe if you want to turn this into a carb dish!
Want to save this recipe?
Advance Prep & Storage
This dish is so quick already, but if you like to prep weeknight meals in advance, here are some things you can do:
- Marinade the chicken in advance, and up to 2 days ahead as long as your chicken is fresh.
- Mix the sauce in advance. If you want to make the dish regularly, mix the sauce in bulk, in advance. It'll keep in the fridge indefinitely. Remember to measure the amount of sauce needed per batch and note it down on the jar so you know how much to use.
- Make the whole dish in advance. This is one of those dishes that reheat really well, so if you're cooking a bunch of dishes for a dinner party and you want to get ahead, just make the whole thing (minus the garnishes), and simply reheat it in the microwave when it's time to serve. You can also throw it back into the wok for a quick reheat, though you will need to add a splash of water to the wok to compensate for the additional evaporation during reheating.
Storage: Chili garlic chicken will keep in the fridge for up to a week (great for meal prep!).
Before you start, if this is your first time, be sure to watch the video tutorial to ensure success!
Easy Chili Garlic Chicken
Want to save this recipe?
Ingredients
- 1.3 lb Boneless skinless chicken thighs, cut into ½ inch strips, halve the strip if long
- 2 teaspoons fish sauce
- 1 teaspoon sugar
- 3-4 teaspoons chili flakes or chili powder, mild to medium (see note 1)
- 2 Tablespoons neutral oil
- 8 cloves garlic, chopped
- chopped green onions, cilantro or Thai basil leaves, for garnish
Sauce
- 1 Tablespoons oyster sauce
- 1 Tablespoons Golden Mountain Sauce or soy sauce, (see note 2)
- 1 ½ teaspoon sugar
- 2 Tablespoons water
Notes
FULL VIDEO TUTORIAL
All my recipes come with step-by-step video tutorials with extra tips not mentioned in the blog post, so make sure you watch the video to ensure success. If you enjoy them, consider subscribing to the YouTube Channel to not miss an episode. Thank you!
Subscribe to my YouTube ChannelInstructions
- Mix the chicken thighs with the fish sauce and sugar; let sit while you prep other ingredients.1.3 lb Boneless skinless chicken thighs, 2 teaspoons fish sauce, 1 teaspoon sugar
- If using large chili flakes or whole chilies, blitz them in a coffee grinder to turn them into finer flakes.3-4 teaspoons chili flakes or chili powder
- Make the sauce by combining the oyster sauce, Golden Mountain sauce, water, and sugar, and stir to dissolve the sugar.1 Tablespoons oyster sauce, 1 Tablespoons Golden Mountain Sauce or soy sauce, 1 ½ teaspoon sugar, 2 Tablespoons water
- Heat the wok over high heat until very hot, then add just enough oil to coat the bottom. Add the chicken and spread it out into one layer and let it sear for about 2 minutes until the underside is brown. Give the chicken a flip so most pieces are turned over (don't worry about every piece), and let them cook on the other side for another 2 minutes, stirring occasionally, until the chicken is fully cooked.2 Tablespoons neutral oil
- Remove the chicken from the pan, leaving all of the oil and juices behind.
- In the same wok, with the heat still off, add the garlic. Turn the heat on medium and saute the garlic until they start to turn golden. Add the chili flakes and stir for about 30 seconds until the chilies smell toasty and are darkened slightly, adding more oil if it looks dry.8 cloves garlic
- Once the chilies are toasted, immediately add the sauce (do this quickly as the chilies burn fast) and stir to mix. Let the sauce simmer for 15-30 seconds until it is reduced slightly.
- Add the chicken back in, along with all the collected juices, and toss the chicken in the sauce until all the pieces are coated. If there's a lot of sauce pooling, keep cooking to dry it out a bit. There will be some oil pooling, but most of the sauce should be reduced enough to coat the chicken pieces.
- Plate, and top with chopped green onions, cilantro or some Thai basil leaves, if desired. Enjoy with jasmine rice!chopped green onions, cilantro or Thai basil leaves


Lloyd Wyman says
This was fine, but lacked flavor. I would double the sauce and reduce it down to have more punch
Alex O says
This was okay. It was easy and quick, but even then, there are better easy and quick meals. Everybody cleaned their plate, but no one said, "Let's make this again."
GL says
Easy, fast, good. I had to use chicken breasts which were available and my red chilli flakes were Korean so maybe gochugaru (not labelled as such, at least in English). With these substitutions it still all worked and fed the hungry crowd!
Patricio says
Super simple and super tasty. Now this is one of my family's favourite dishes. Thanks You Pailin! Greetings from a fan from Argentina!
Rebecca says
Made this tonight, with simple blanched bok choi as a vegetable side. I also added some nam prik pao (chili paste /jam). I was very cautious and used crushed chili flakes mixed with paprika powder, but I would use more chili flakes next time. Very delicious, but I could handle a bit more heat.
thebangaloredhaba says
This Chili Garlic Chicken recipe sounds amazing. I love how simple yet flavorful it is, and the detailed instructions make it easy to follow. Can't wait to try it. This is a very delicious recipe, and I appreciate you sharing it with us.