This is by far my favourite chocolate chip cookie recipe, and trust me, I've made MANY a chocolate chip cookies in my life. It always gets a "woah" reaction from people, and I've literally had a guest eat 5 full-size cookies in one sitting because, "They're the best cookies I've ever had and I can't stop," he said.
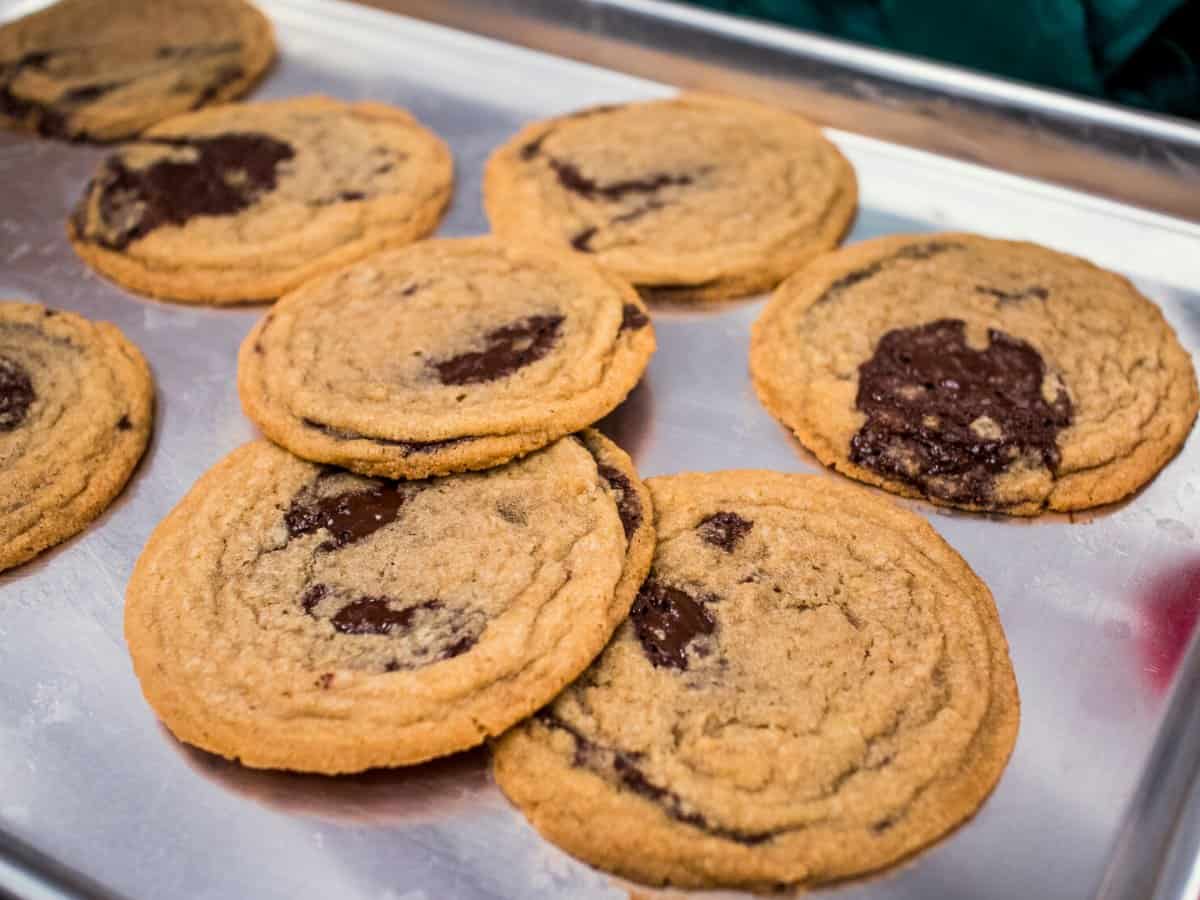
They're crispy on the edges and chewy in the middle, with a complex, caramelly flavour. It's a relatively simple recipe, but there are a couple of tricks in here you'll want to know for extra yumminess. Make these and bring to your Christmas party, or whatever you're doing for this holiday season, and I promise you people will be in love!
Want to save this recipe?
The Secret to Epic Cookies: Age Your Cookie Dough
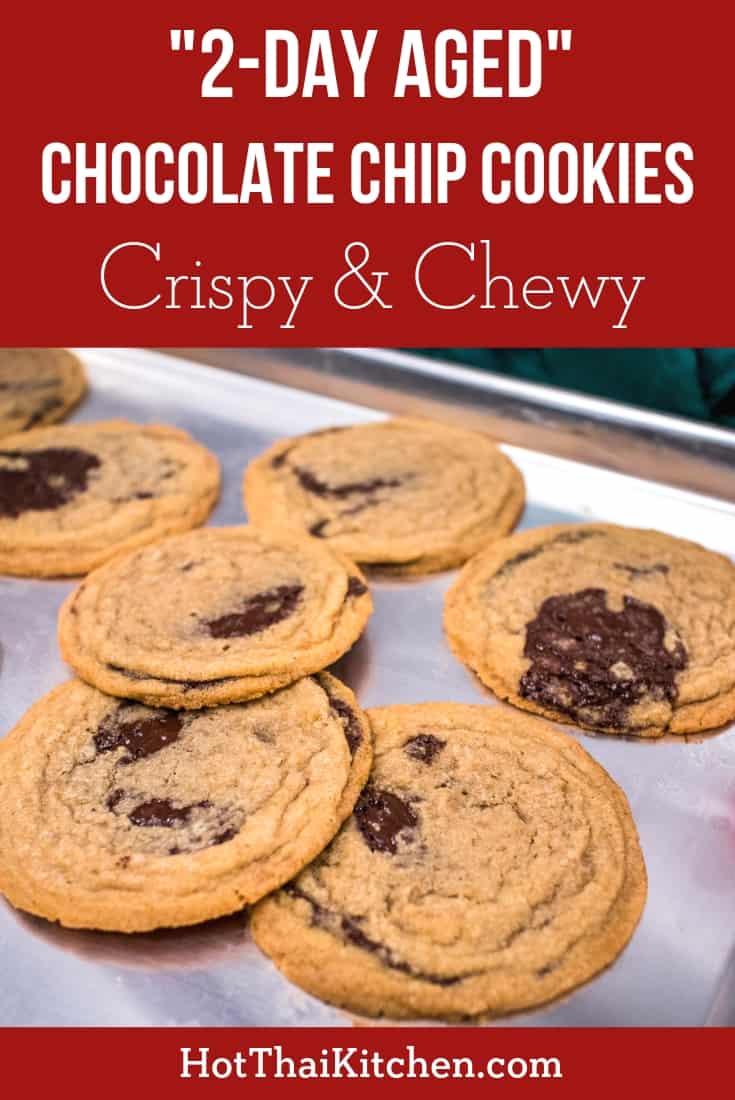
In the recipe I call for the dough to be "aged" for 2 days in the fridge. Sounds unnecessary right? Well, trust me, it's totally worth while. I was super skeptical of this when I first came across it, but I had to see it for myself so I baked up 3 batches, one right away, one at 1 day aged, and one at 2 days aged. And indeed the flavours of the cookie became noticeably better at 1 day, but significantly better after 2 days. What do I mean by better? More intense in every way. It's like all the flavours that are there in the cookies are amplified plus a more caramelly note to the dough. And the cookies brown more deeply.
How Does "Aging" of Dough Work?
How does it work? Well, to put it simply, when cookies bake and brown, protein and starch molecules breakdown and then rearrange into more flavourful versions of themselves. This process takes time to complete, so when you rest the dough, the proteins and starch get a chance to breakdown more, so that by the time they bake, the result is a more fully developed flavour. This is explained in more detail in this Serious Eats article here (you have to scroll down close to the end of the article to get to this part, but the whole article is very interesting and worth a read.)
Chocolate Discs, Not Chips.
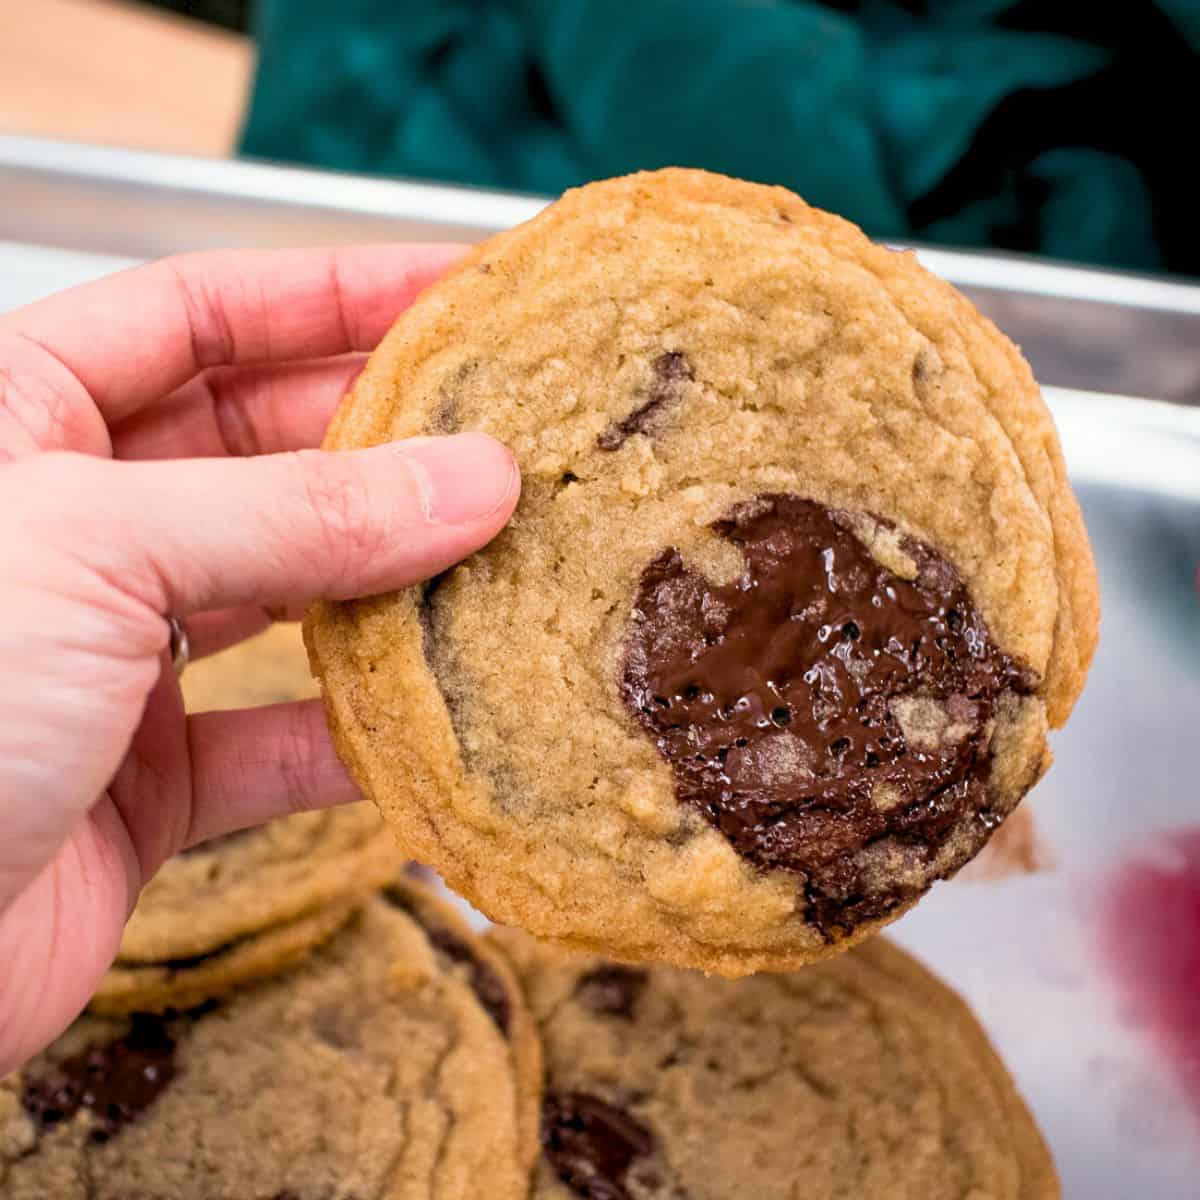
I found that one of the reasons these cookies are so good is because they don't actually use chocolate chips, but rather chocolate discs. This results in a large area of melty chocolate so the chocolate distribution is better. It also results in a layering effect where the cookie dough is layered with the flat chocolate disc, and somehow, that just tastes so much better than little blobs of chocolate chips.
I use dark chocolate discs which I get from a gourmet cookware store, but they can also be found online. The original recipe called for a mix of milk and dark chocolate discs, but I personally like the less-sweet version of all-dark chocolate.
If you're thinking about reducing the sugar in the recipe...
As a lover of not-too-sweet treats, I'm the first person to reduce sugar in baked goods recipes from the internet, but before you do that with this recipe let me tell you a few important things.
First, the amount of sugar called for in this recipe seems like a lot compared to other cookie recipe because this is a large batch than the average online recipe, so it is not a fair comparison.
Second and more importantly, the amount of sugar in a cookie recipe is extremely important to the texture of the end result. The less sugar you put, the less chewy the cookies will be in the middle and the less crispy the edges will be. Secondly, the less sugar you put, the less the cookies will spread.
So you can absolutely still reduce the sugar if it makes you feel better about eating these, but unlike other recipes, I need you to know that it is not going to be without consequence. Just so you're not surprised 🙂
How to Best Enjoy These Cookies
Seriously, these are best eaten shortly after they come out of the oven—when cookies have cooled enough so the edges are crispy, but the chocolate is still gooey and melty inside, and the middle is nice and chewy and even slightly warm...omg there is just nothing like it!!
However, this doesn't mean you gotta make them right away, you can simply reheat a completely cooled cookie in a 350°F oven for 5-7 minutes, or until they soften. Then let them cool for about 10 minutes or until cool and firm enough to pick up, and you'll get the same effect. If making as a gift it's worth including reheating instructions with them cookies 🙂
Freezing the Cookie Dough
Yes, you can freeze these and bake up only as many as you want to eat, so you'll always be eating freshly baked cookies! Freeze the pre-portioned dough in a freezer bag, and get as much as out of them as you can. When you want to make them, lay out frozen cookie dough on a baking sheet and let sit at room temp for 30 minutes while you preheat the oven.
Bake at 350°F, and you may need to bake them for a minute longer than normal. Important note: as you'll see the key to fully developed flavours in these cookies is 48 hours of aging in the fridge. You want to make sure you AGE THEM FIRST before freezing because once they freeze, the aging process will not continue.
Cookie Baking Temperatures: 350°F? or 375°F?
As I mentioned in the video, you can go about this one of two ways. The lower temp will give you wider spread, resulting in thinner crispier cookies, and the higher temp will give you less spread and thicker cookie.
But I recommend that you first do a test batch at 350°F for 15 minutes and adjust from there, because there are many factors involved in how far a cookie spreads aside from oven temperature...so it's good to know where your starting point is. In the video I baked mine at 350°F, but since the dough was warmer than they normally are to start (it's a warm kitchen!), the cookies spread a bit more than usual.
Watch The Full Video Tutorial!
All my recipes come with step-by-step video tutorials with extra tips not mentioned in the blog post, so make sure you watch the video below to ensure success - and if you enjoy the show, please consider subscribing to my YouTube channel. Thank you!

Epic 2-Day Aged Chocolate Chip Cookies
- Prep Time: 15 min
- Aging Time (optional but recommended): 2 days
- Cook Time: 45 mins
- Total Time: 49 hours
- Yield: About 36 cookies
Description
These cookies always get a WOW whenever I bring them to people. There are a few tricks, one is the perfect ratio of ingredients, the use of chocolate disc, and most importantly the aging the dough for 2 days. This recipe is adapted from one from the memoir of my local bakery owner, The Measure of My Powers.
Ingredients
- 285 g unsalted butter, room temp
- 230 g granulated sugar
- 285 g dark brown sugar
- 2 teaspoon vanilla extract
- 2 large eggs, room temp
- 470 g all-purpose flour
- 1 ½ teaspoon fine salt
- 1 ½ teaspoon baking powder
- 1 ¼ teaspoon baking soda
- 450g (1lb) dark chocolate discs/wafers
- Optional garnish: Large flakes of salt like fleur de sel or maldon salt
*All ingredients are given in weight because it's important to get the right ratios of ingredients for the perfect texture. Measuring by volume is not as accurate. I recommend you get a kitchen scale if you don't have one, they're very inexpensive and are incredibly useful!
Want to save this recipe?
Instructions
- Place flour and salt in a large mixing bowl. Sift baking powder and baking soda through a small sieve into the flour. (This is to prevent little clumps of baking soda that often form, especially in older baking soda, from remaining unmixed, and it also helps distribute them. I always do it for all my baking recipes.) Whisk everything together until well mixed.
- In a stand mixer with a paddle attachment, or an electric hand-held mixer, mix butter on low speed briefly just to make sure it is fully softened. Add brown and white sugar and mix on medium speed until the colour is lightened and the mixture looks fluffy. Stopping to scrape the bowl and paddle once in between.
- Add vanilla and eggs, then mix on medium speed just until well incorporated, scraping down sides as needed.
- Add dry ingredients in 4 instalments, mixing just for a few seconds each time until the flour is no longer sitting on top of the dough. This is to prevent the mixer from kicking up flour as it stirs. *If using a hand held mixer, switch to a wooden spoon and stir everything together, as this is quite a thick dough for the handheld.
- After the last addition of flour, mix very briefly just until there's a little bit of flour left unmixed. Do not mix fully yet at this point.
- Add the chocolate discs then continue to mix on low speed just until all the flour is incorporated into the dough and the chocolate is evenly distributed.
- Portion the dough out into 2-inch balls and place them onto a tray or a big container—I like using a #30 scoop for this and I fill it so it's just a bit rounded on the bottom. Separate each layer of dough with plastic wrap so they don't stick together. *If using chocolate discs, check to see if there are any large disc of chocolate exposed on the bottom of the ball, if so, push some dough to cover it. Because these chocolate discs are so large, if you have an big exposed piece sitting flat on the bottom it'll just melt and stick to the pan when baking and you'll lose chocolate!
- Cover the dough tightly and refrigerate for 48 hours. Yes, trust me, this makes all the difference!
- When ready to bake, preheat oven to 350°F. Let it preheat for at least 30 minutes.
- Once the oven is ready, pull cookies out and put them on baking sheets lined with parchment paper or silicone mat. Make sure the cookies are at least 2 inches apart (you should only put 6 cookies on a half sheet pan). Bake in the middle rack for 15 mins until the edges are golden brown but the centre is still soft. **If after your first batch you find that the cookies are spreading too much, increase the temp to 375°F and bake for 11-12 minutes.
To bake frozen cookie dough:
The dough can be frozen in a freezer bag for up to 2 months. Let the dough sit on a baking sheet at room temp for at least 30 minutes. Meanwhile, preheat the oven to 350°F. You may need to let the cookies bake for a minute longer than usual. If you remember to plan ahead, you can also pull the dough out from the freezer and let them thaw in the fridge overnight, then bake as usual.
Notes
- When baking cookies, always bake a test batch first with just 4-6 cookies. Everyone's ovens are different, so you may find that after you bake your first batch you need to adjust timing/temperature a bit. Or that you have a hot spot and need to rotate the pan halfway.
- Remember to bring out your butter and eggs at least few hours before you start so they will come to room temp. Cut your butter into small pieces so it soften faster.
- Don't trust the oven "preheat" alarm! I use an oven thermometer, and I find that many ovens say they're "ready" far before the center of the oven as reached temperature. Let it preheat for at least 30 minutes to be sure.
- Get an oven thermometer to help calibrate your oven. Many ovens run a little hot or a little cool, so it's a useful thing to know 🙂 They're inexpensive and you can get one online!
Want to save this recipe? Pin it!


Uma says
I have made them many times. The best chocolate chip cookies ever!
Telly says
Mine also turned out the same way and I wondered if it was too much flour I’m using since it’s measured in grams. The taste was good, but texture of dough was dry and crumbly. Did you happen to find a solution or answer?
Pailin Chongchitnant says
Hi! If the dough is dry and crumbly it does sound like too much flour, which can easily happen if you use a cup measure and pack the flour too tightly. This is why it's best to weigh the flour. Also if you reduce the sugar or butter, it would also make it not spread as much and dry.
Tim says
These really are the absolute best!! Thank you Pai!!
Sidra Khurram says
hey I want to bake these cookies but 36 cookies would be way too much so can I just divide the recipe by 2 or would that ruin the recipe?
Pailin Chongchitnant says
Hi! Halving the recipe is absolutely fine. Just be sure to do your math carefully and divide all ingredients proportionally.
Stephen Chan says
Love chocolate, and this recipe is great, but may consider using less sugar next time as it turned out to be a bit too sweet to my liking.