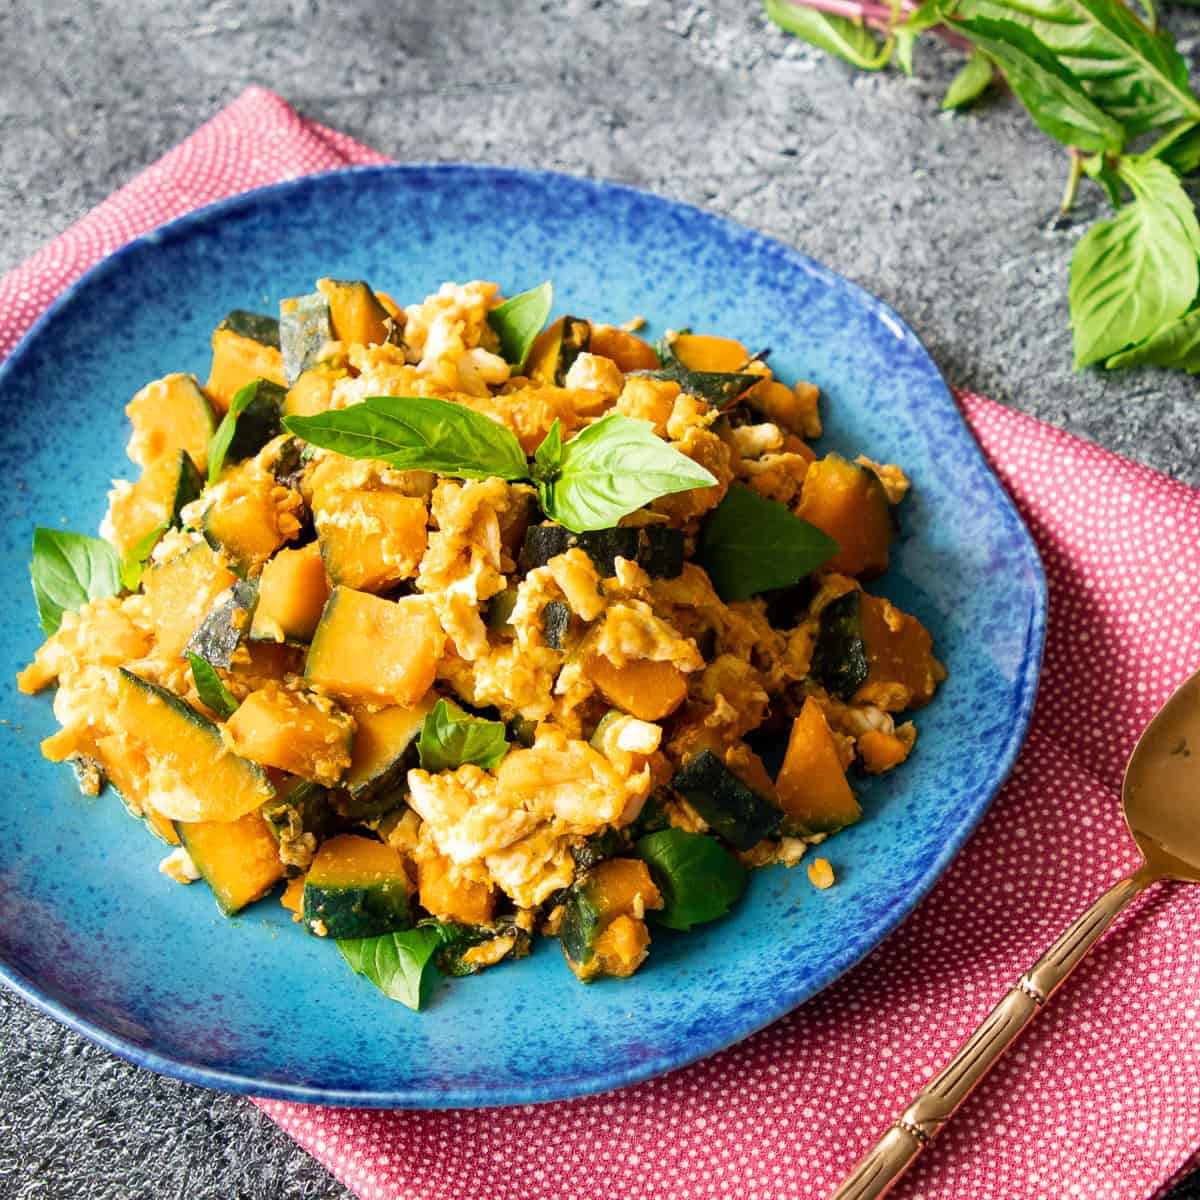
One of my favourite dishes growing up is kabocha squash stir fry with scrambled eggs and Thai basil. In Western culture, squash is used for many things but rarely a stir fry, but it really is a fantastic way to do it! Kabocha squash is creamier, sweeter than butternut squash, and bonus: you don't have to peel it!
What is Faktong Pad Kai?
Faktong pad kai ฟักทองผัดไข่ is a stir fry of creamy sweet squash with eggs and Thai basil. Sometimes it's called pad faktong which simply means "stir fried pumpkins," which theoretically can mean any kind of stir fried pumpkin, but this egg and Thai basil version is the most common.
It is one of the most rustic Thai dishes that people often make at home, but it's also a common dish in raan khao gaeng, places that sell curries, stir fries, and other dishes all ready-made, and all you have to do is point to what you want the they will scoop it over a plate of rice.
In Thailand we typically use Thai pumpkins for this dish, but here I use kabocha squash which have a flavour and texture that's basically the same as Thai pumpkins. Thai pumpkins are much larger, so they're often sold pre-cut in smaller wedges, and unlike kabocha, the skins need to be peeled.
Watch The Full Video Tutorial!
All my recipes come with step-by-step video tutorials with extra tips not mentioned in the blog post, so make sure you watch the video below to ensure success.
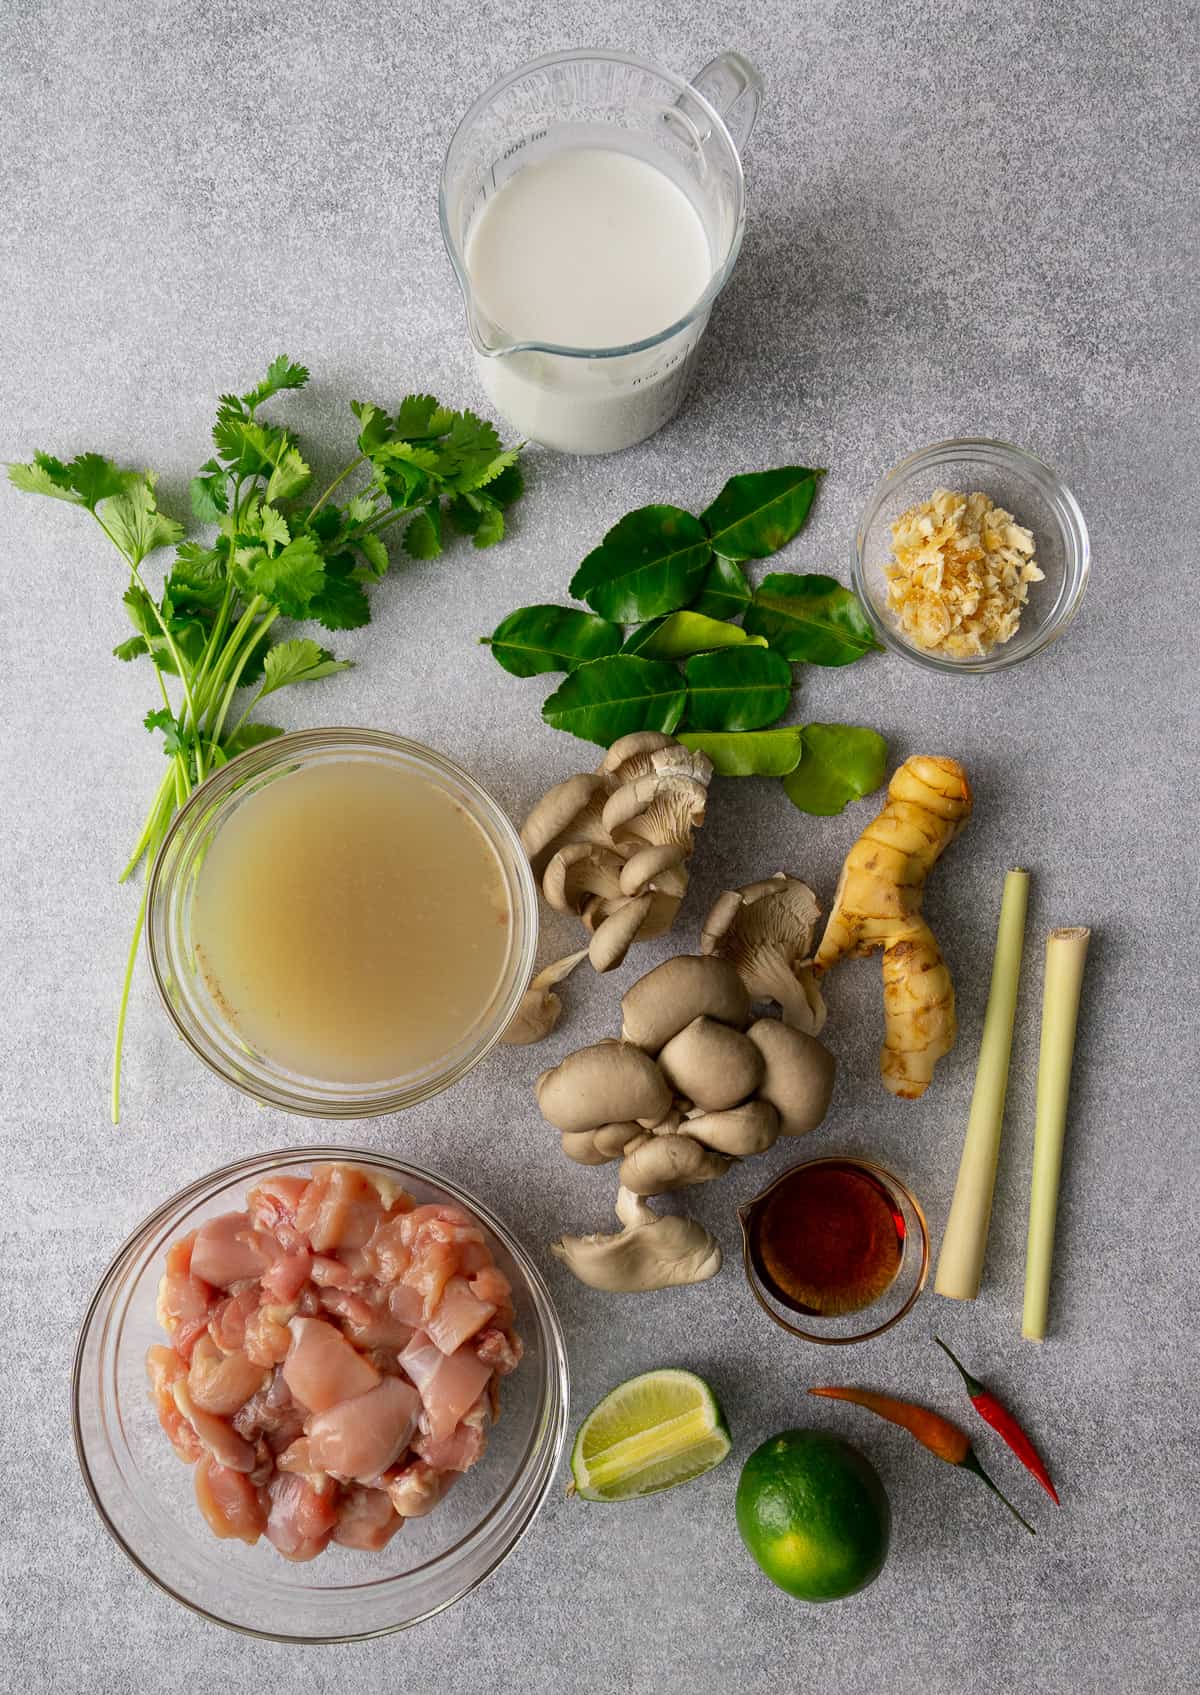
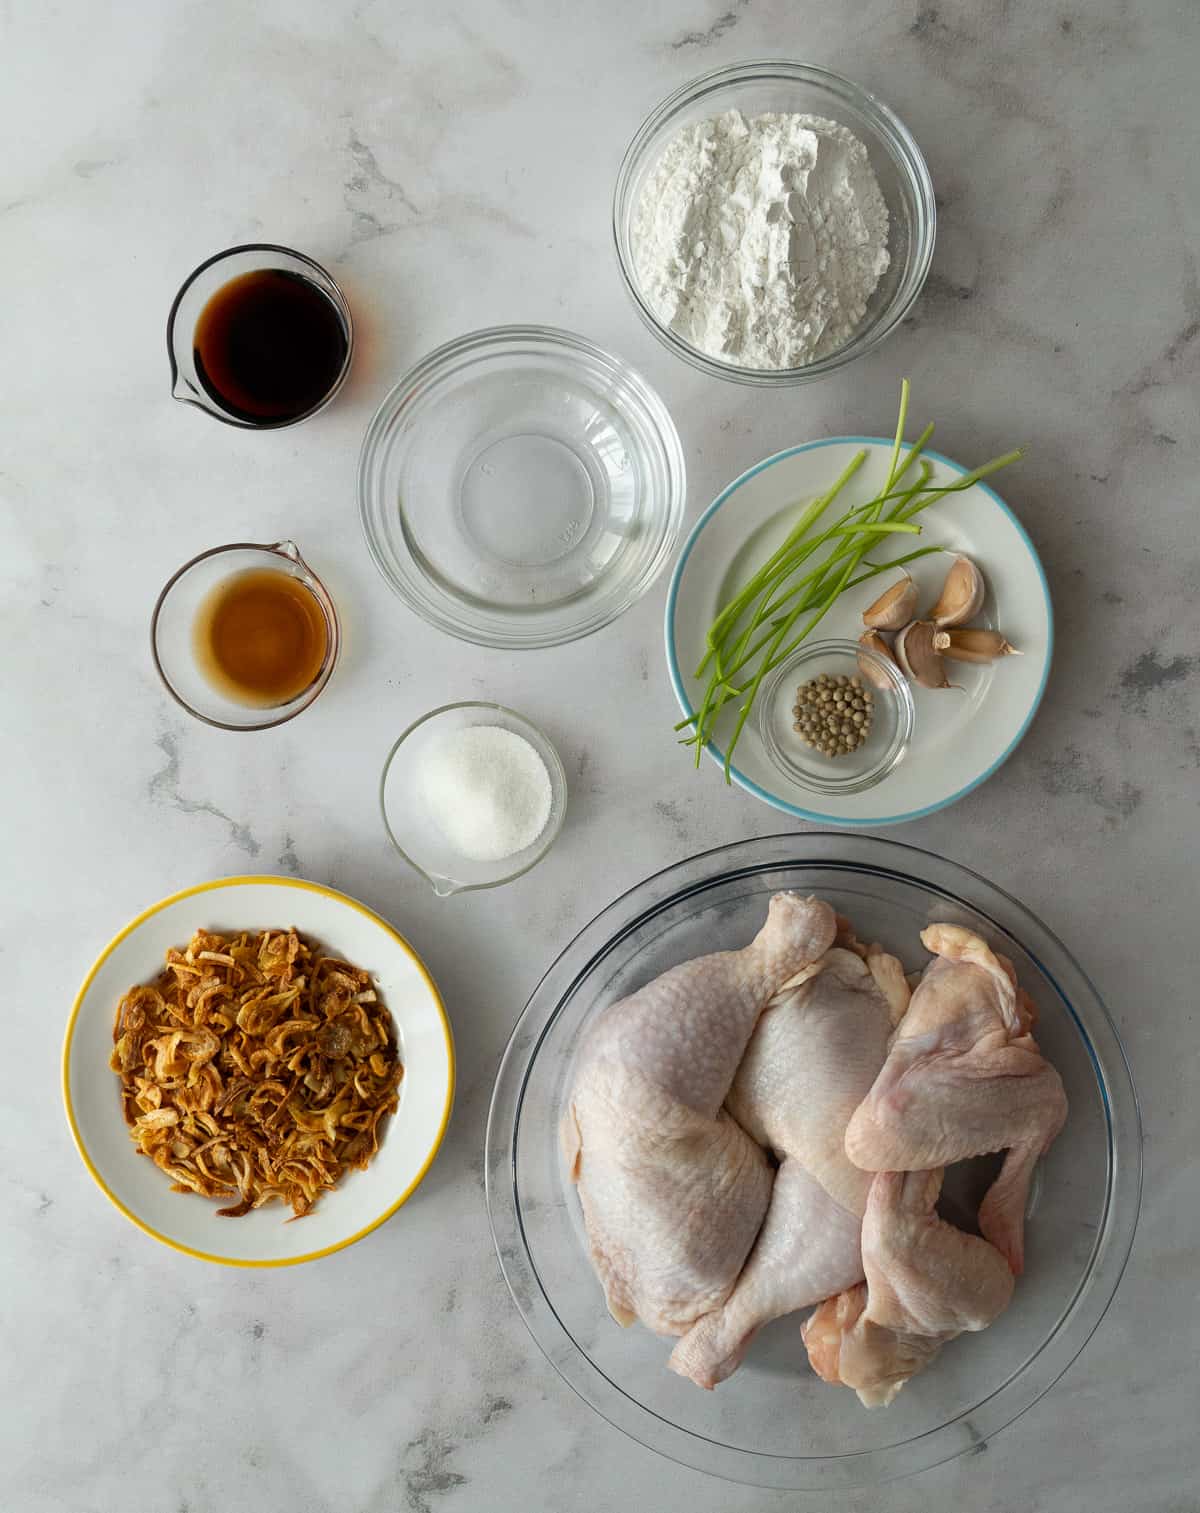
Ingredients and Notes
Here are all the ingredients you'll need and important notes about them. For amounts, check out the full recipe card below.
- Kabocha squash, cut into bite-sized, ¼" thick slices. It is easiest to first cut into 1-inch thick wedge, then slide the wedge crosswise into ¼-inch thick pieces. Kabocha squash skin does not need to be peeled, however, if you see woody blemishes on the skin, remove those. Having said that, some people prefer peeling at least some of the skin off for a smoother texture.
- Garlic, roughly chopped
- Oyster sauce. To make this vegetarian, you can use vegetarian oyster sauce or see my vegetarian sauce modification below.
- Soy sauce
- Fish sauce. This is optional, you can simply use more soy sauce, or use the vegetarian modification below.
- Sugar
- Ground white pepper, or black pepper
- Eggs, for vegans you can substitute crumbled firm tofu or omit the eggs altogether and increase the amount of squash slightly.
- Thai basil or regular Italian basil works beautifully. If you wanna keep it a simple side dish, it'll also be delicious without any basil!
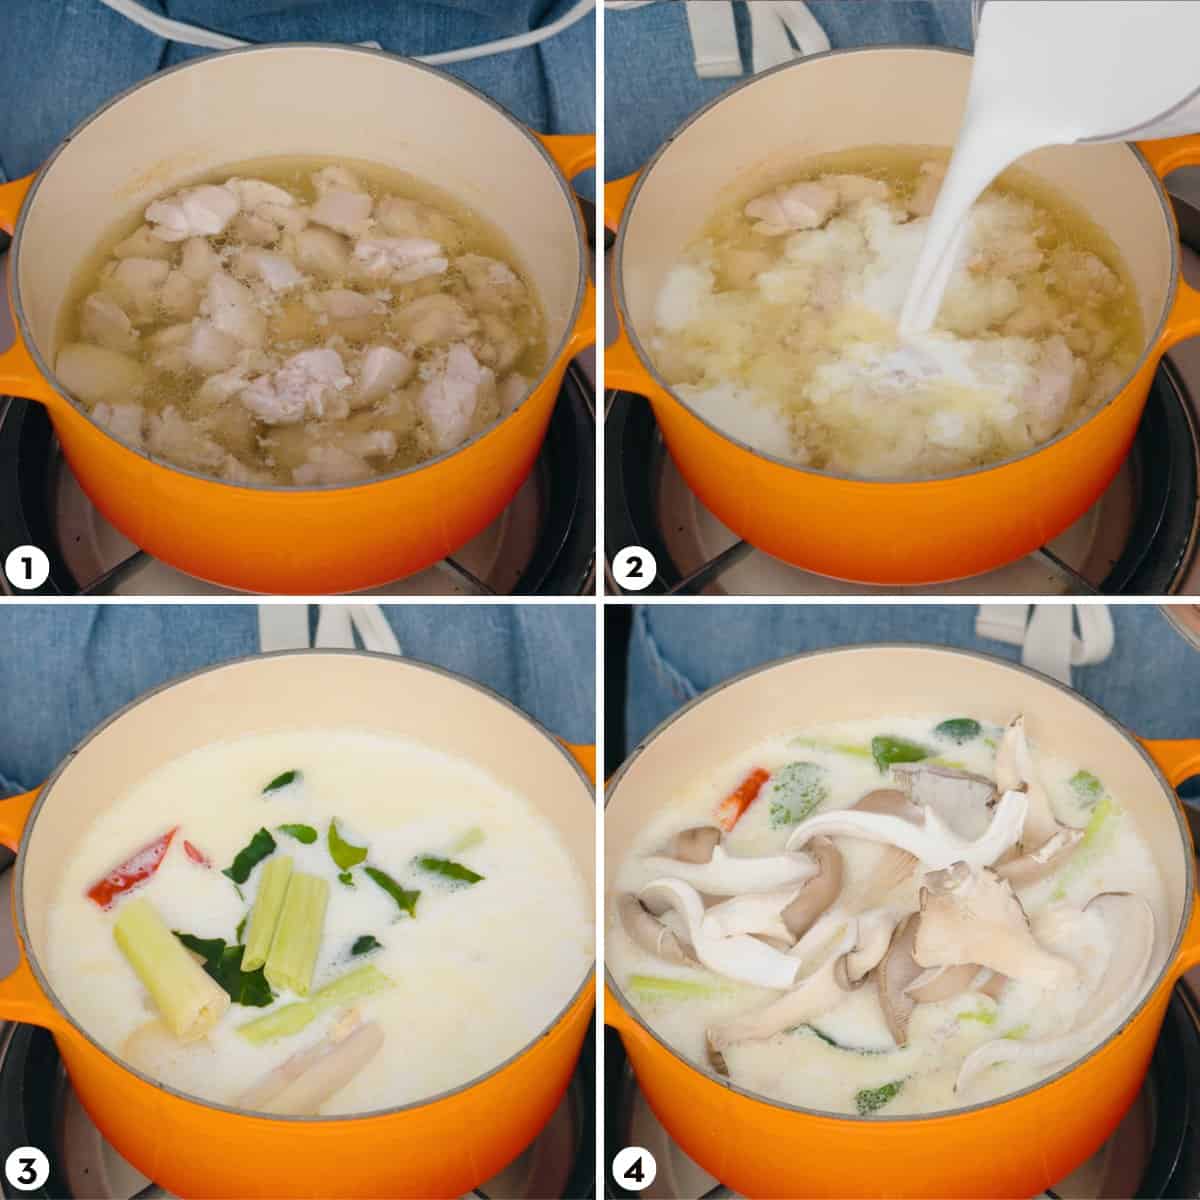
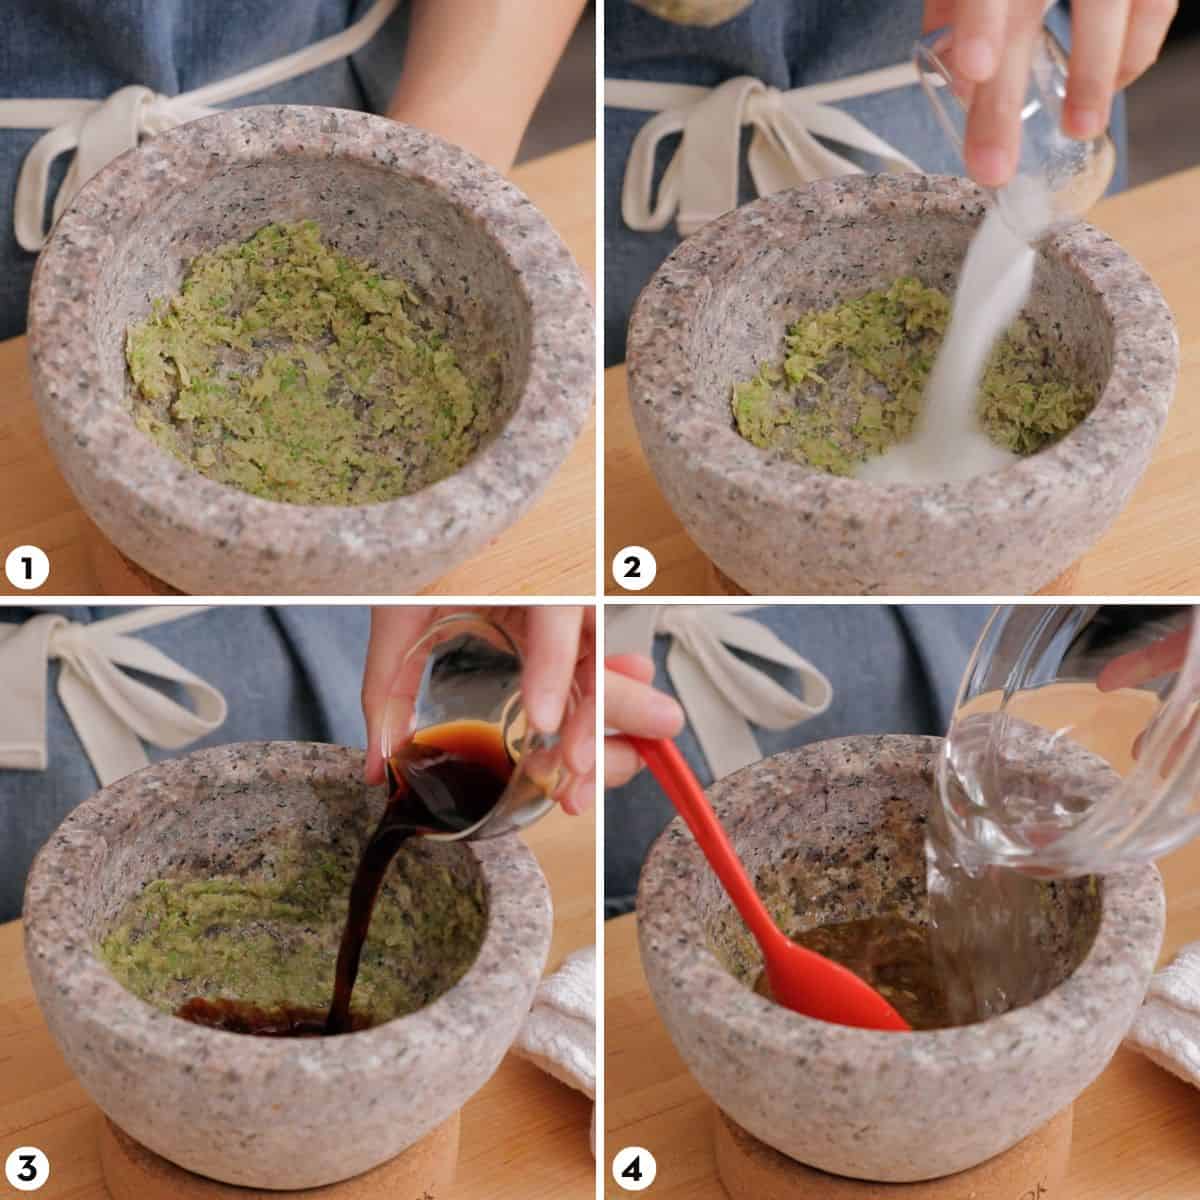
How to Make Kabocha Squash Stir-Fry
Here's a bird's eye view of how to make this recipe. If this is your first time, I highly recommend watching the video tutorial to ensure success. The technique involved might be a bit unusual, so it's one of those recipes that's easier understood visually!
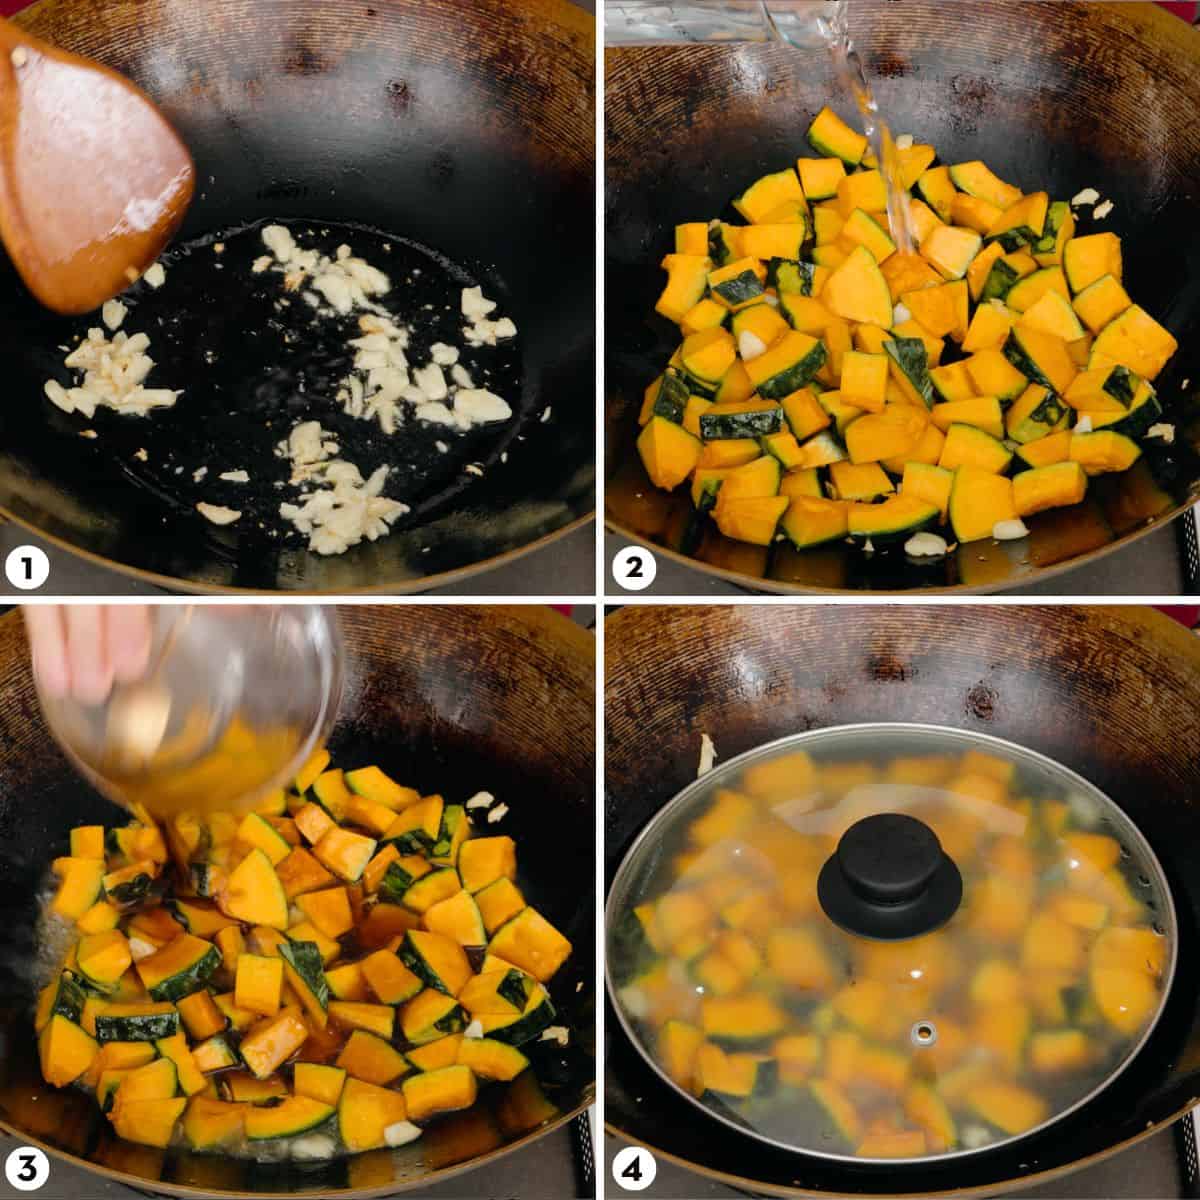
- Heat a little oil in a wok over medium heat and add chopped garlic, stir until the garlic starts to turn golden.
- Add squash and toss in the oil. Add the water,
- Then add all of the seasoning sauces, sugar, and white pepper.
- Cover and let it cook for about 4 minutes if the squash is cut the same size as shown (¼-inch thick). At this point the squash should be a little firmer than ideal. Check the doneness of the squash by poking a piece with a fork and it should go through with a slight resistance.
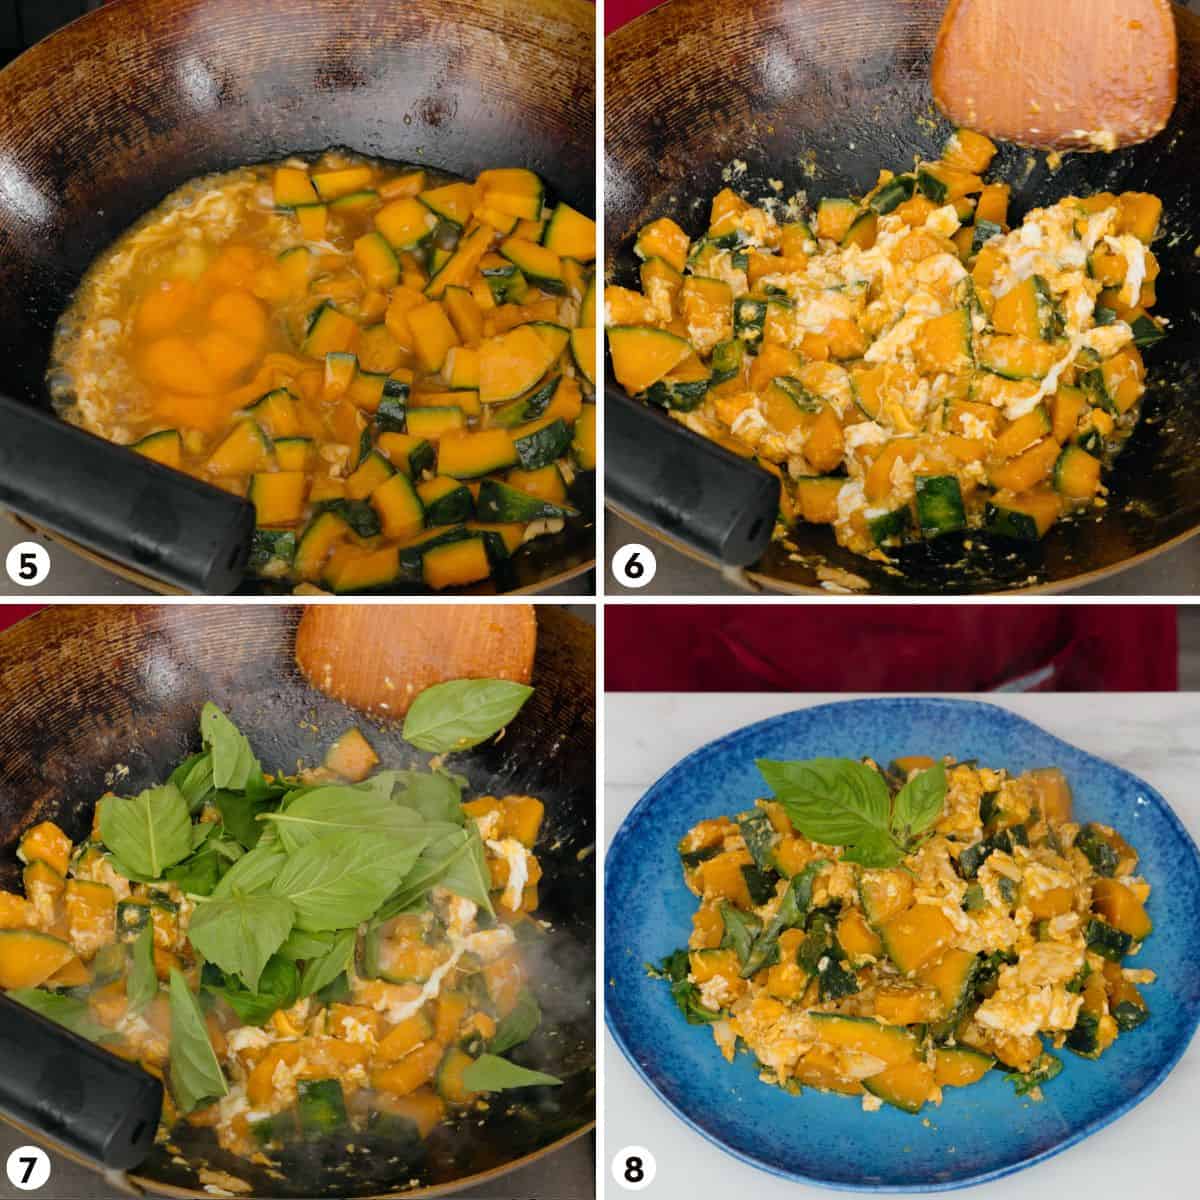
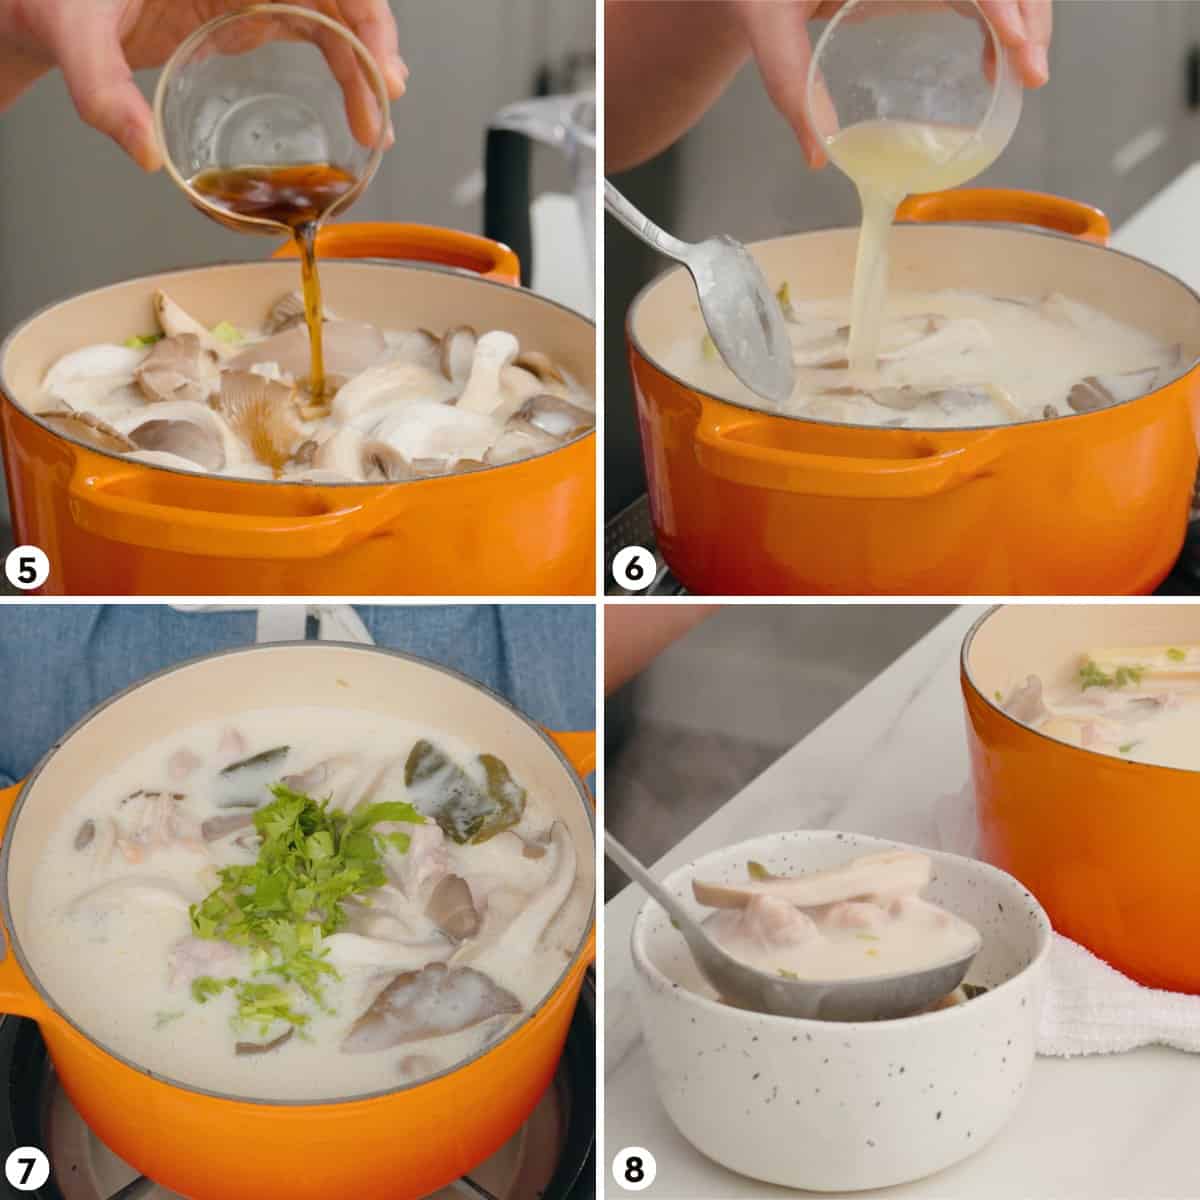
- Push the squash to the side and add the eggs and break the yolks with your spatula and then let the eggs set without stirring, and you can put the squash on top of the eggs.
- Once the the eggs cook until it's about 70% set, then toss gently to mix the egg and the squash and to let the eggs cook completely. Be gentle to keep the eggs in chunks.
- Turn off the heat and stir in Thai basil just to wilt.
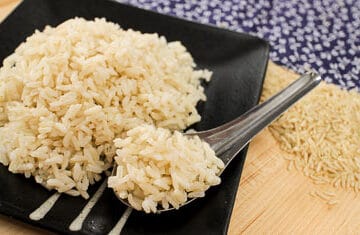
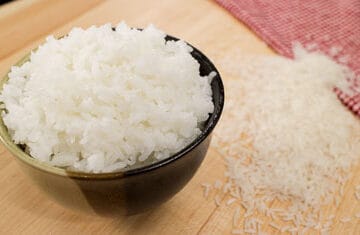
- Serve with jasmine rice or as a side dish to your dinner! This is also a great recipe to serve with some prik nam pla condiment on the side!