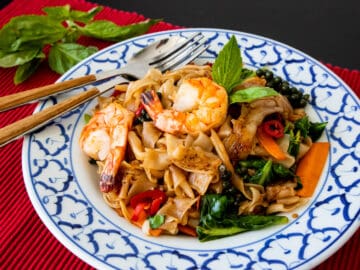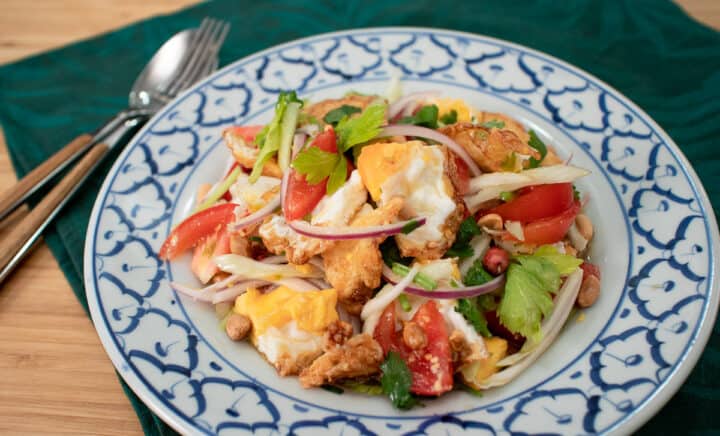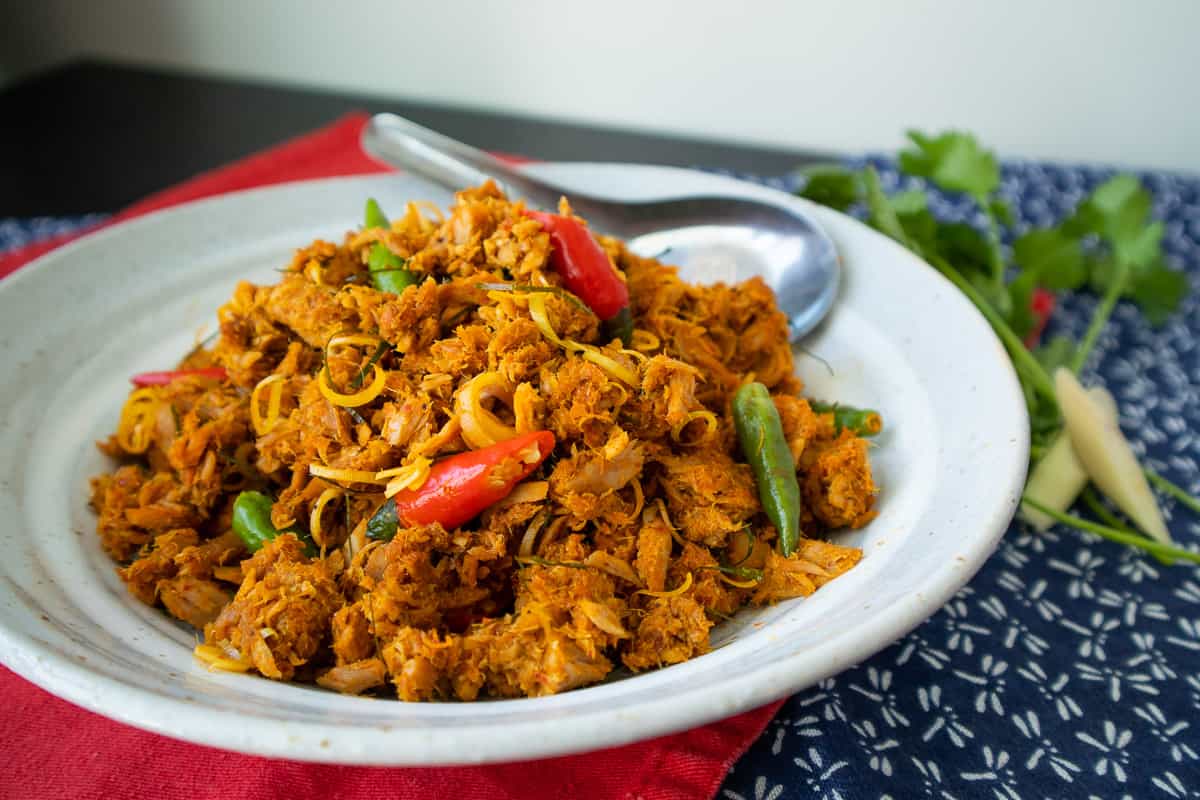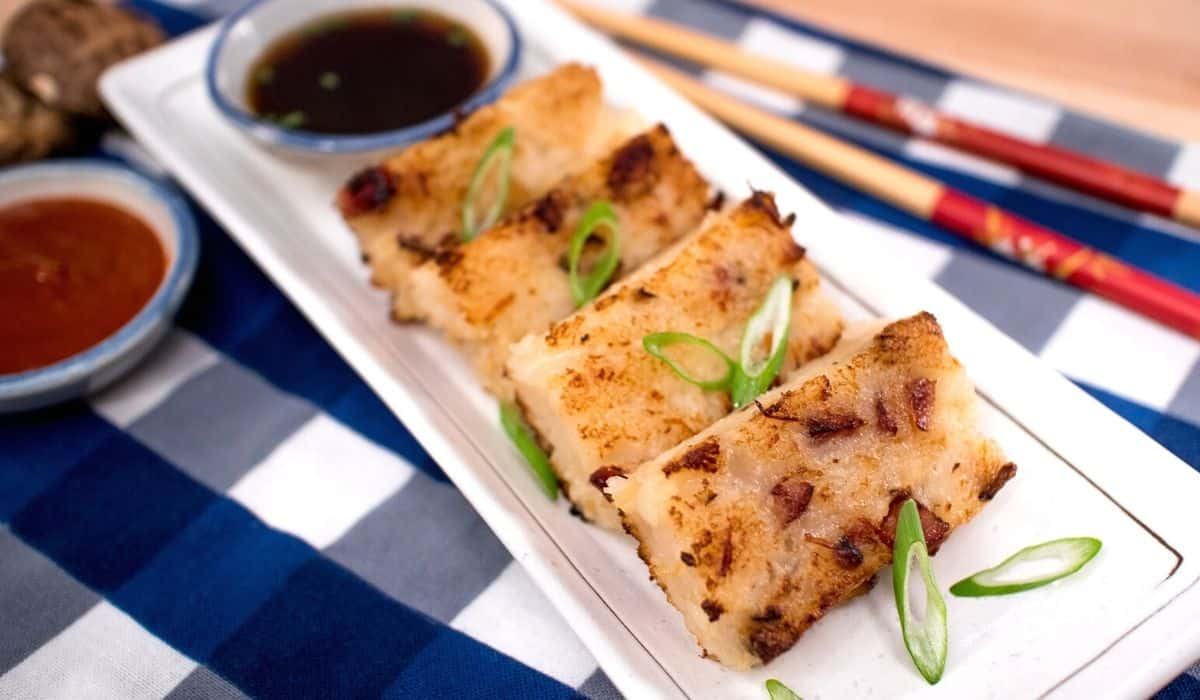
Easy, delicious, and versatile; what else could you ask for in a chicken recipe? Lemongrass chicken is a staple menu item in Vietnamese restaurants in Canada, and one that my husband gets all the time - which is why I was inspired to recreate it. It is so quick to prepare, kid-friendly, can last you the whole week in the fridge (yay meal prep), and you can grill or broil it!
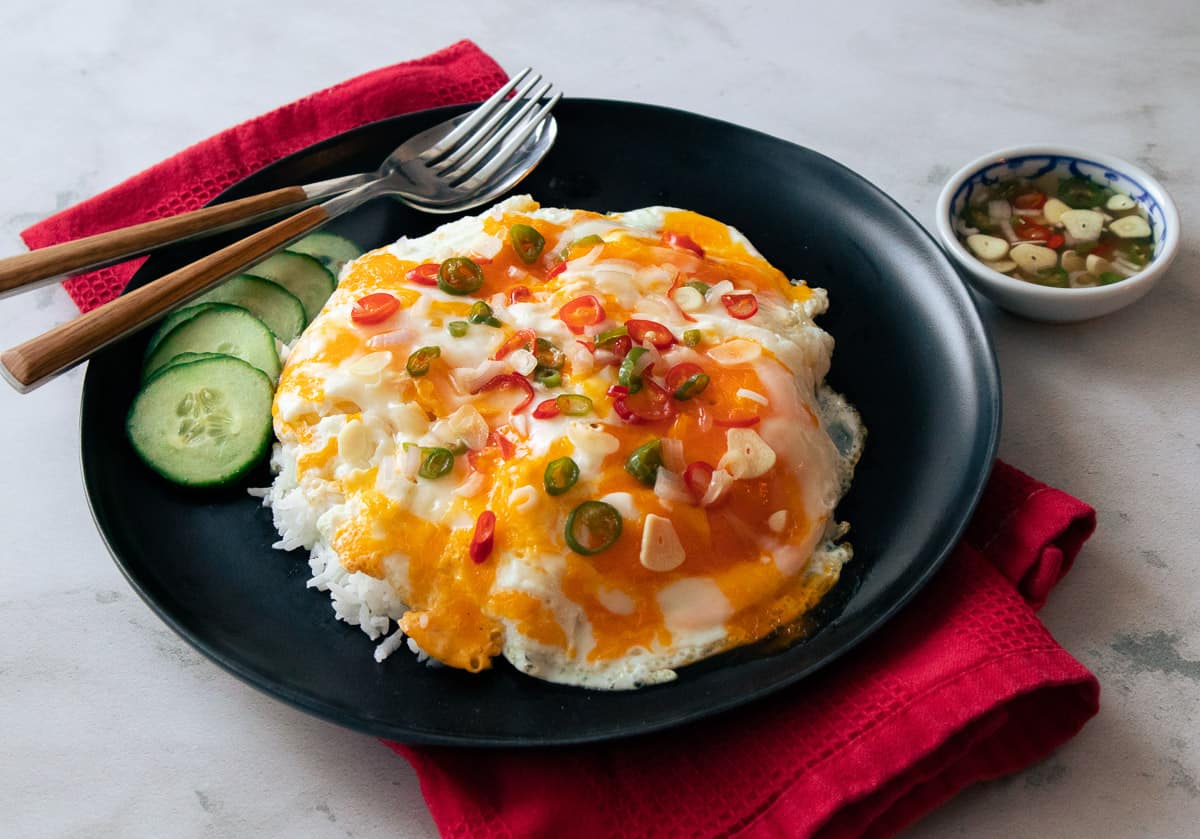
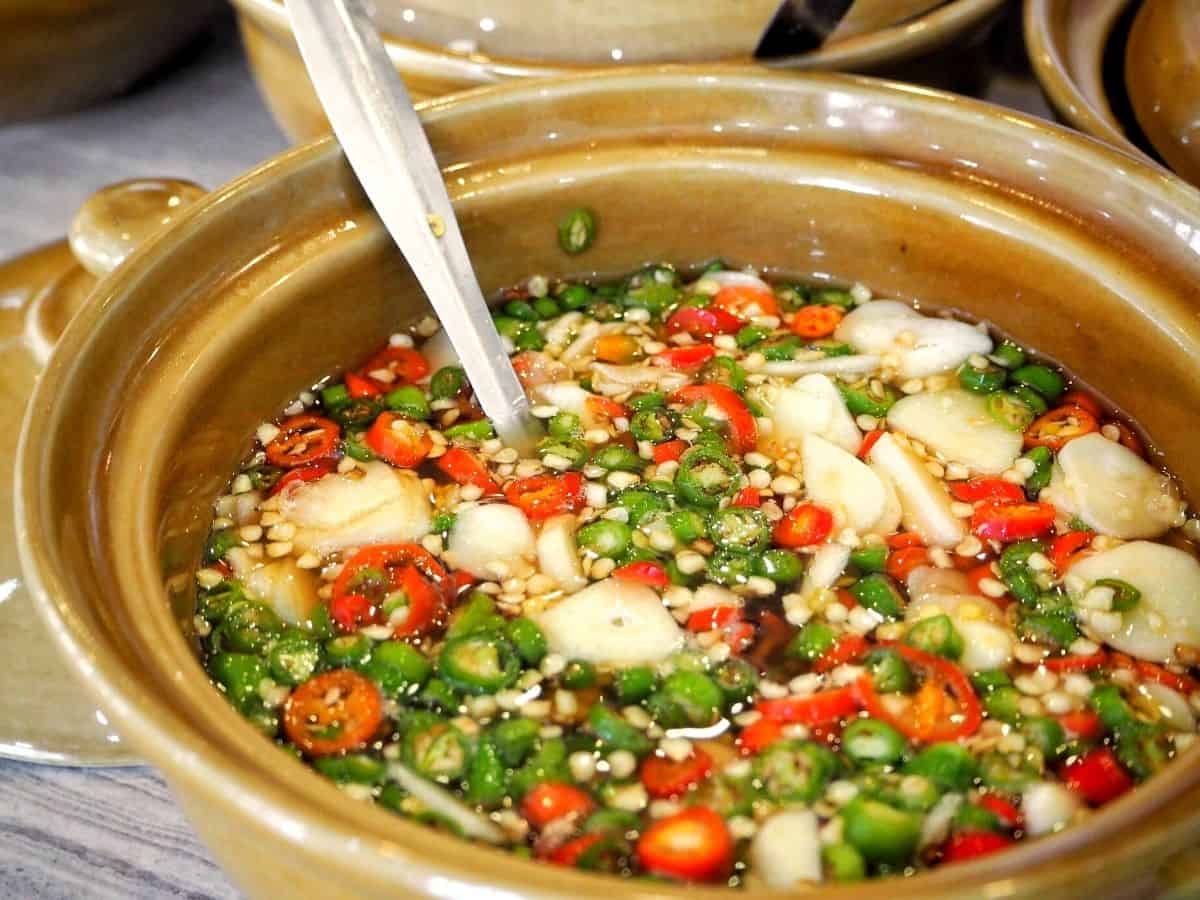
I like to make more than I need because it's such a versatile "all-purpose" protein you can incorporate into other dish. Try putting it into a banh mi sandwich, using it to top a salad, or adding it to a veggie stir fry. The nước chấm dipping sauce is a classic pairing, and it also couldn't be easier!
What is Lemongrass Chicken?
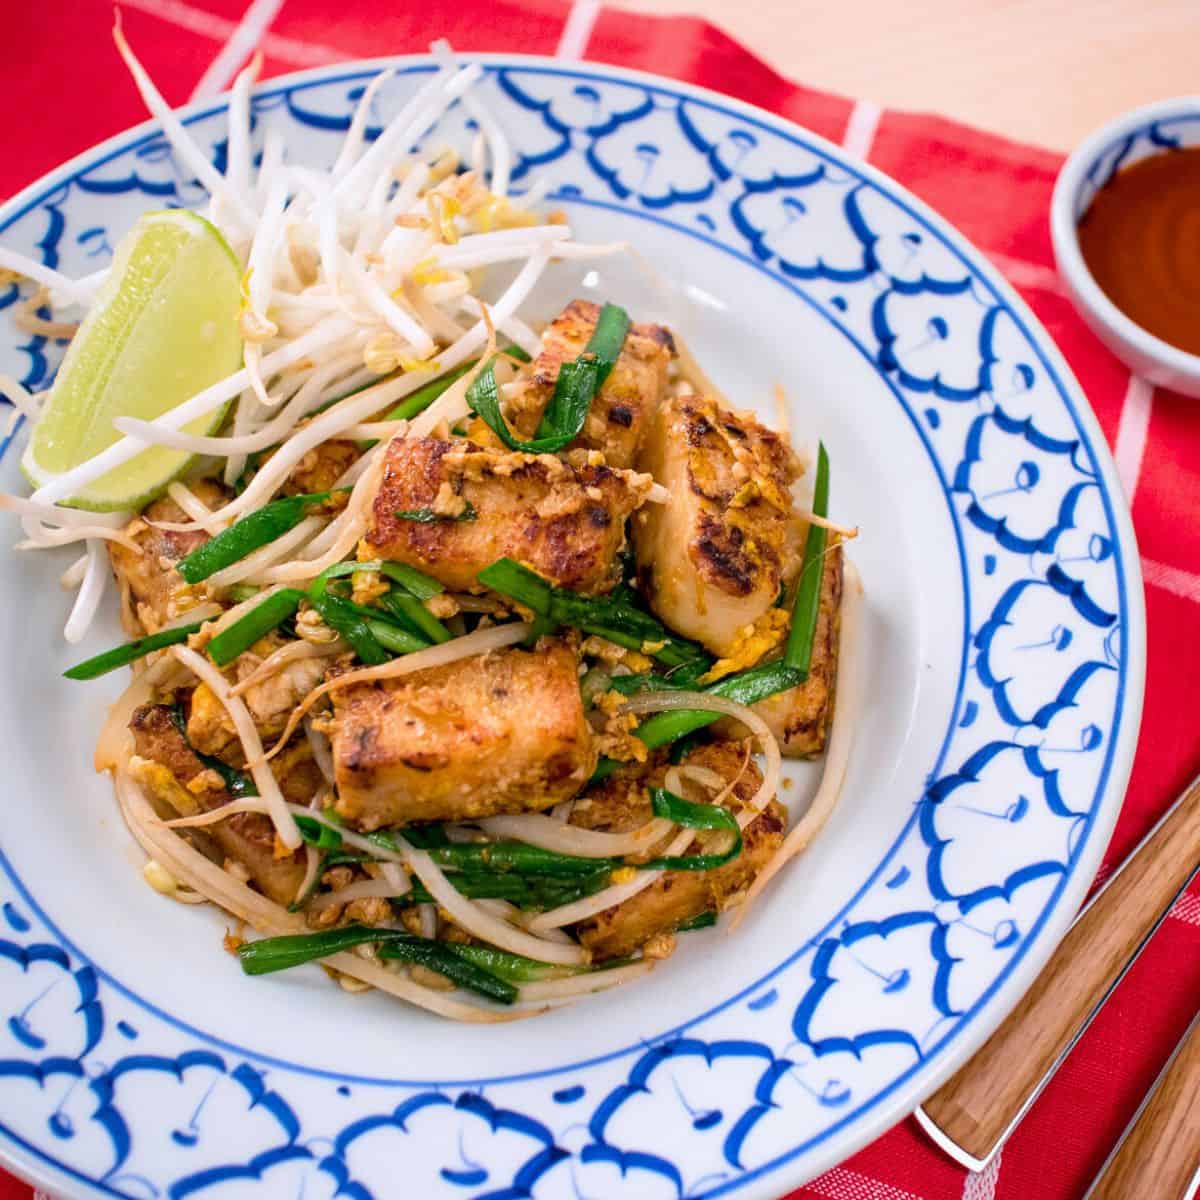
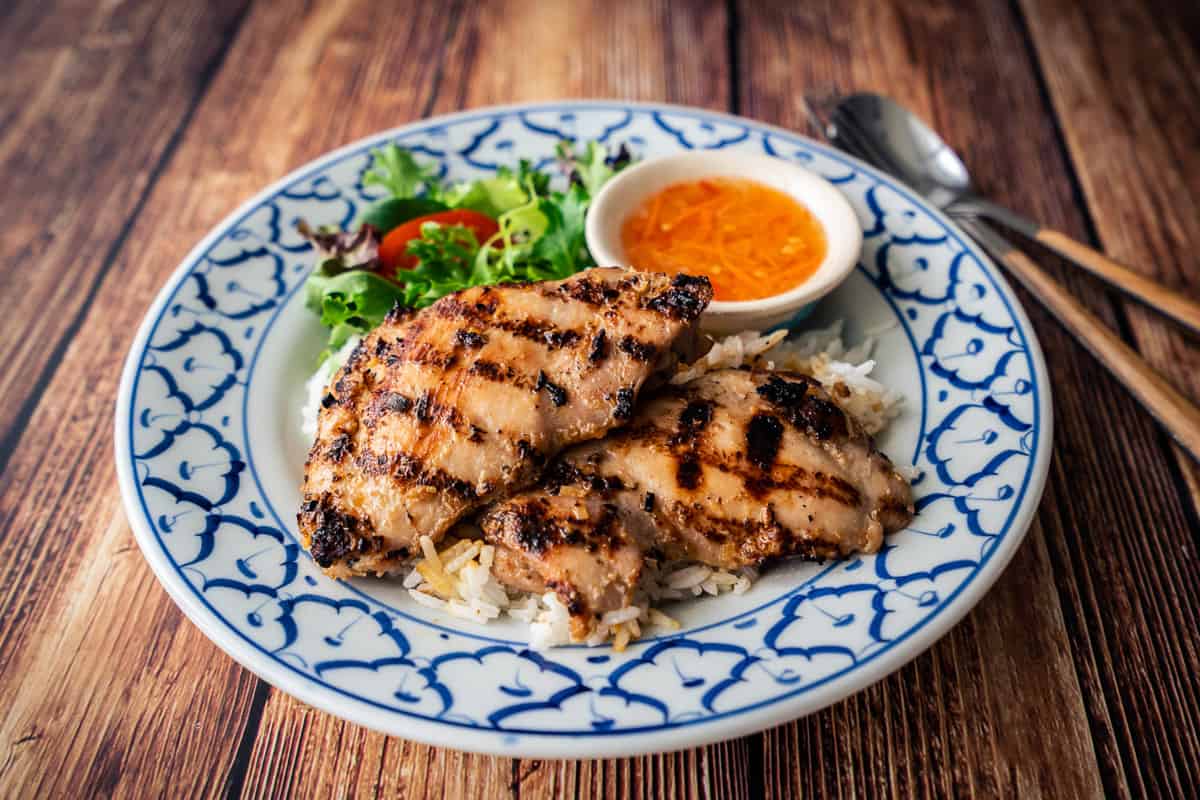
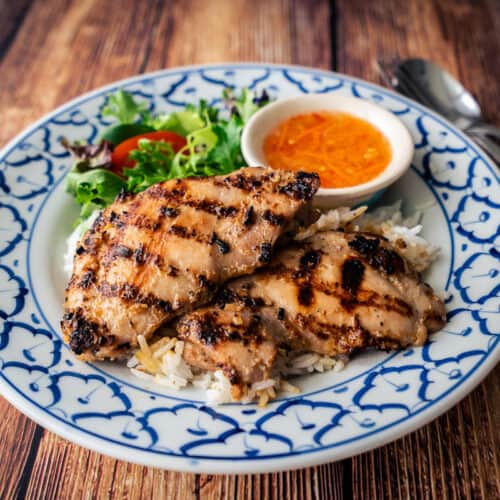
Boneless chicken thighs are marinated in a lemongrass-loaded, flavourful marinade and then grilled. It is usually served with rice or rice vermicelli plus the sweet-sour-slightly-spicy nước chấm sauce.
After consulting my Instagram community, a couple of similar dishes exist in Vietnam called gà nướng sả or gà xào sả ớt, though the version I'm showing here is what is ubiquitous in Vietnamese restaurants in Canada, and apparently Australia.
Vietnamese and Thai cuisine share almost all of our ingredients due to our geographical proximity, but they are treated very differently with different "philosophies of flavour." So this lemongrass chicken is one that tastes much like a milder version of Thai BBQ chicken, the only real giveaway is the dipping sauce which in Thailand would've been a much stronger, spicier jeaw dipping sauce.
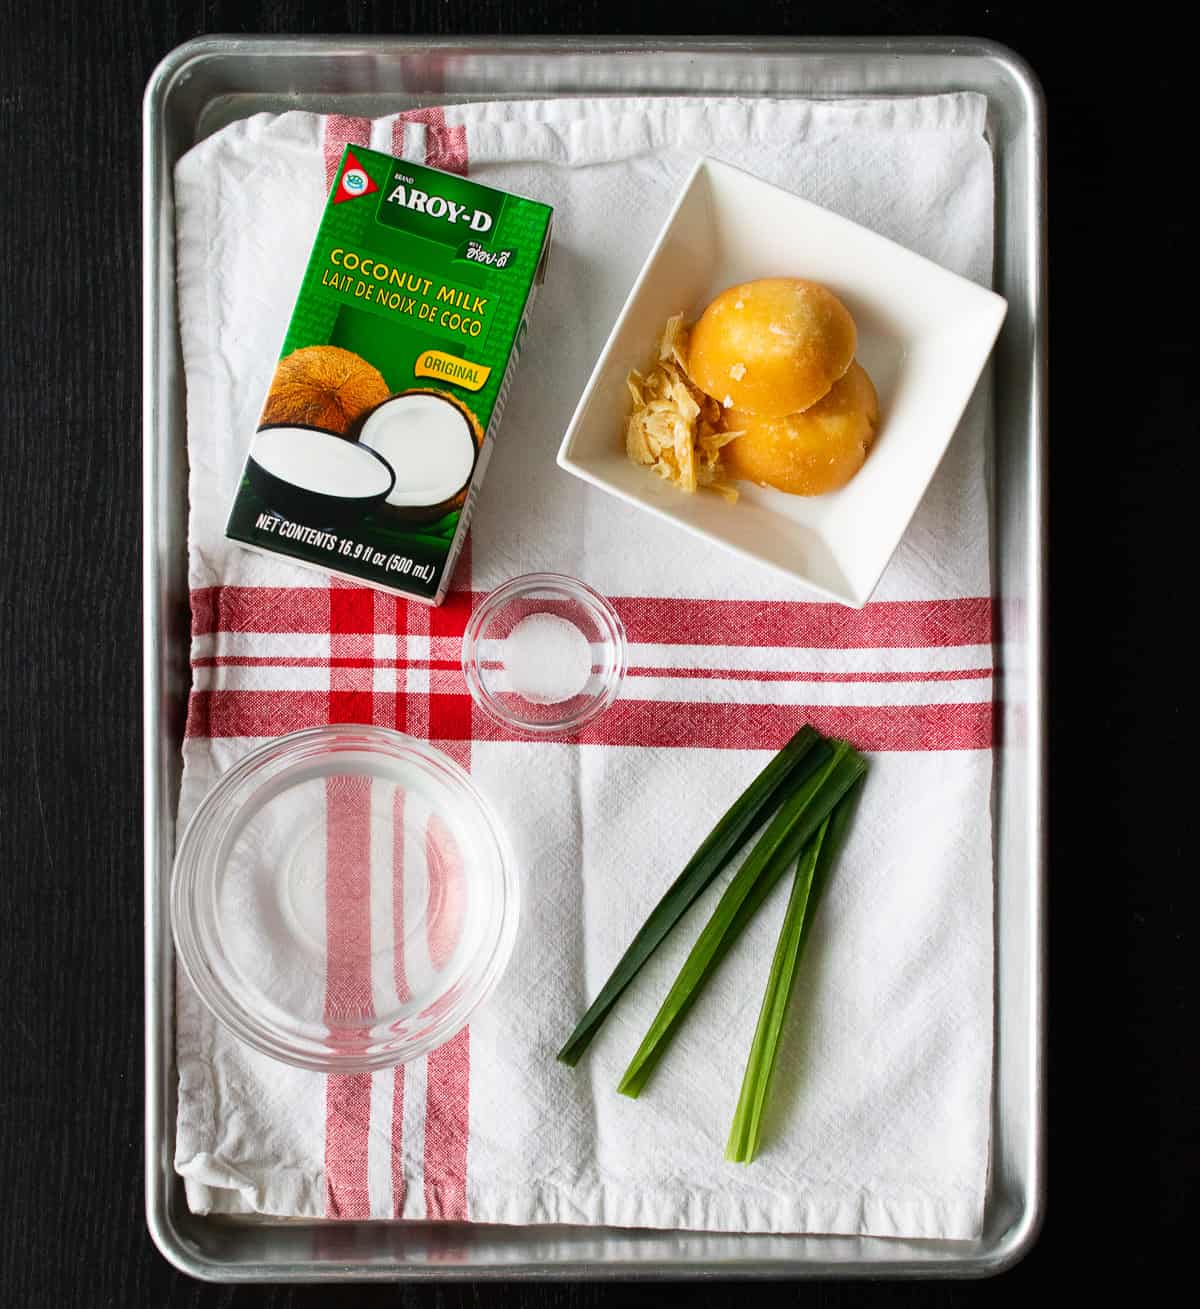
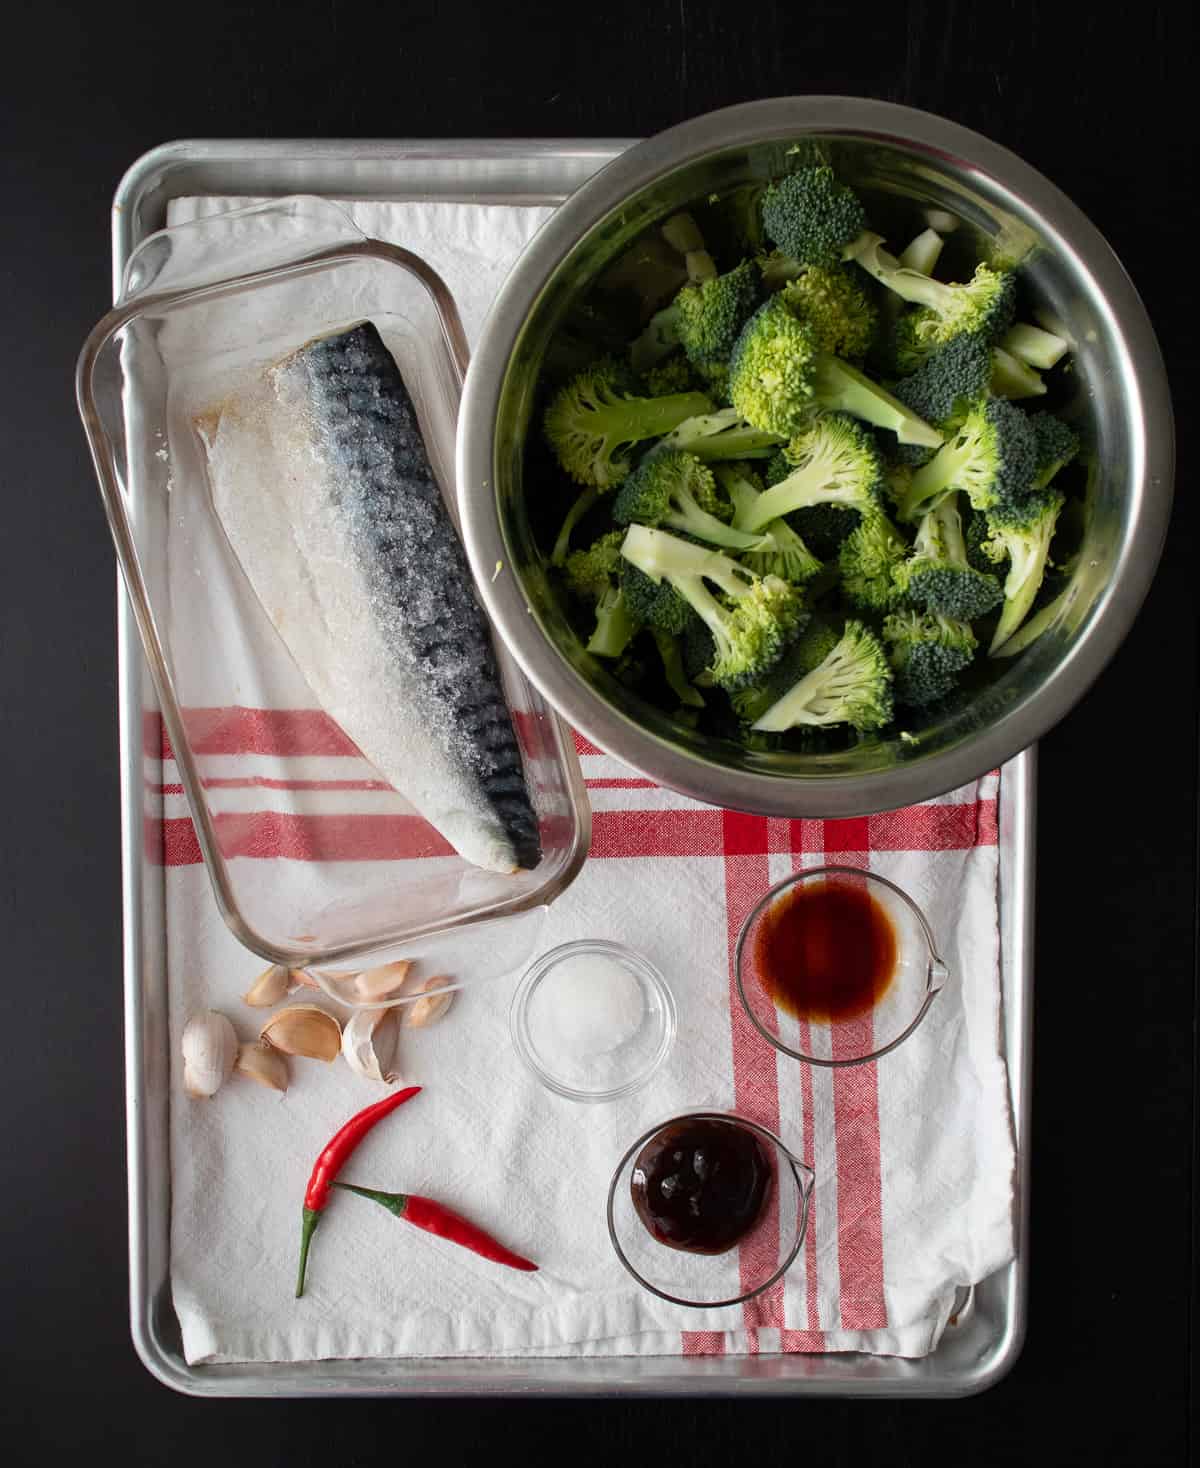
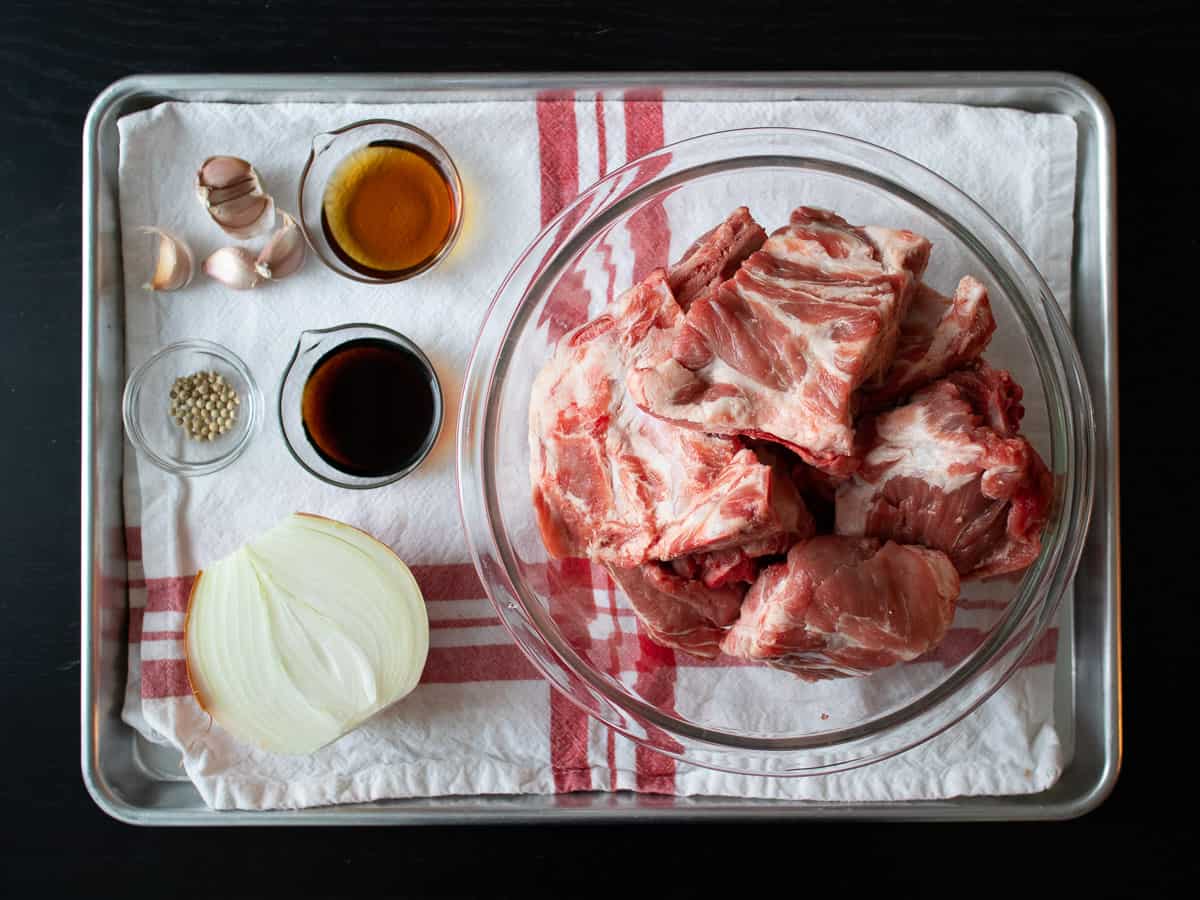
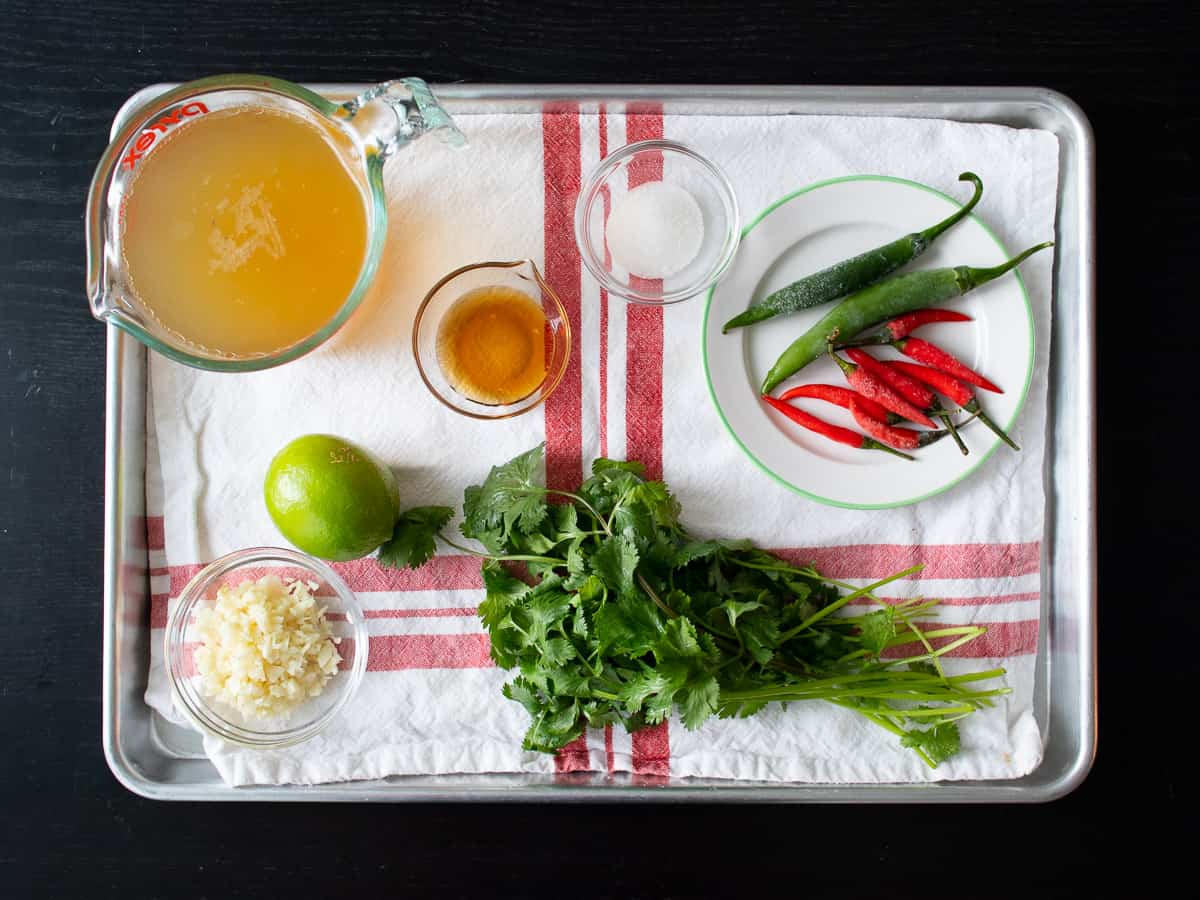
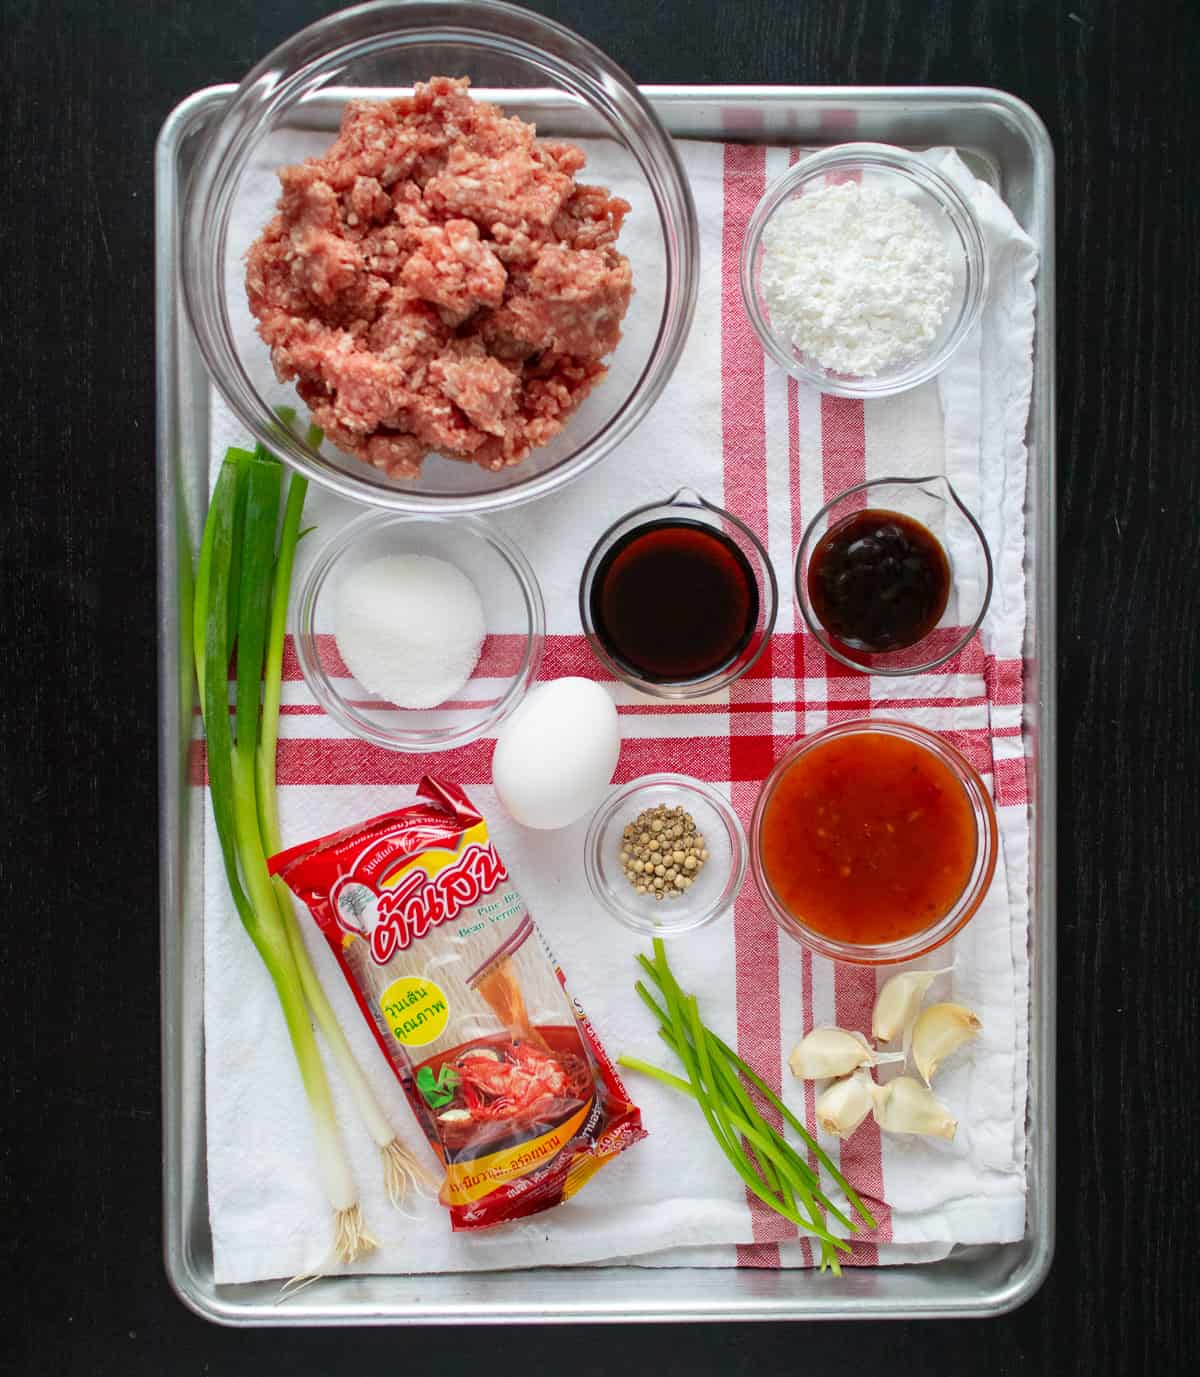
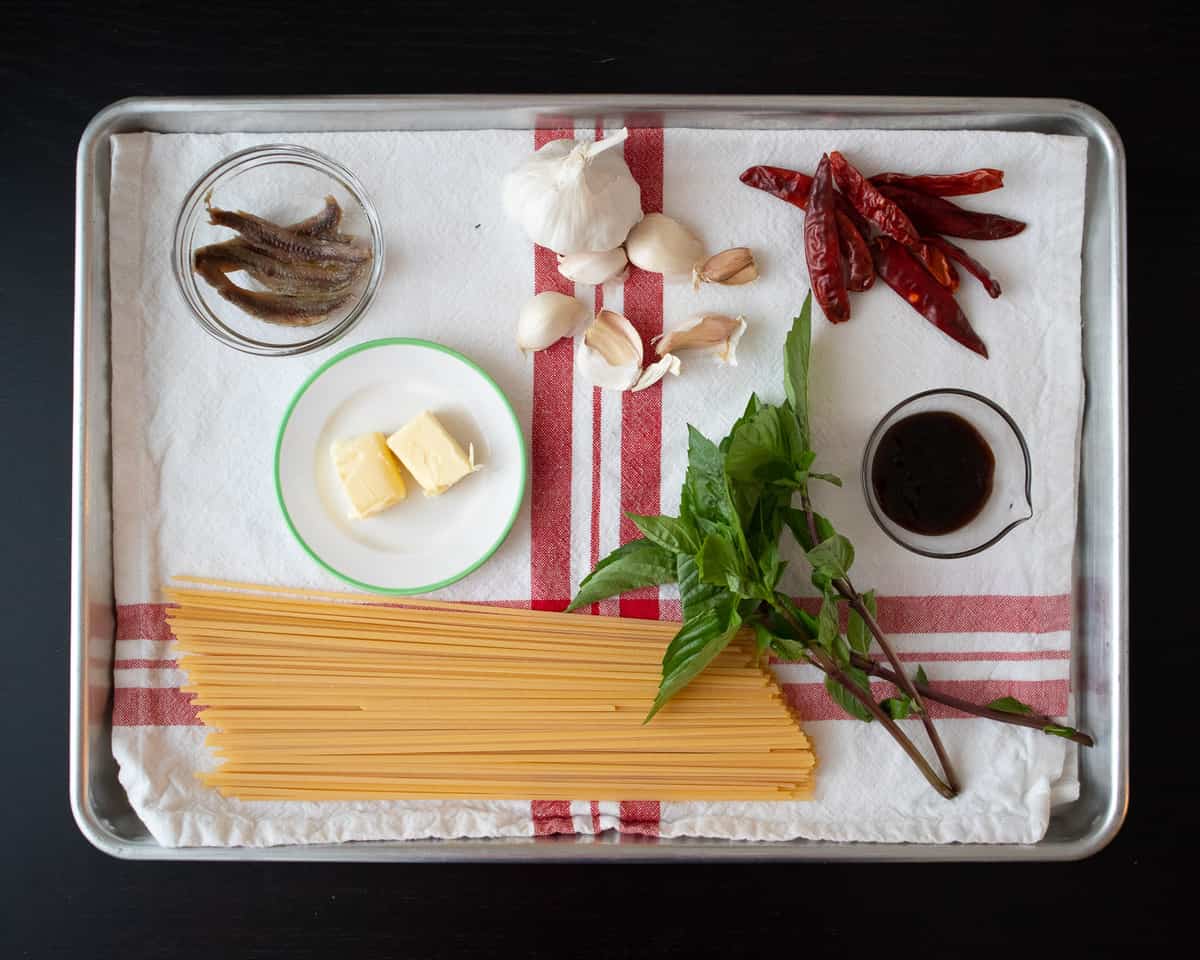
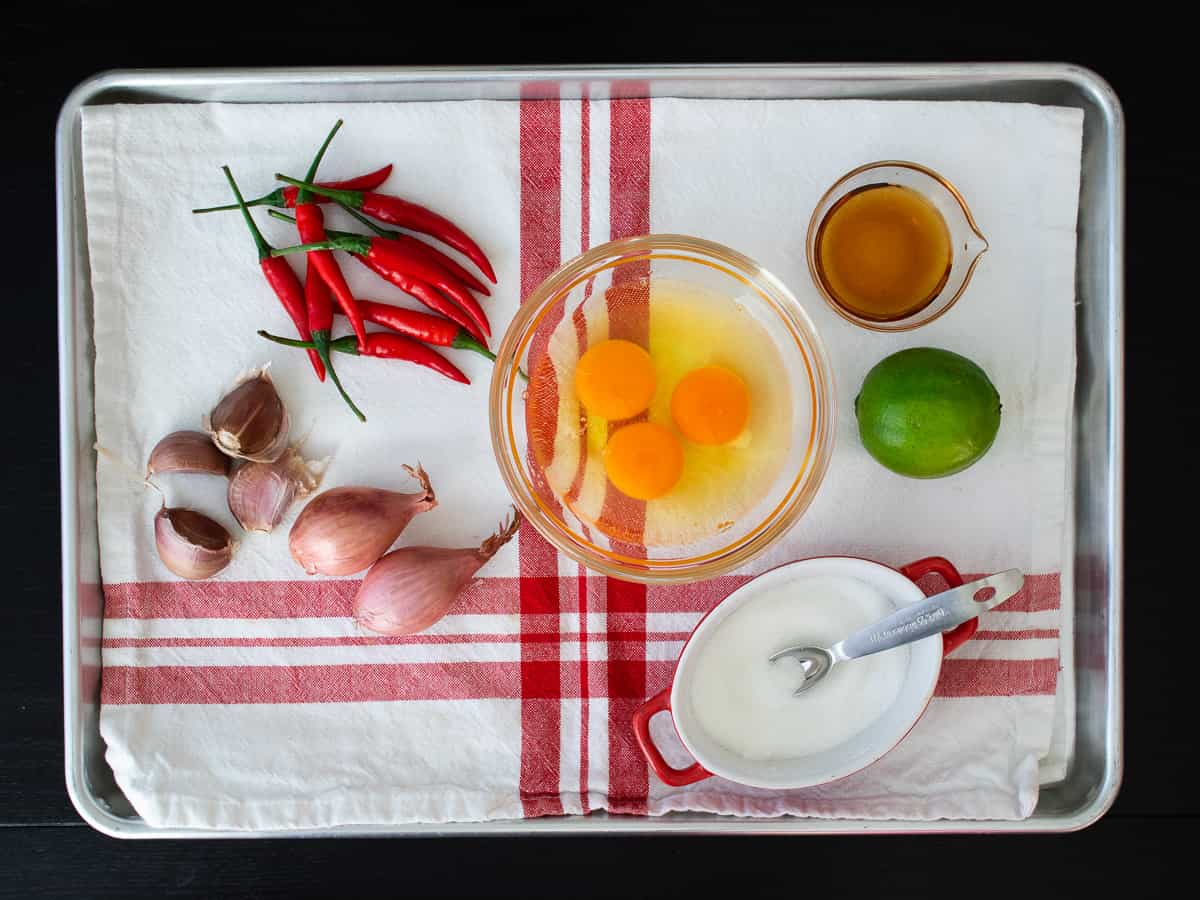
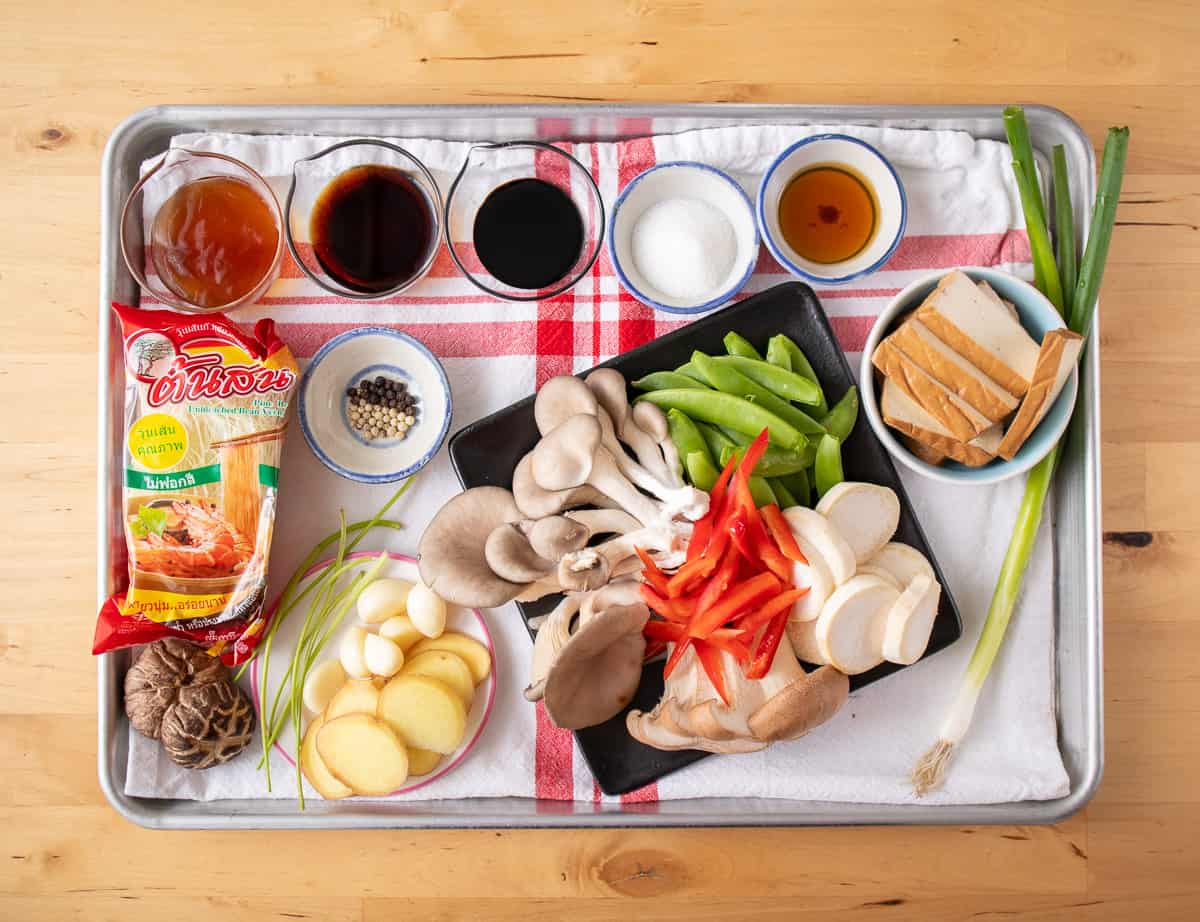
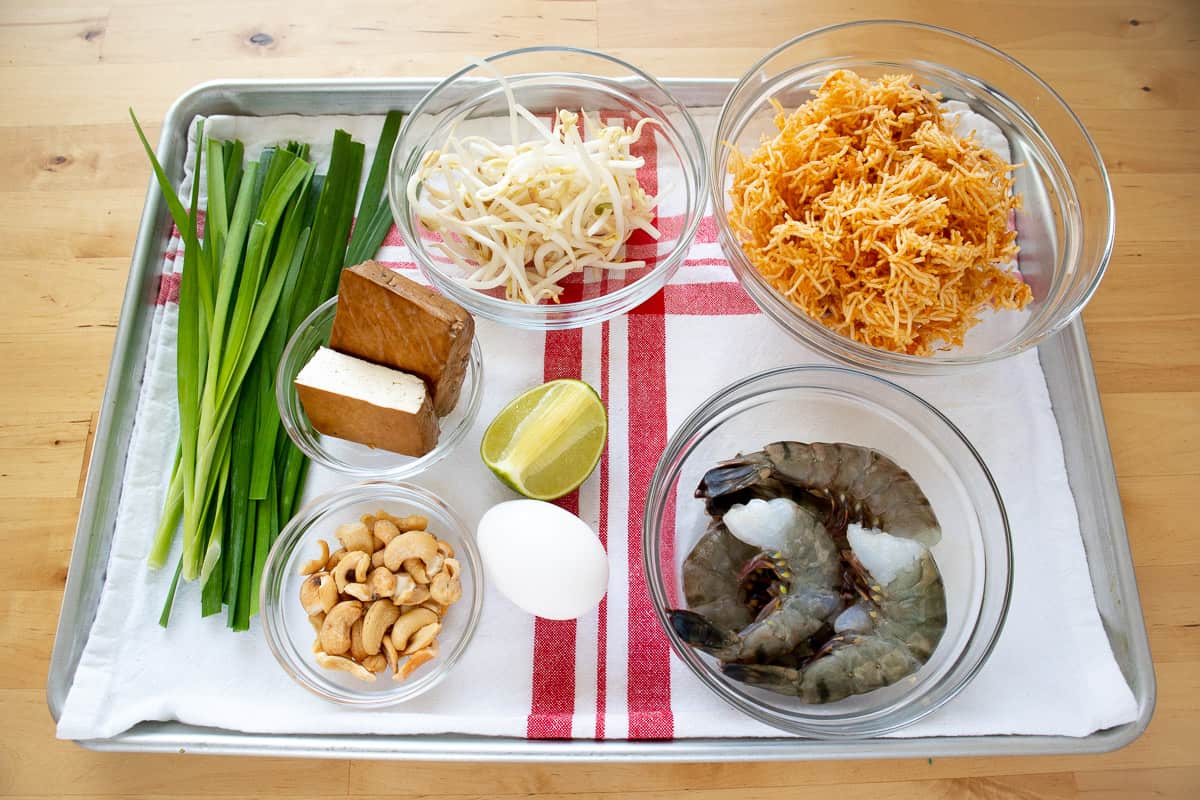
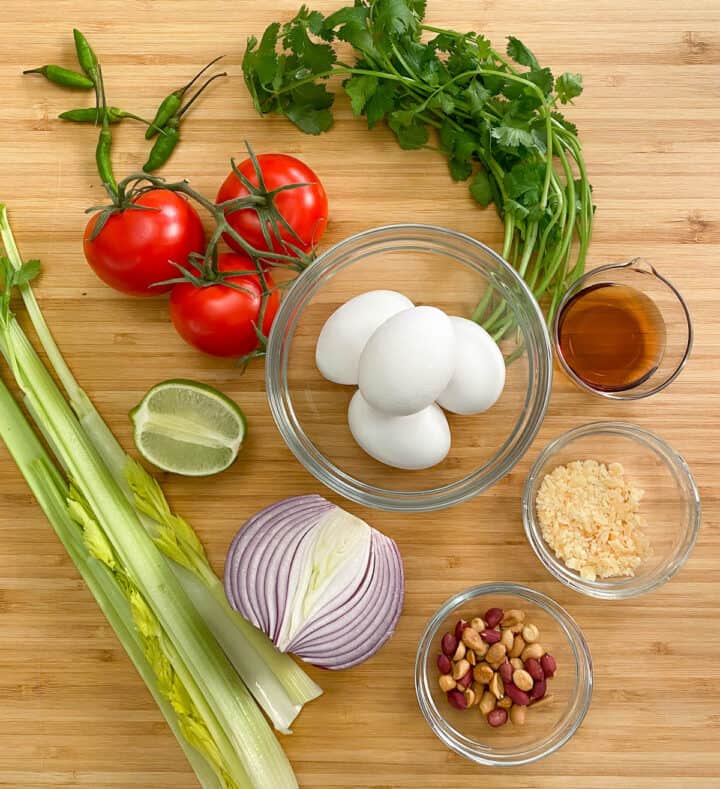
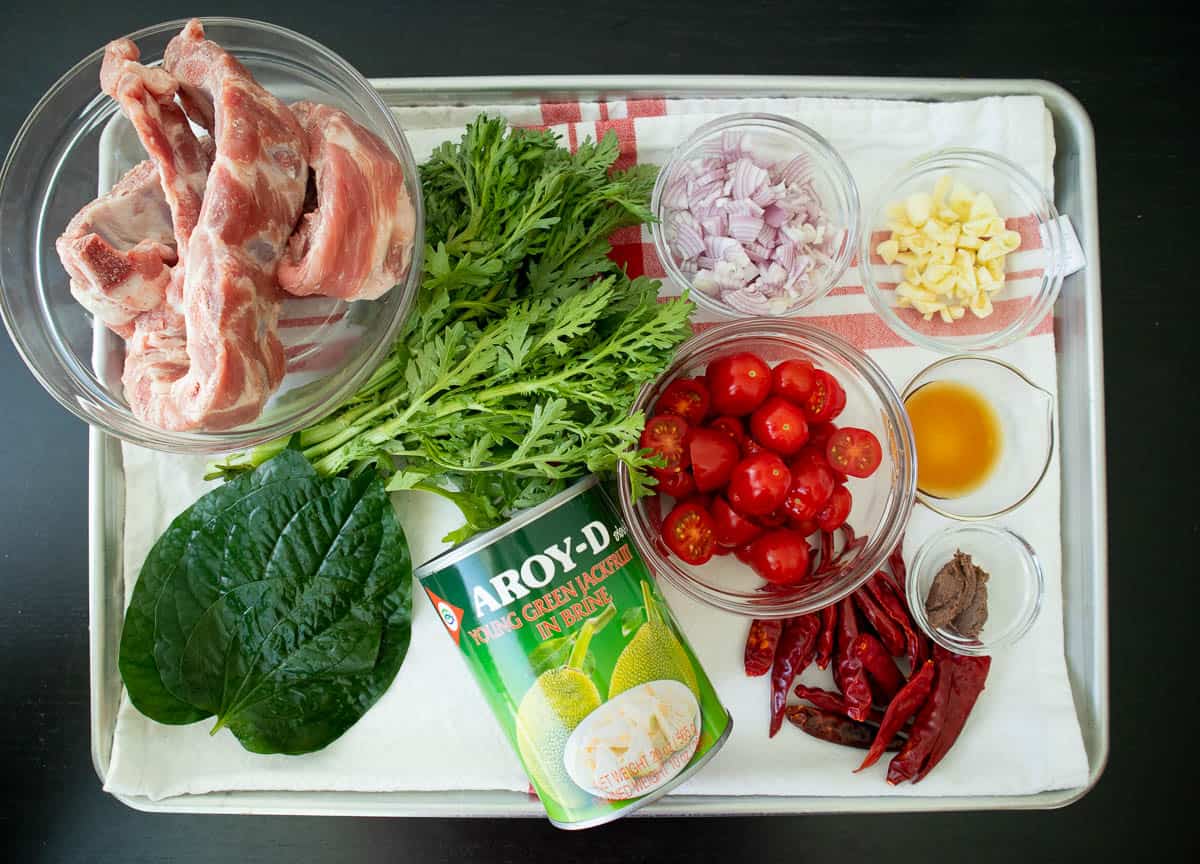
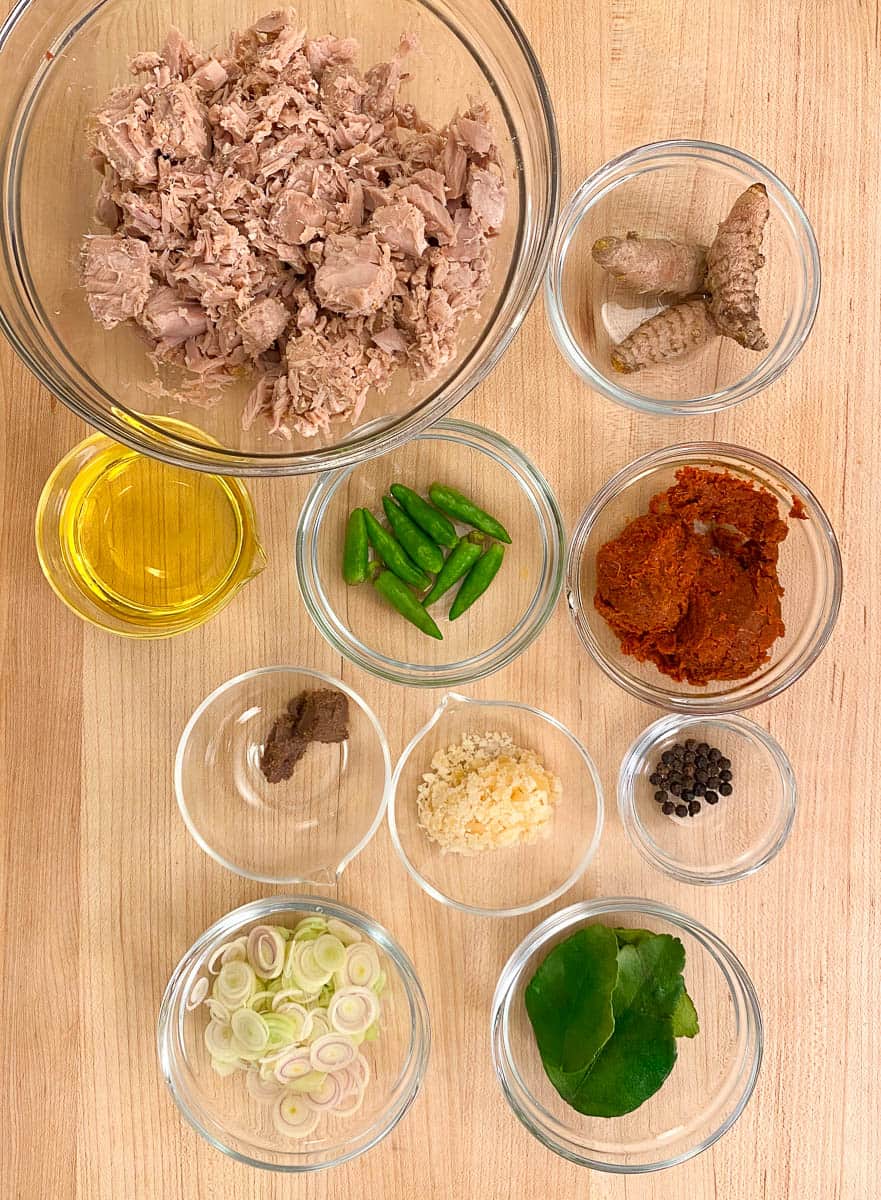
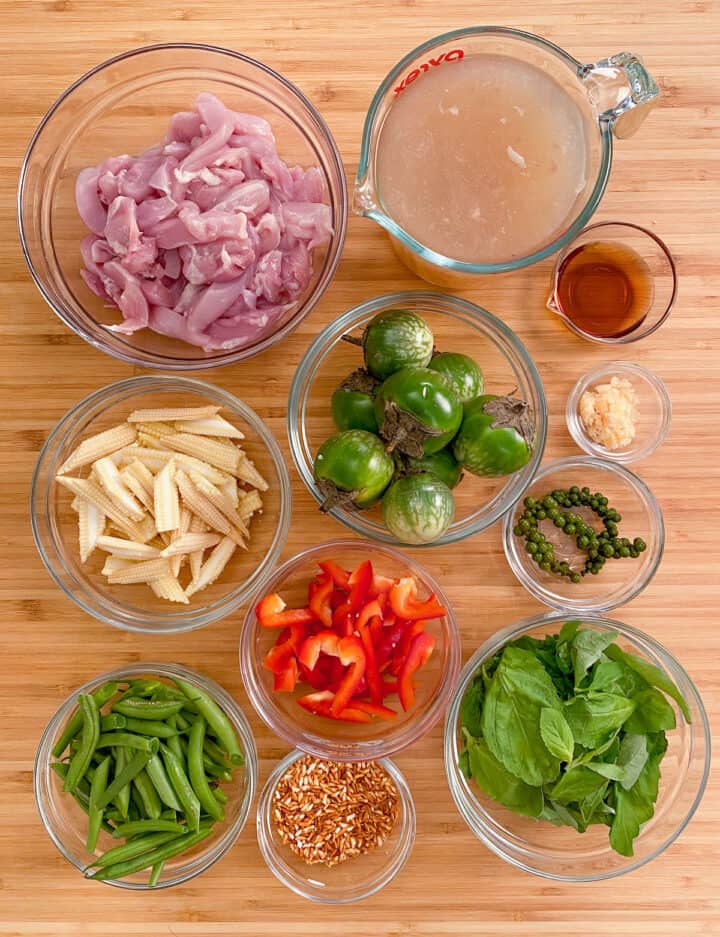
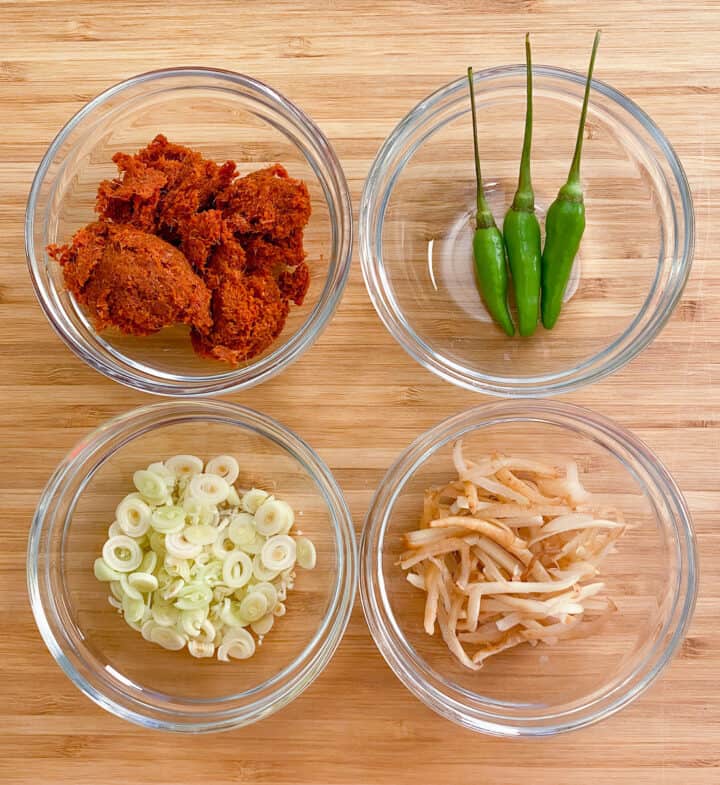
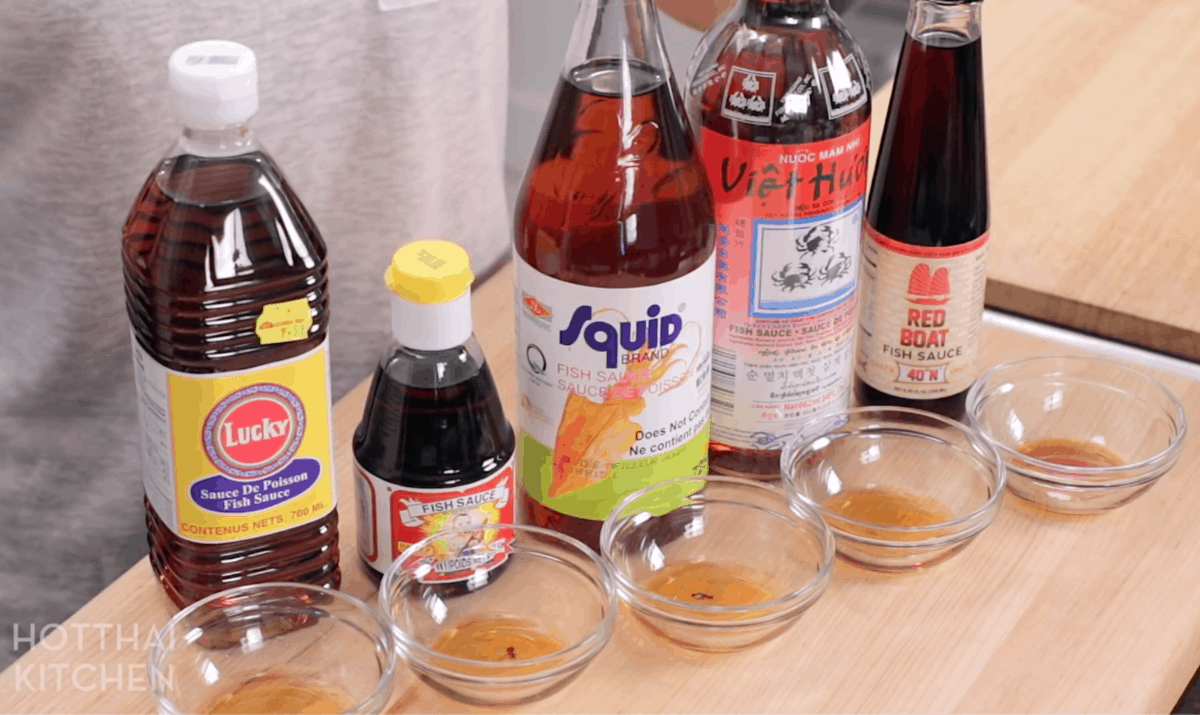
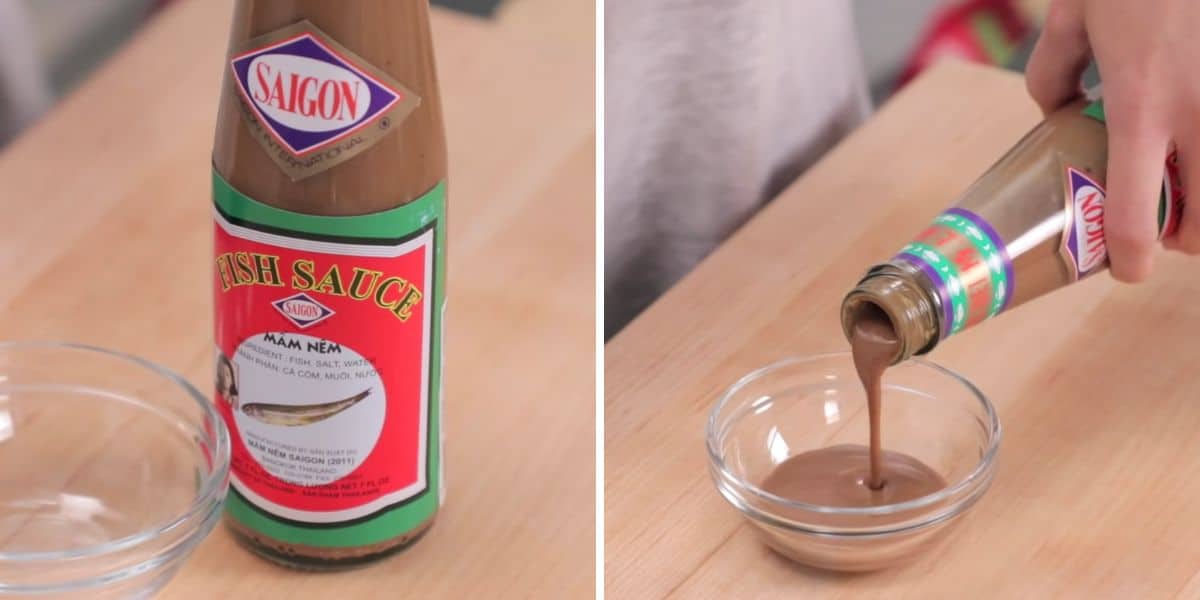
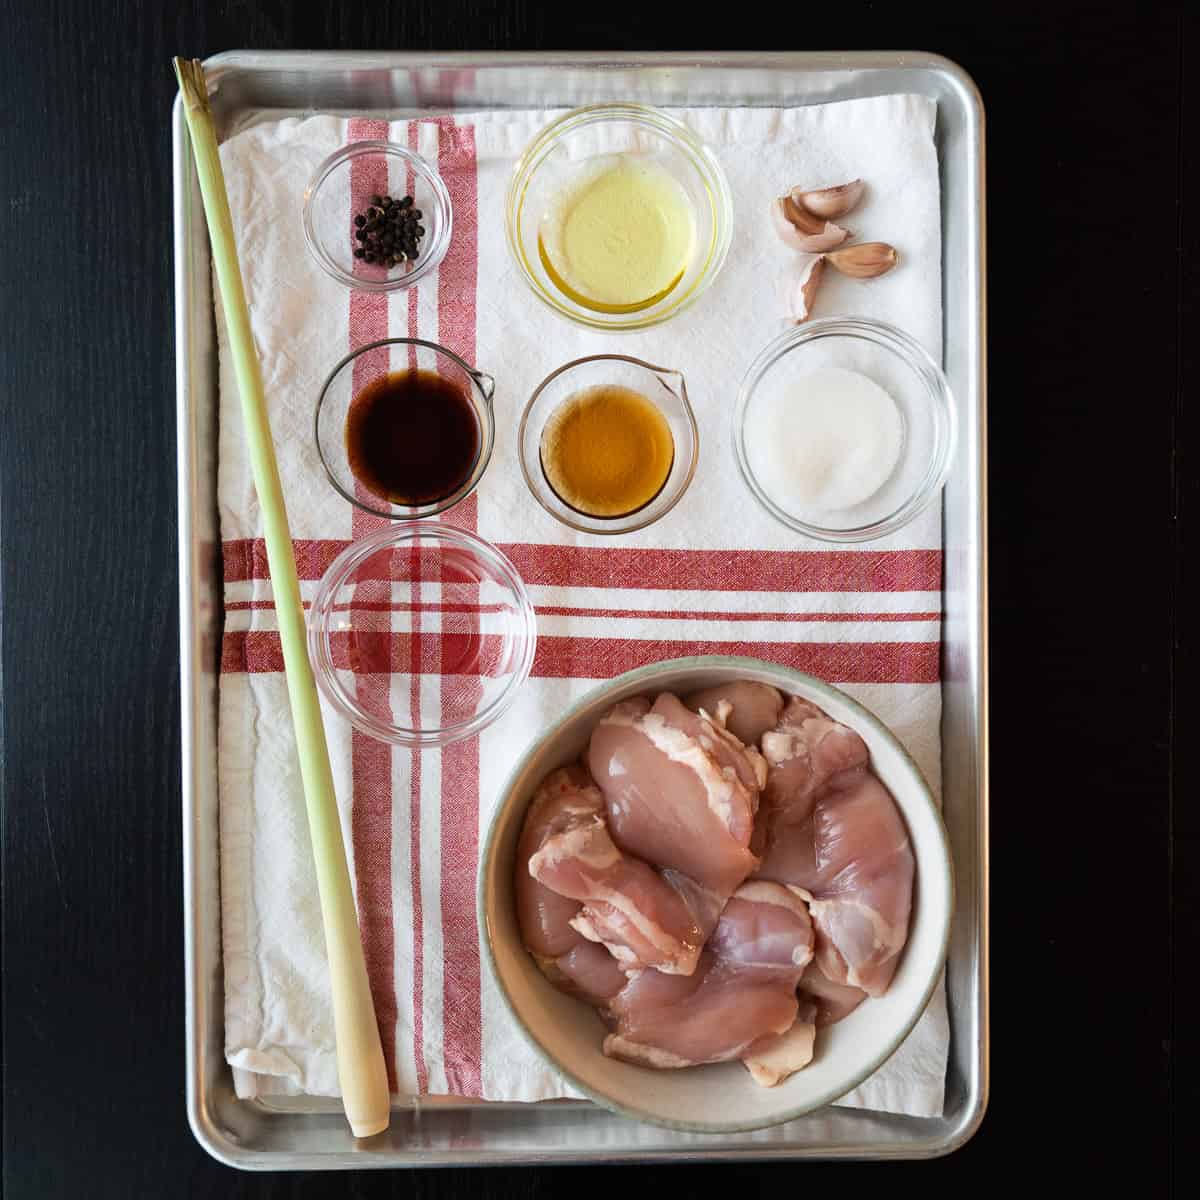
Ingredients You'll Need
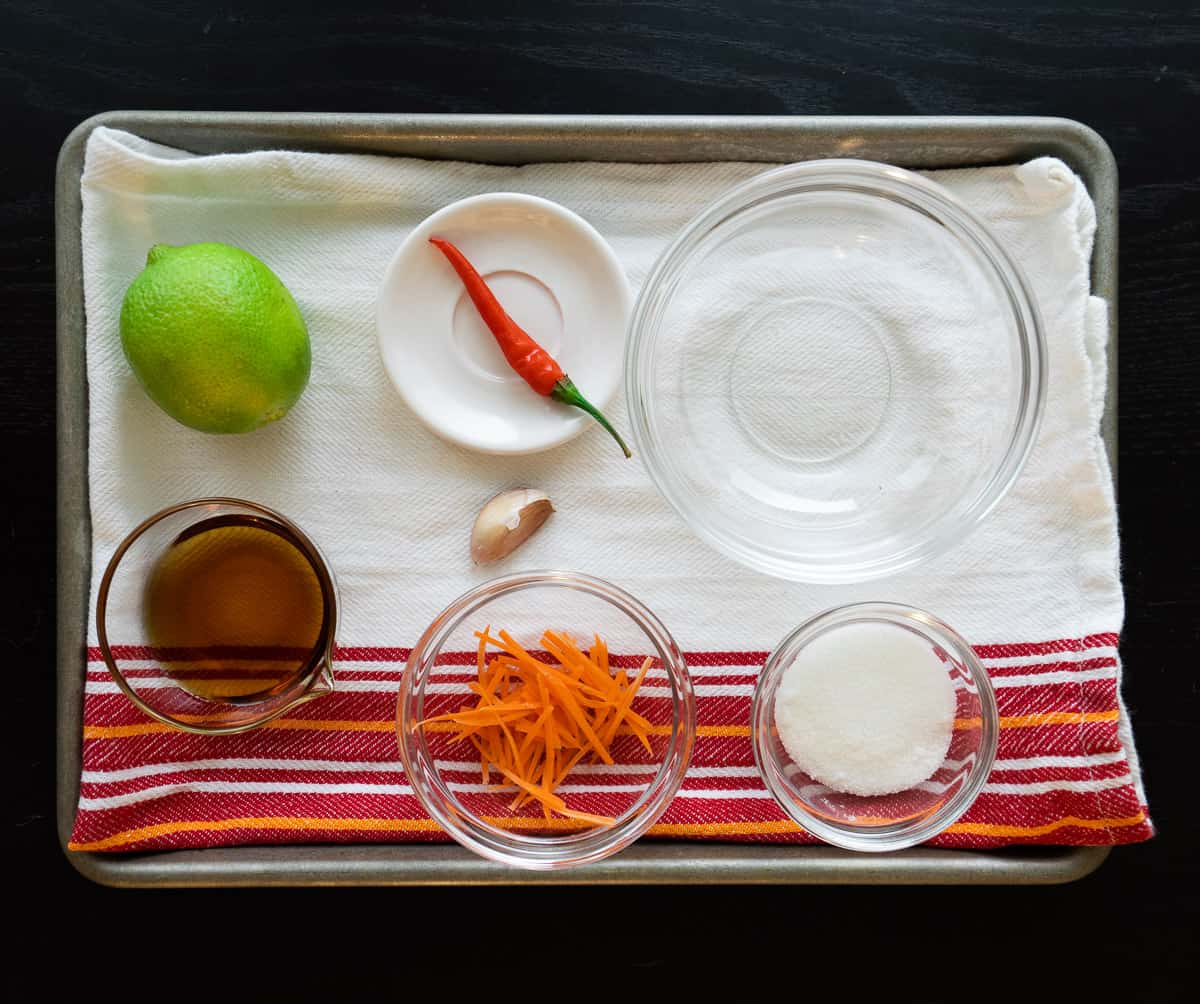
Here are all the ingredients you'll need, first for the lemongrass chicken, and then for the nước chấm dipping sauce.
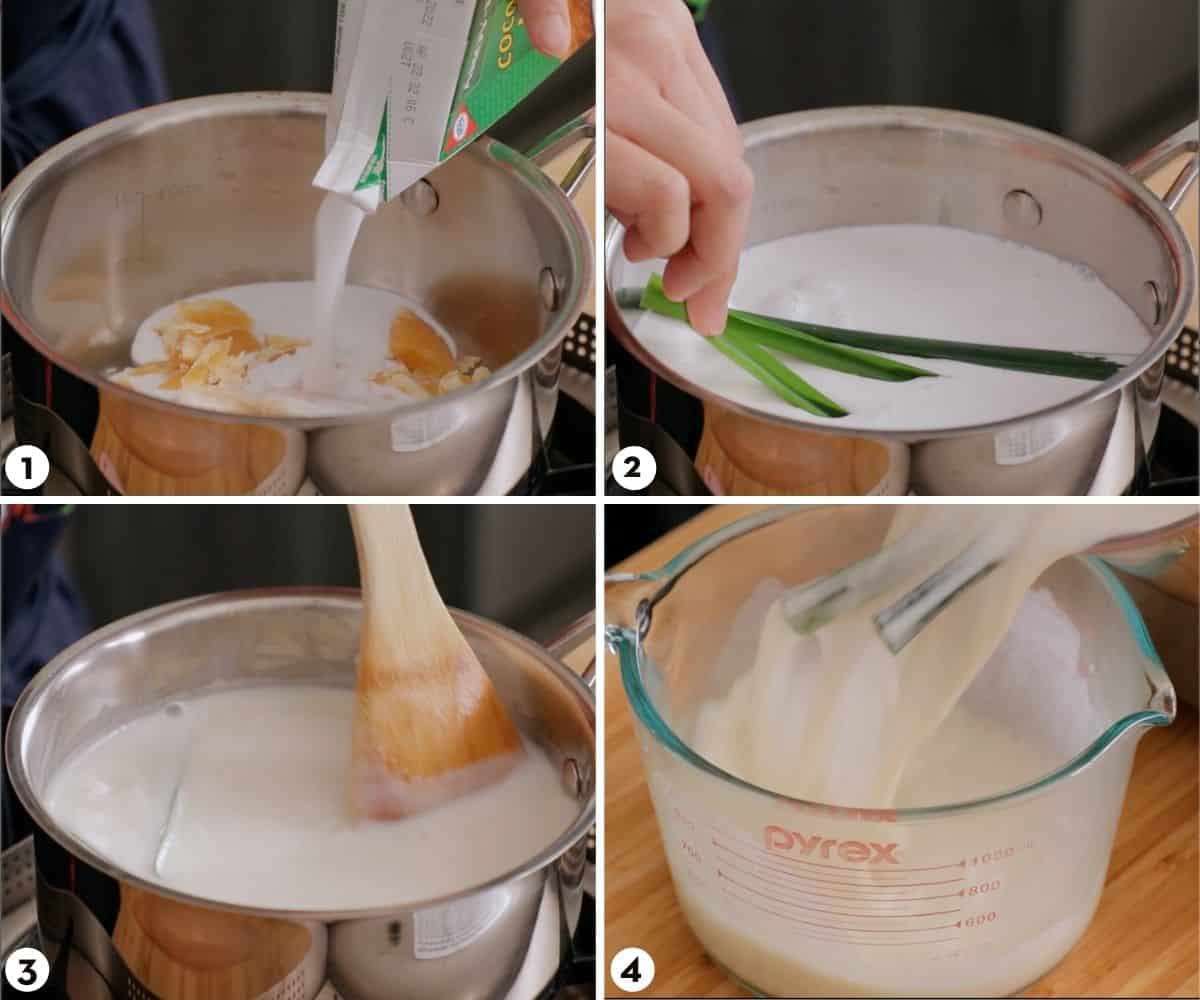
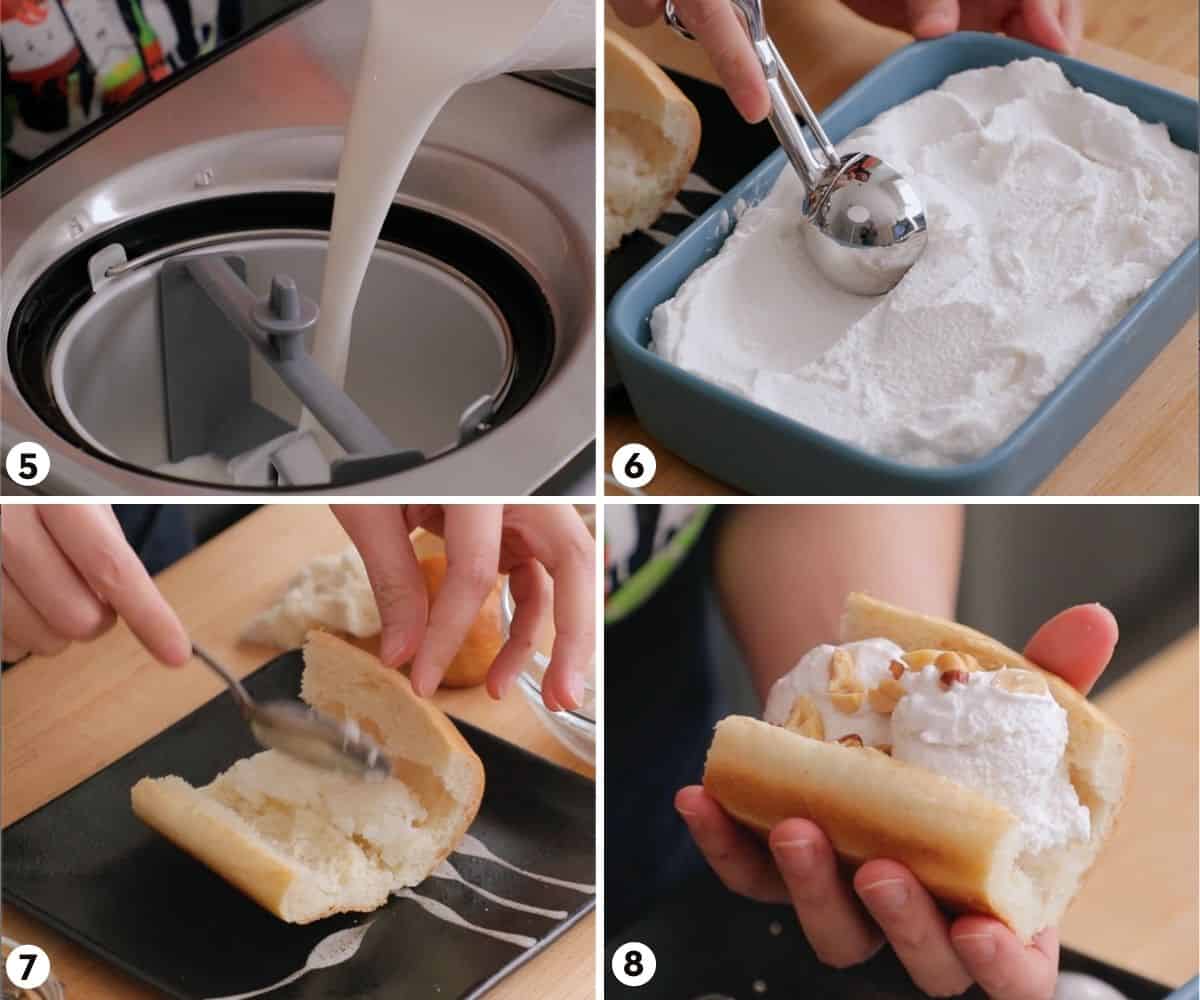
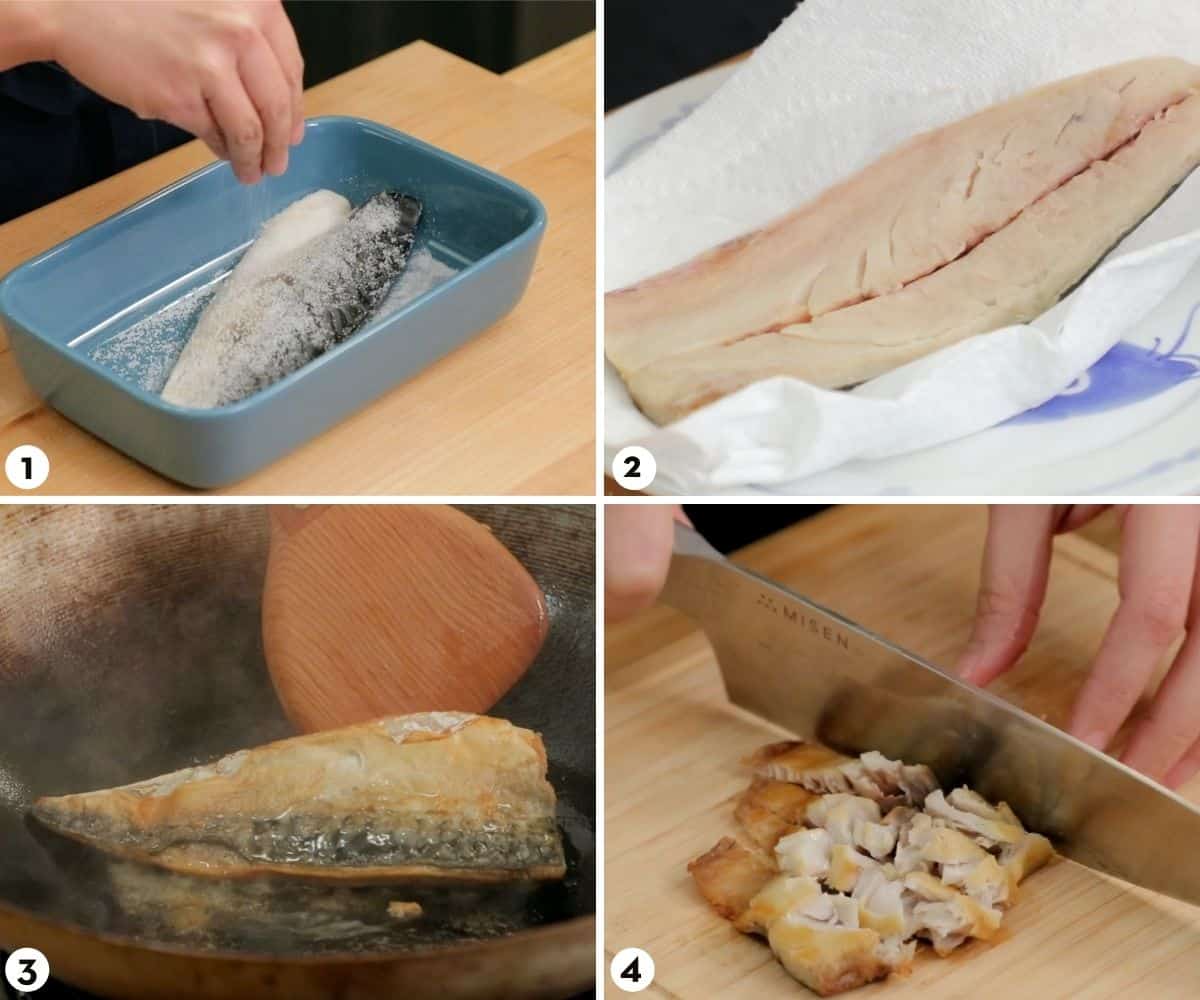
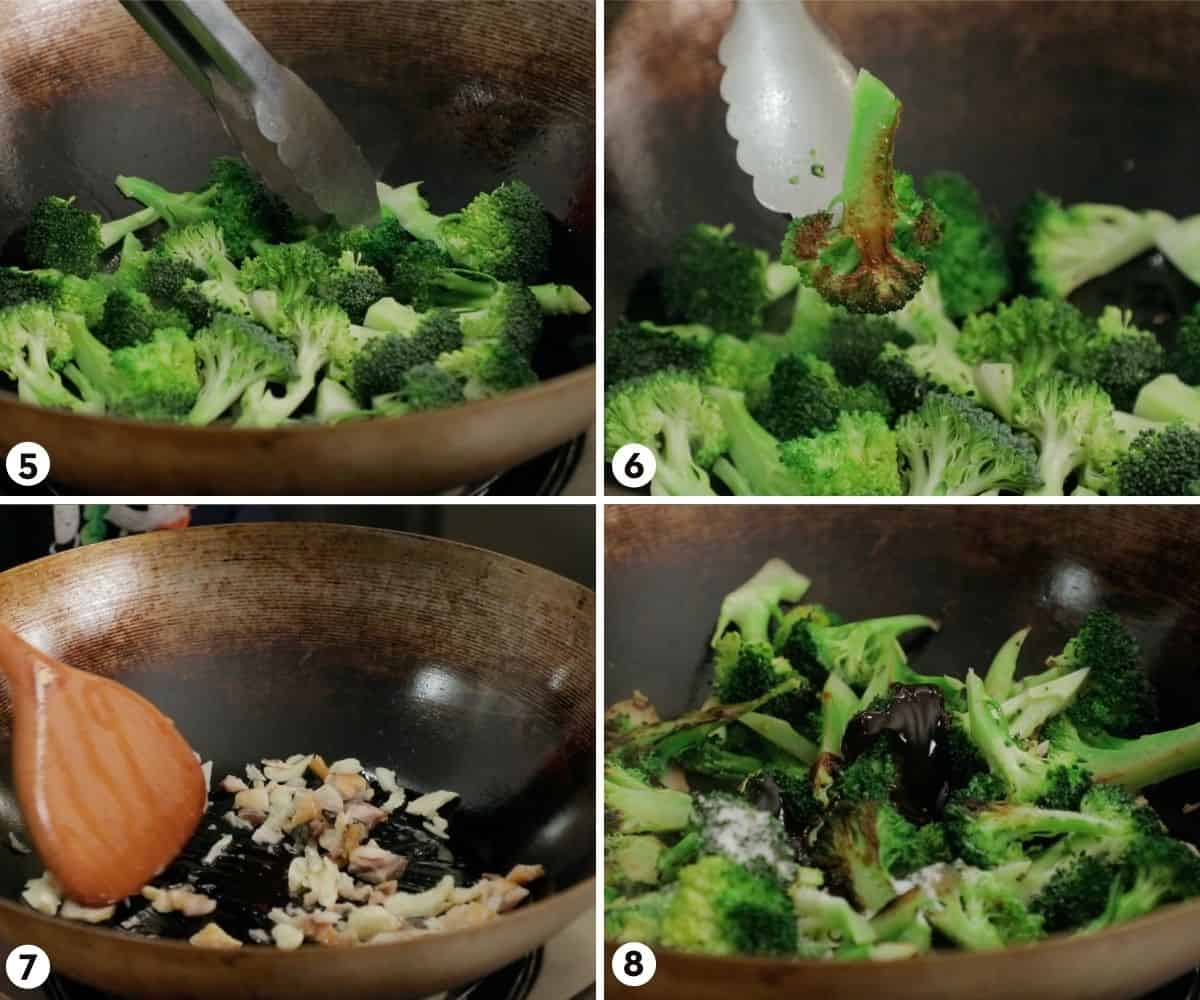
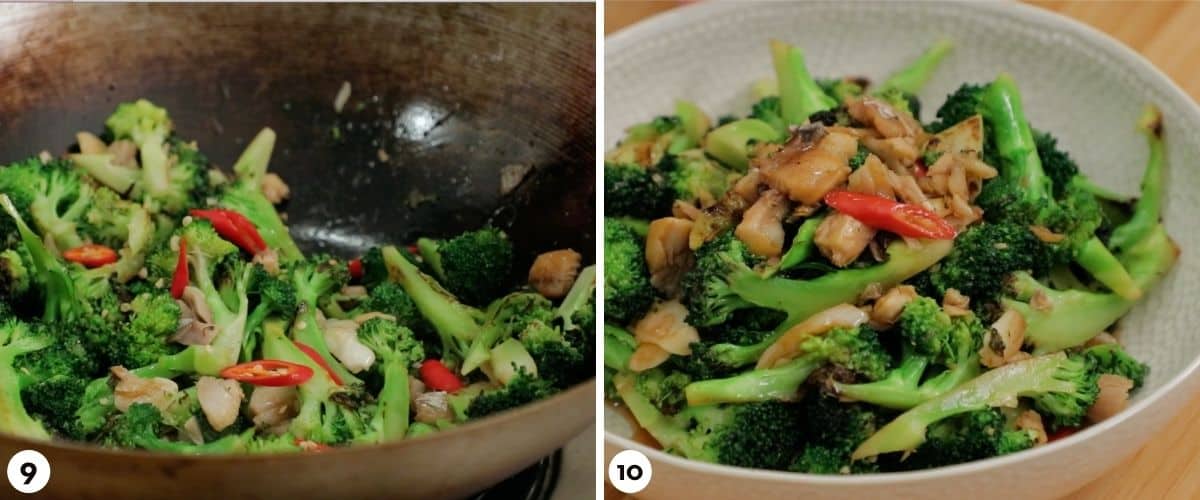
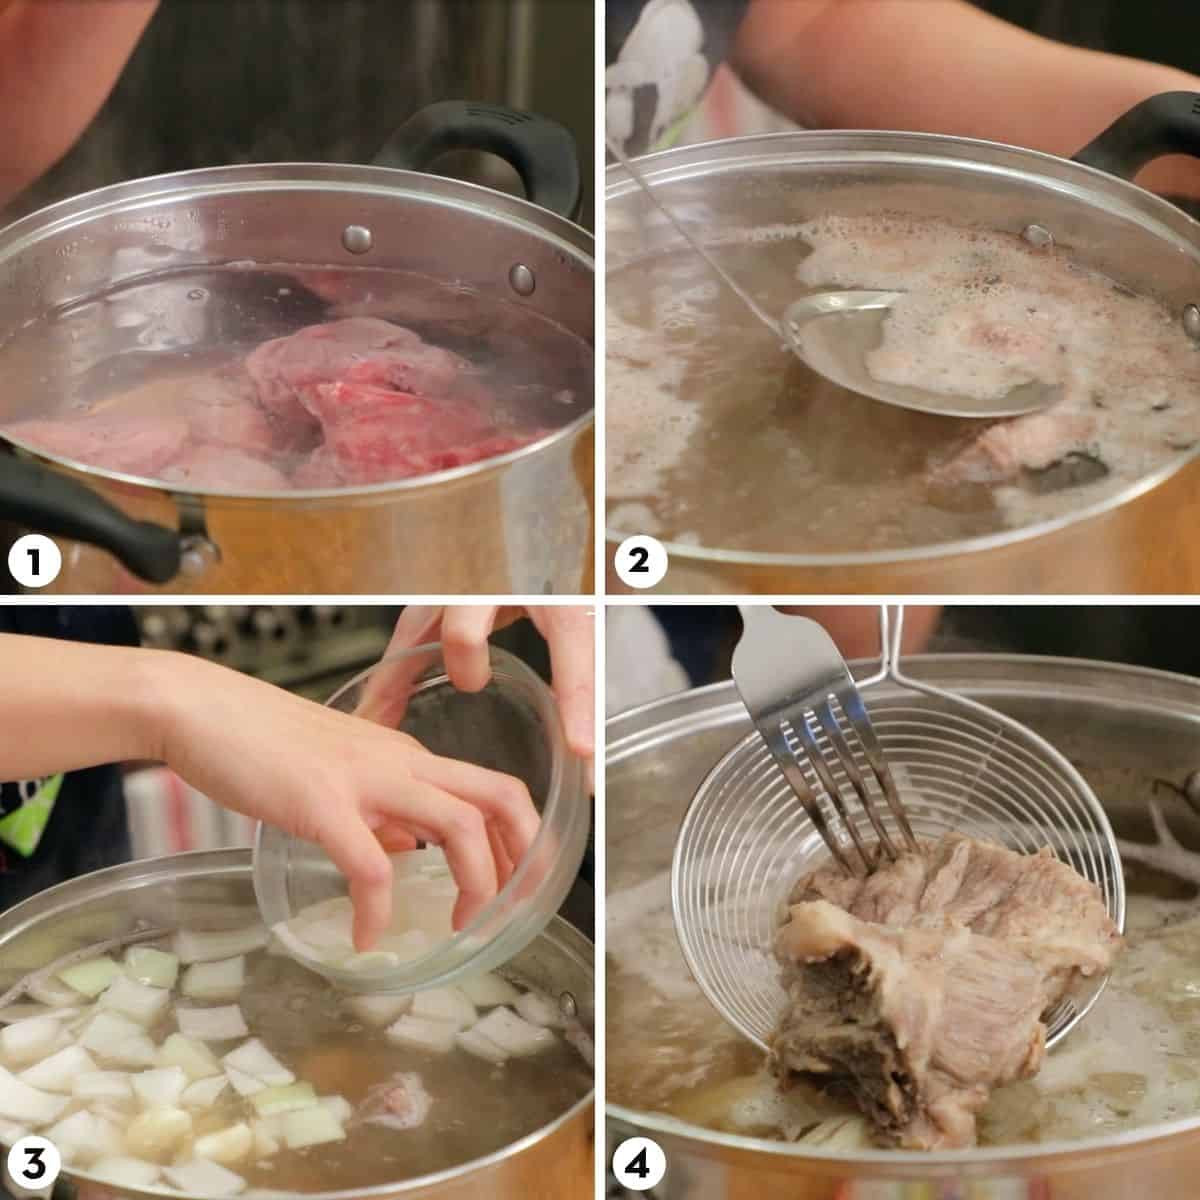
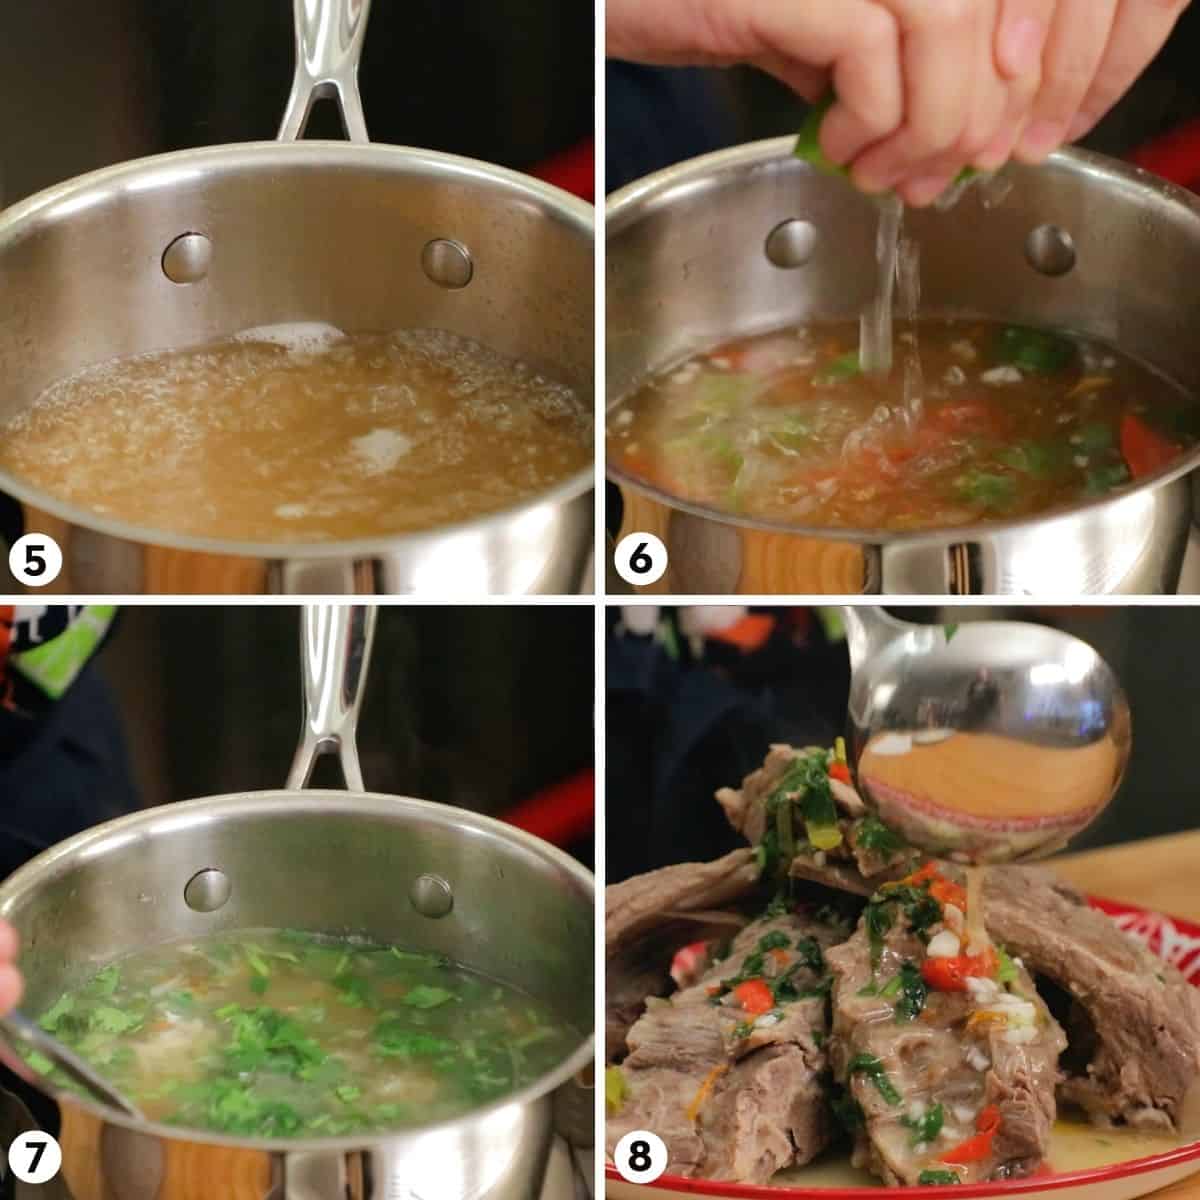
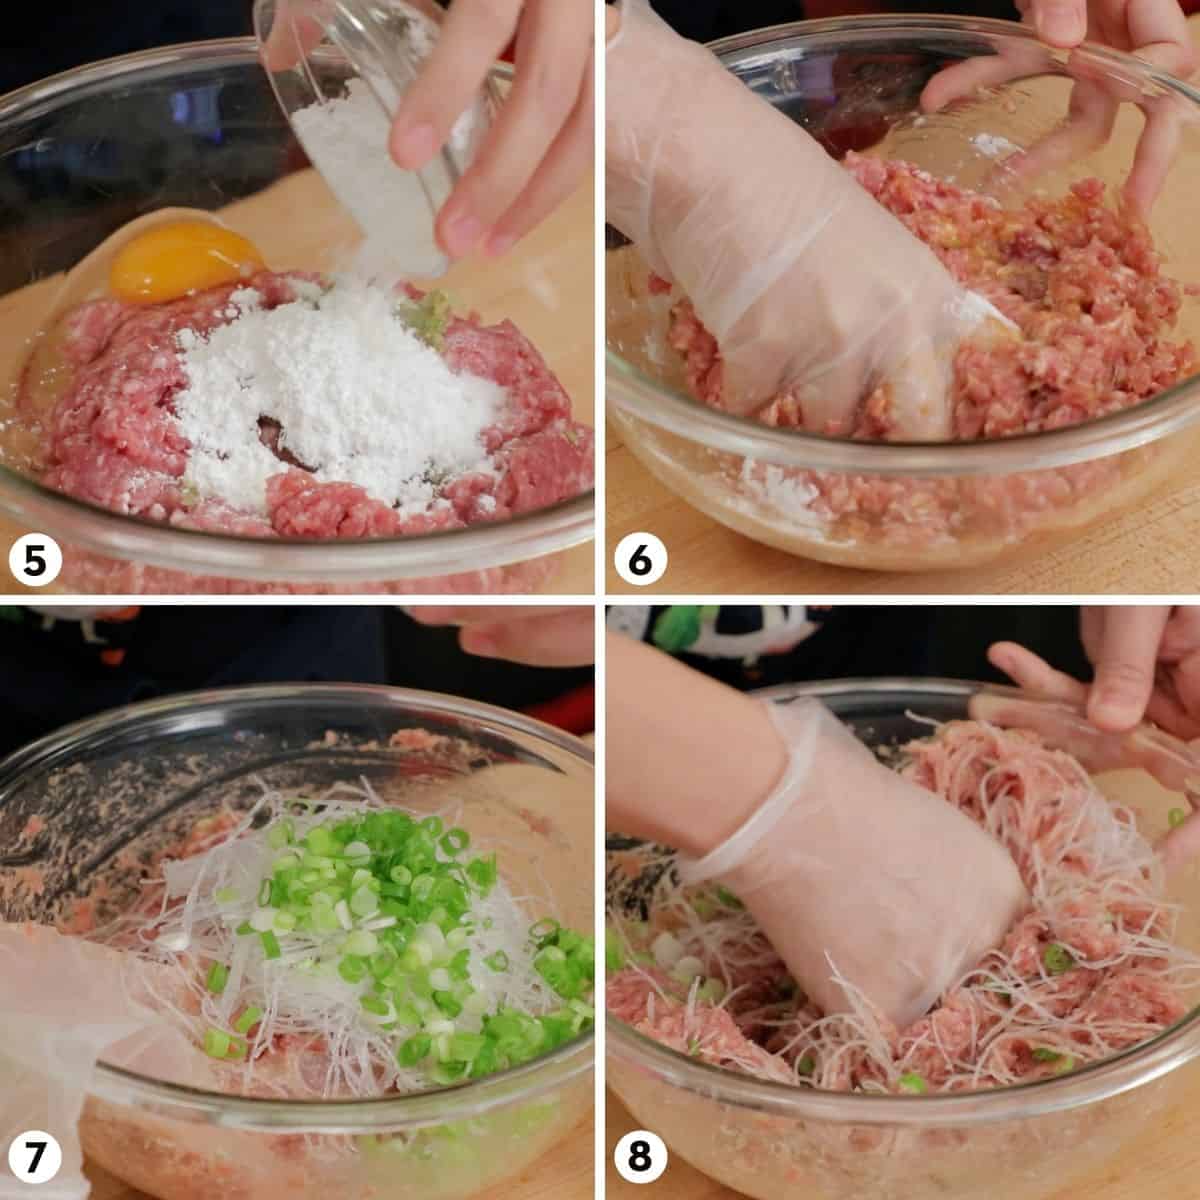
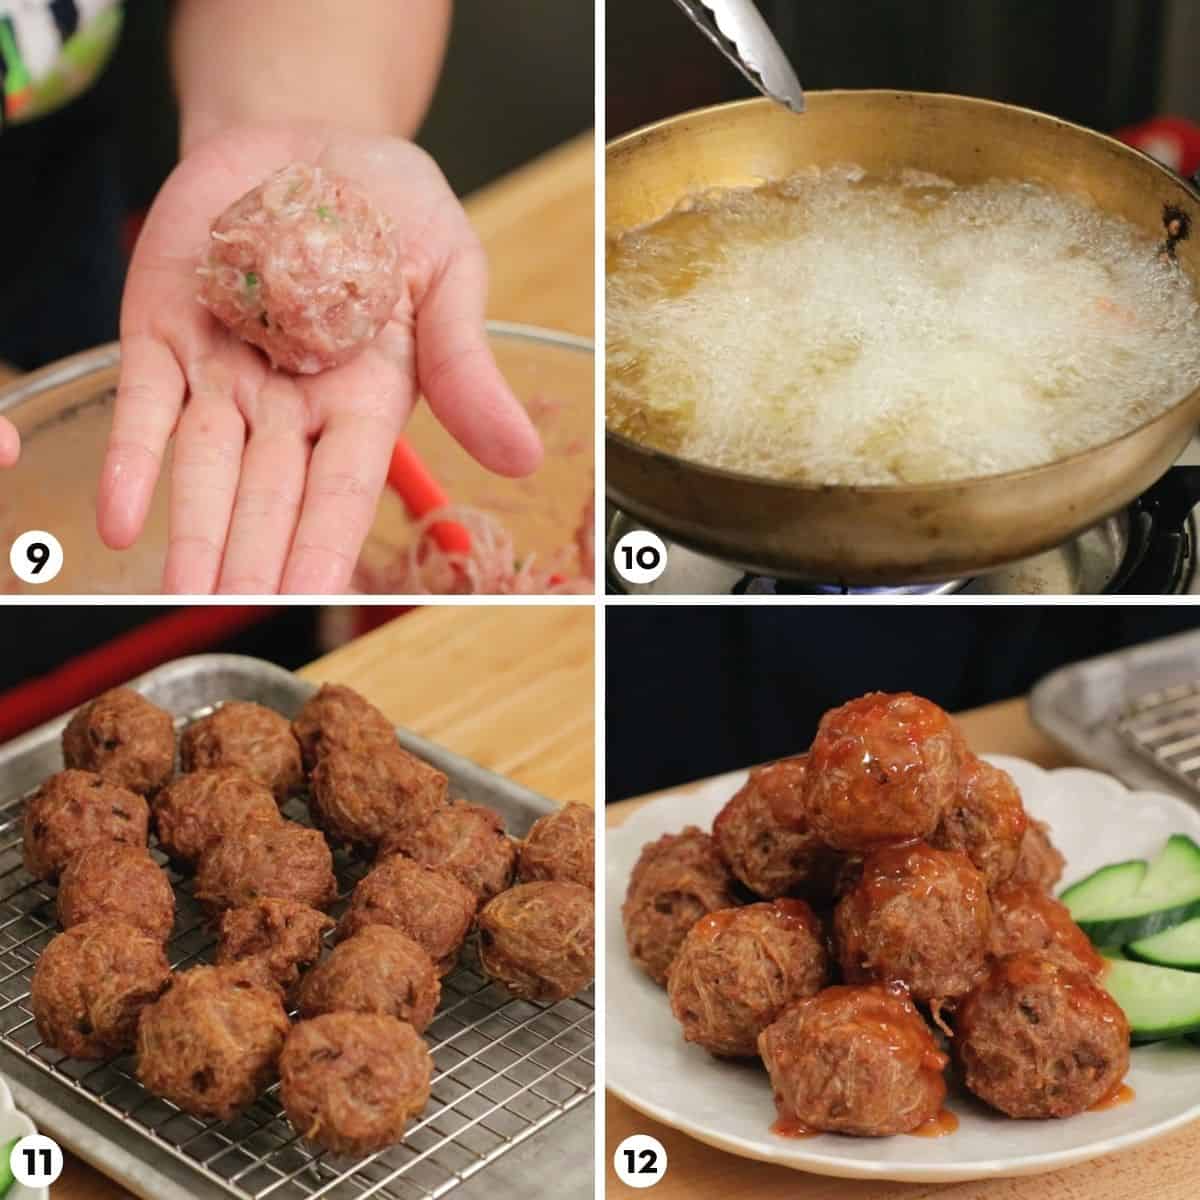
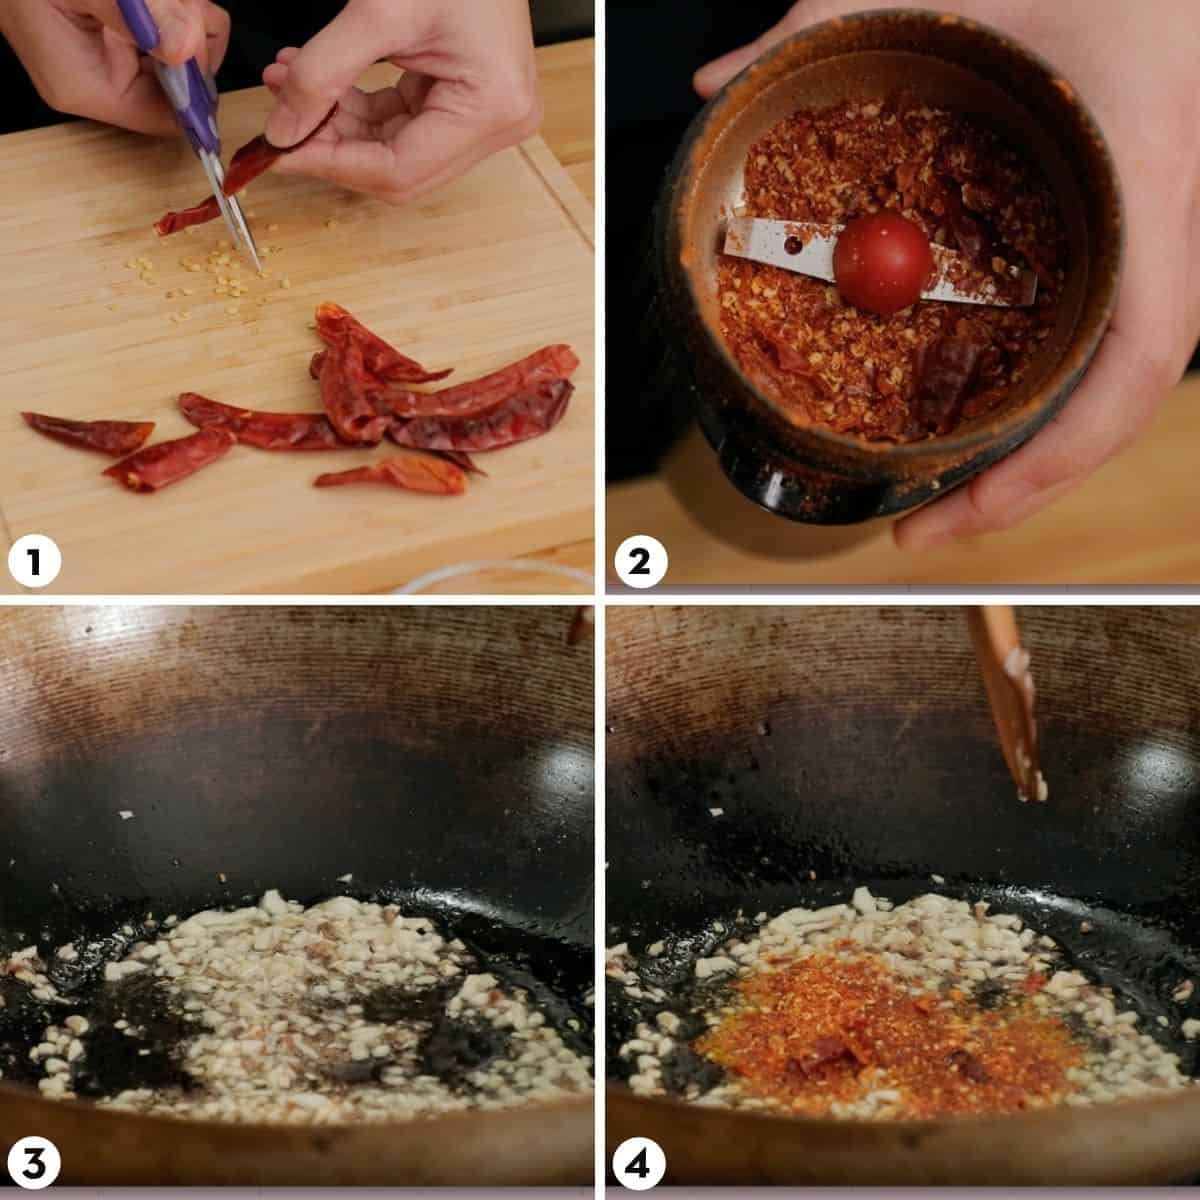
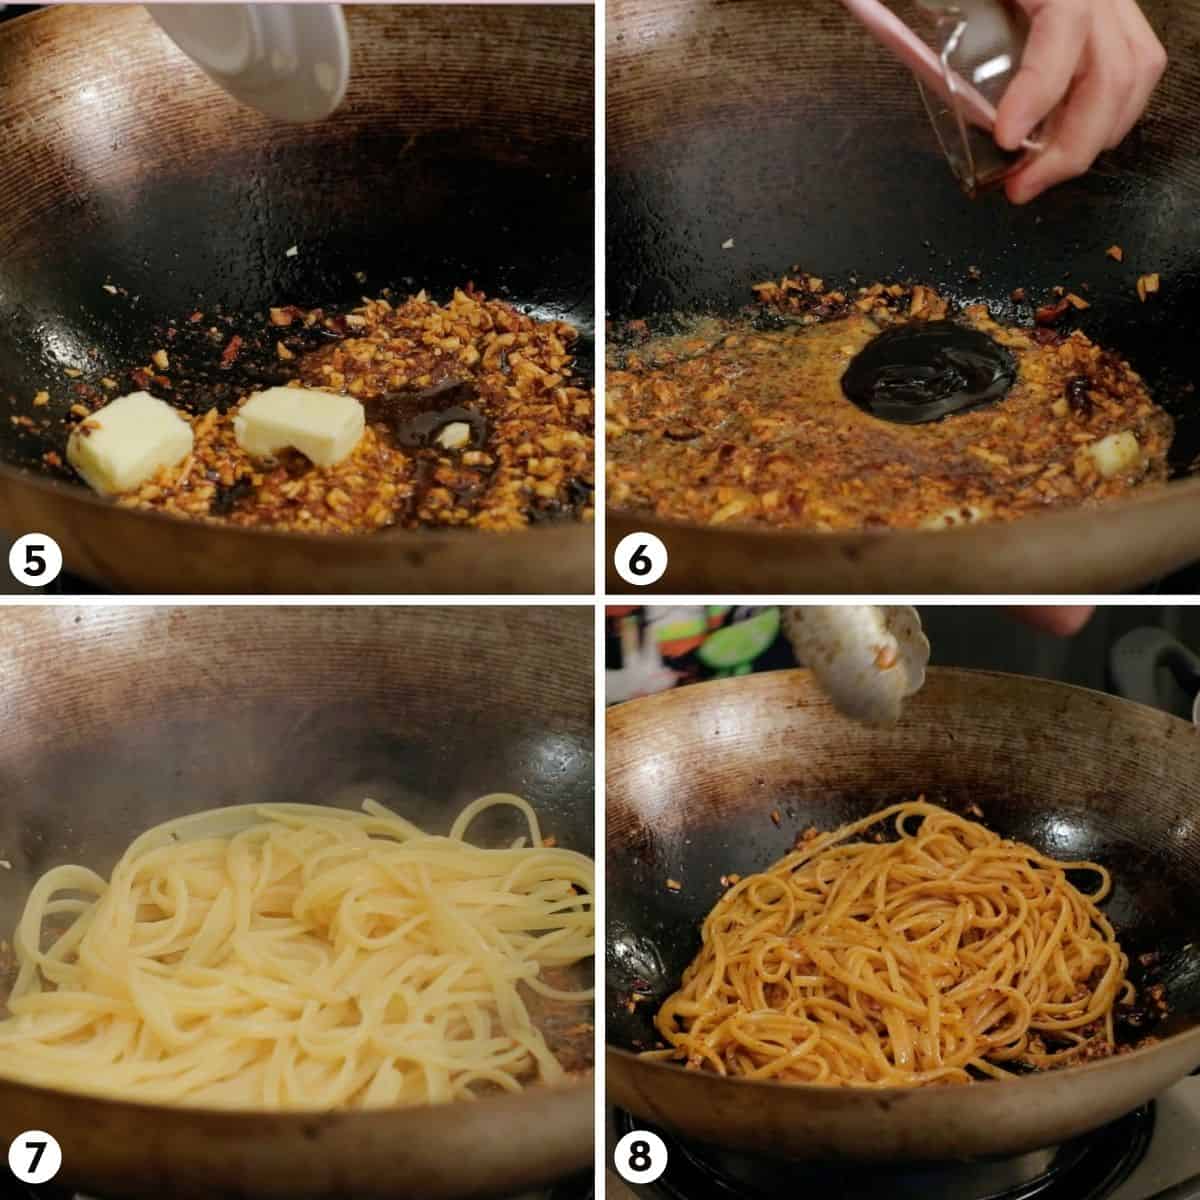
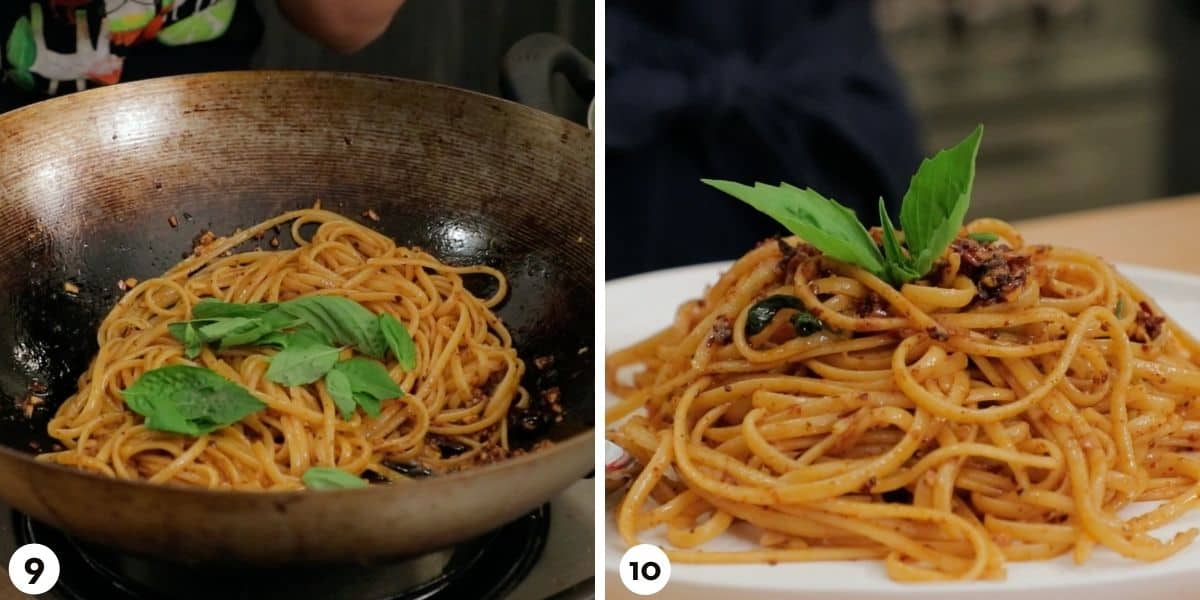
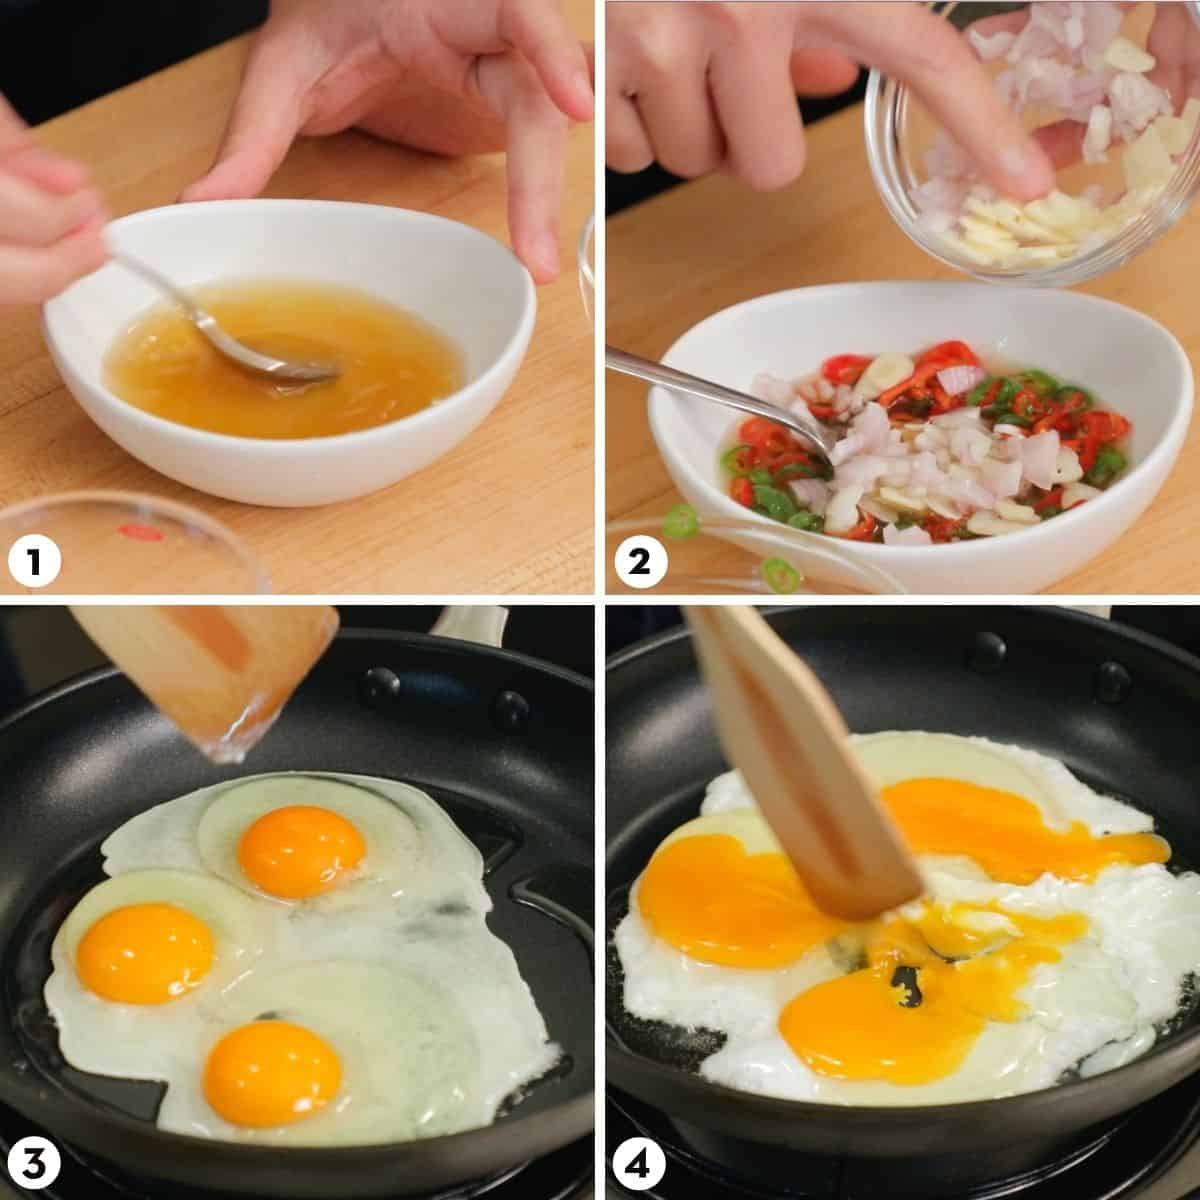
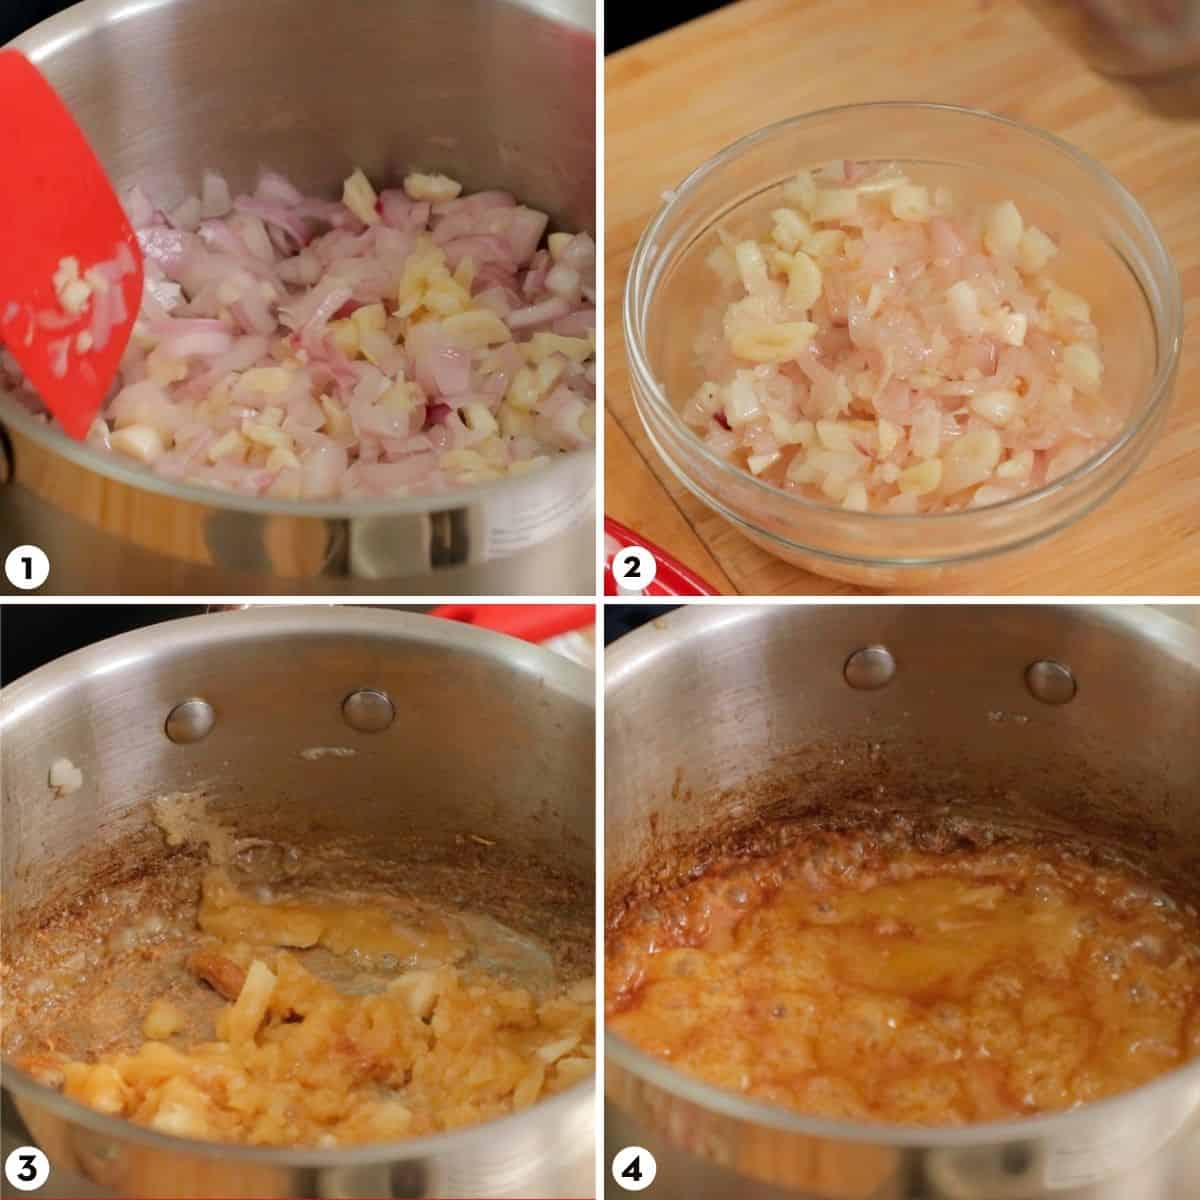
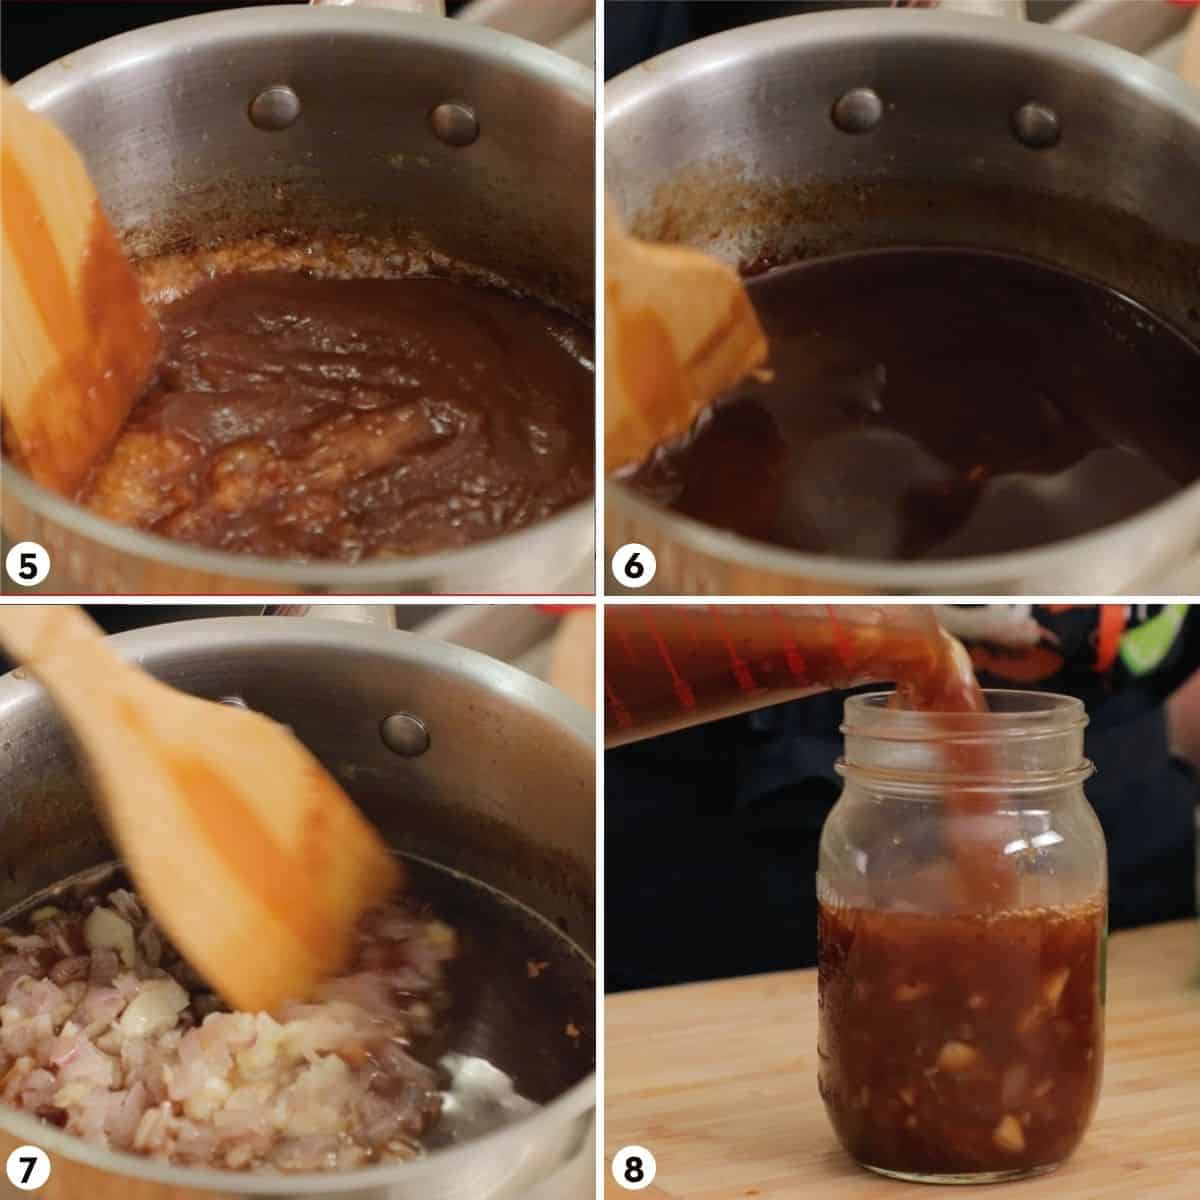
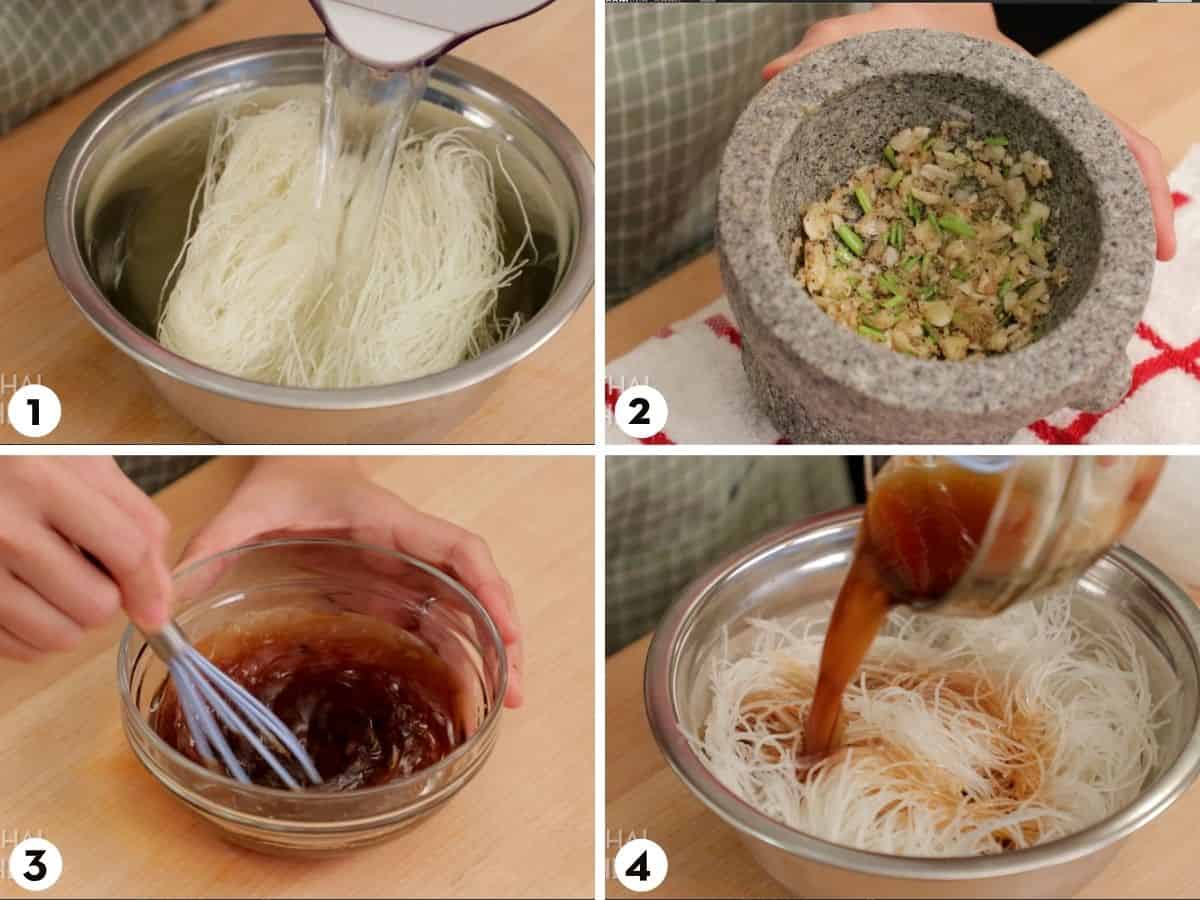
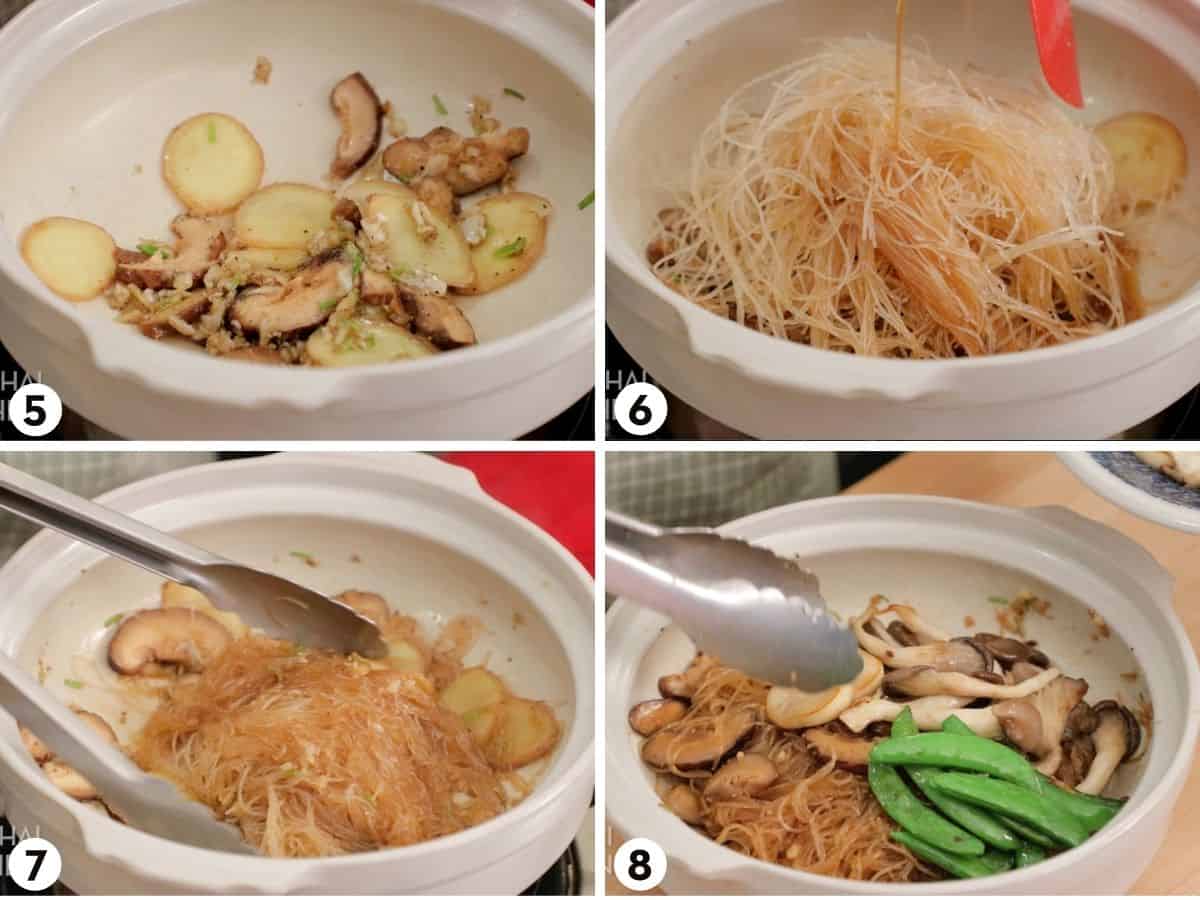
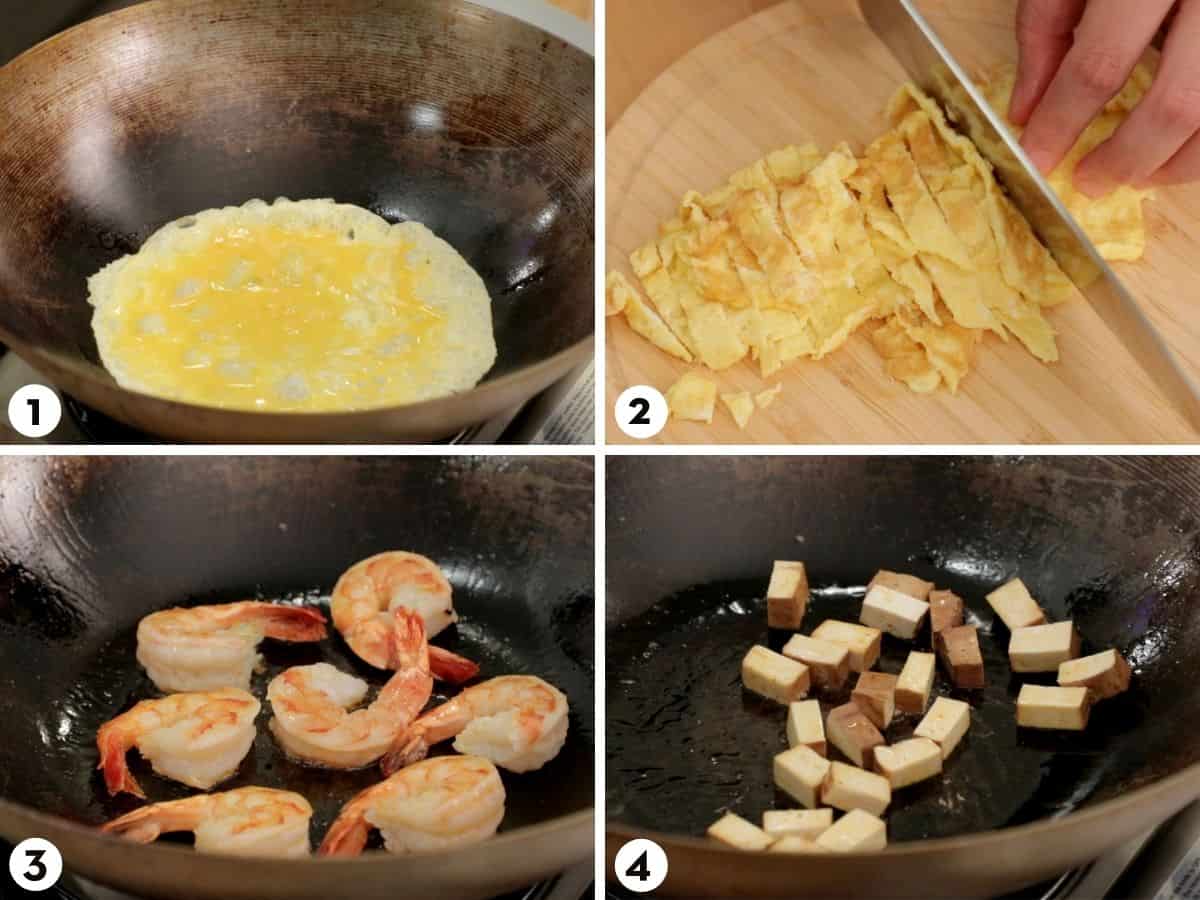
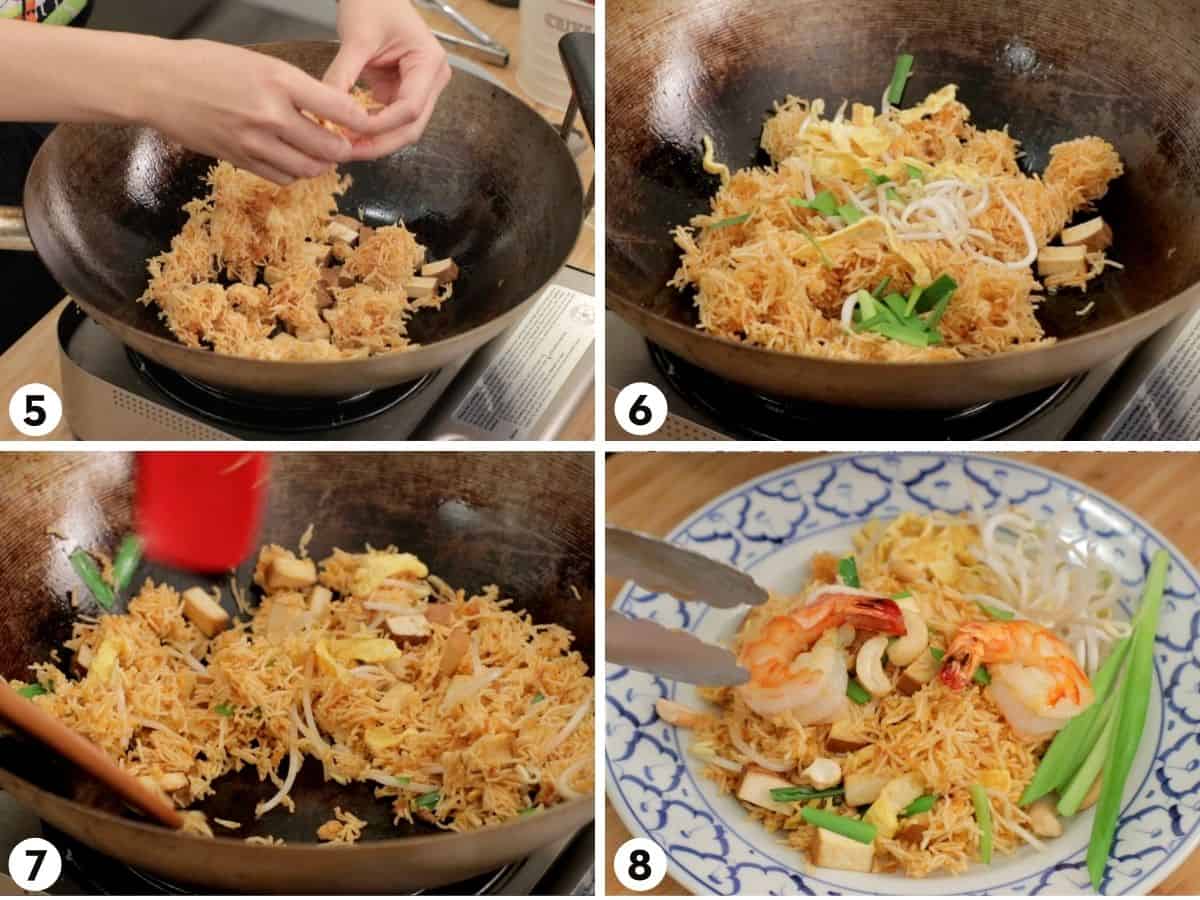
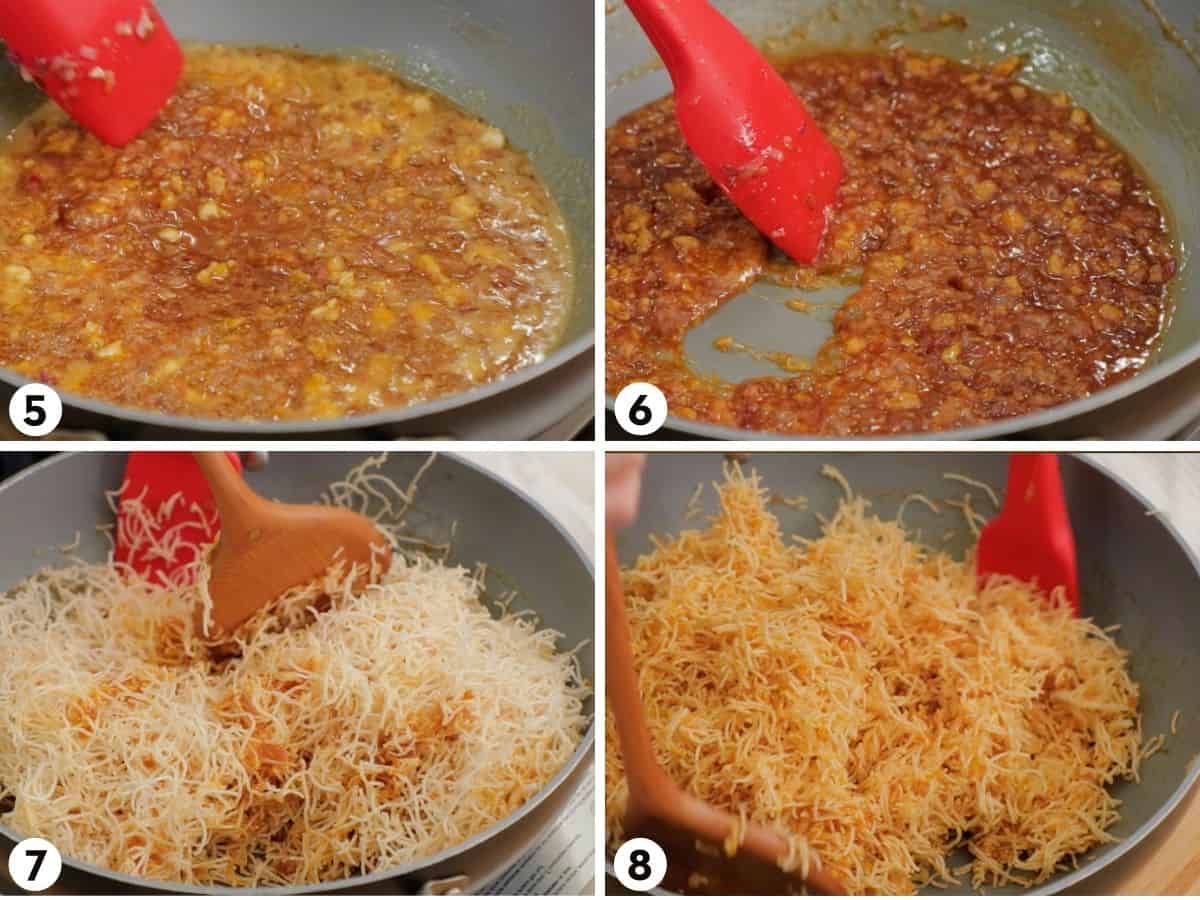
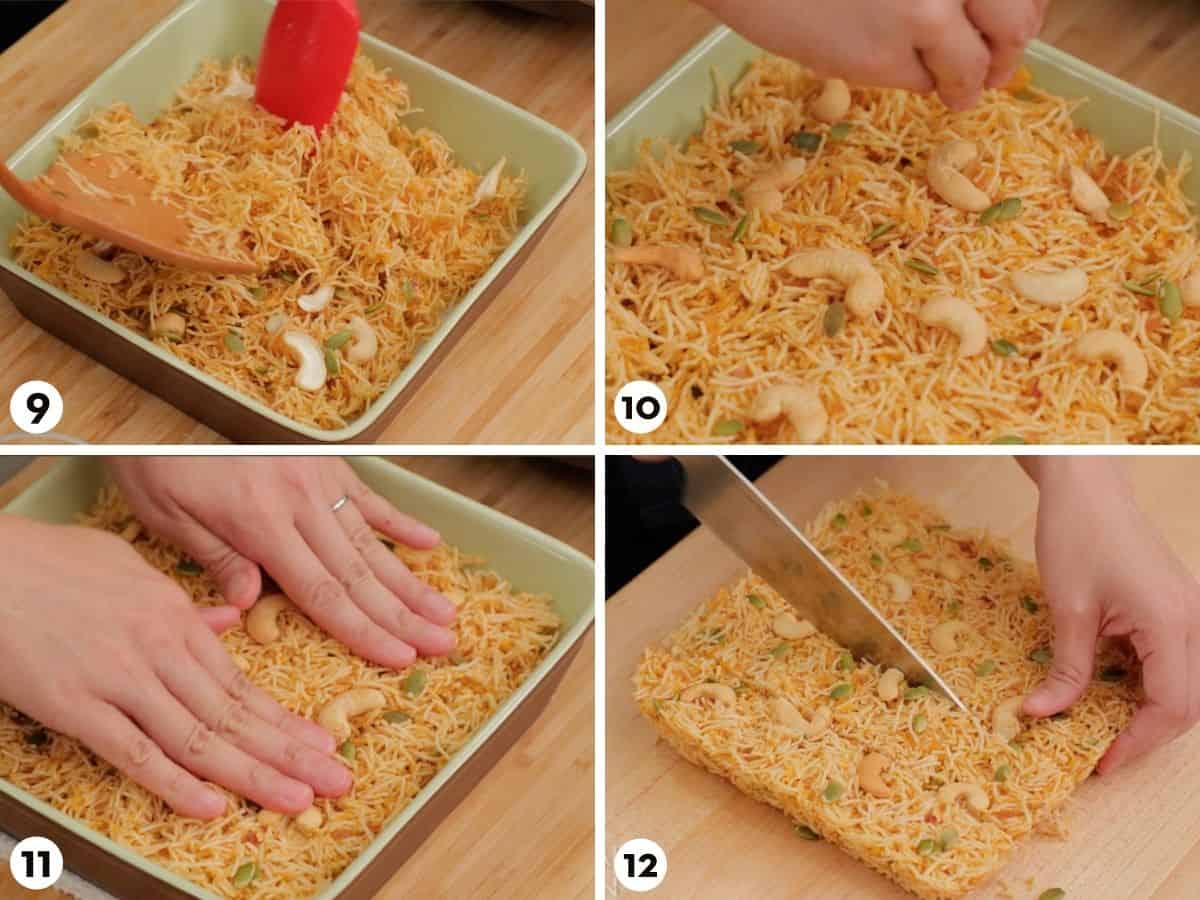
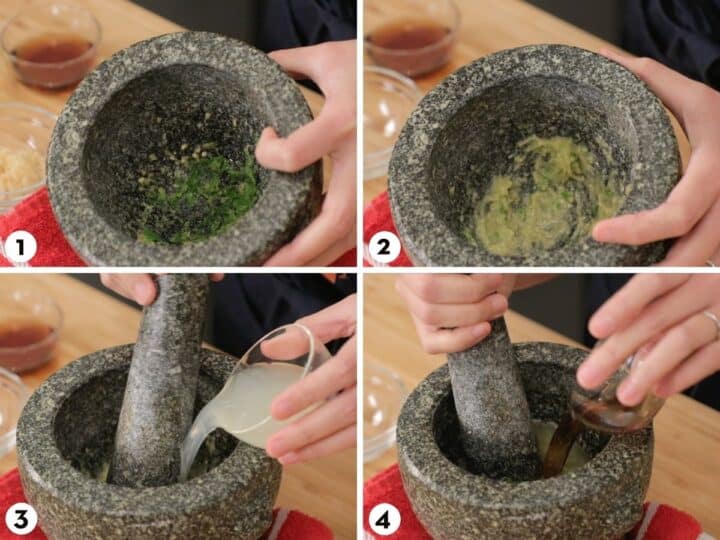
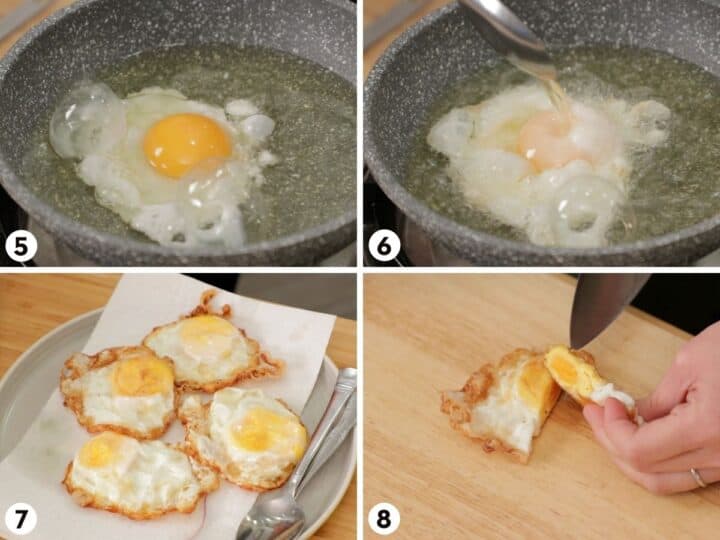
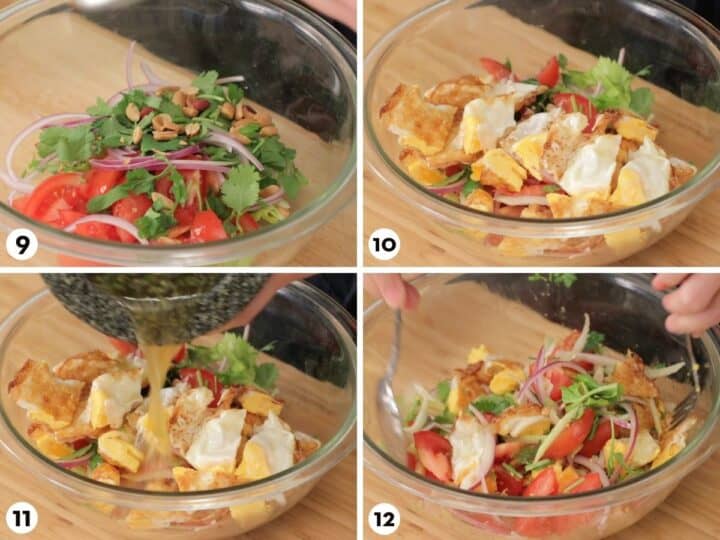
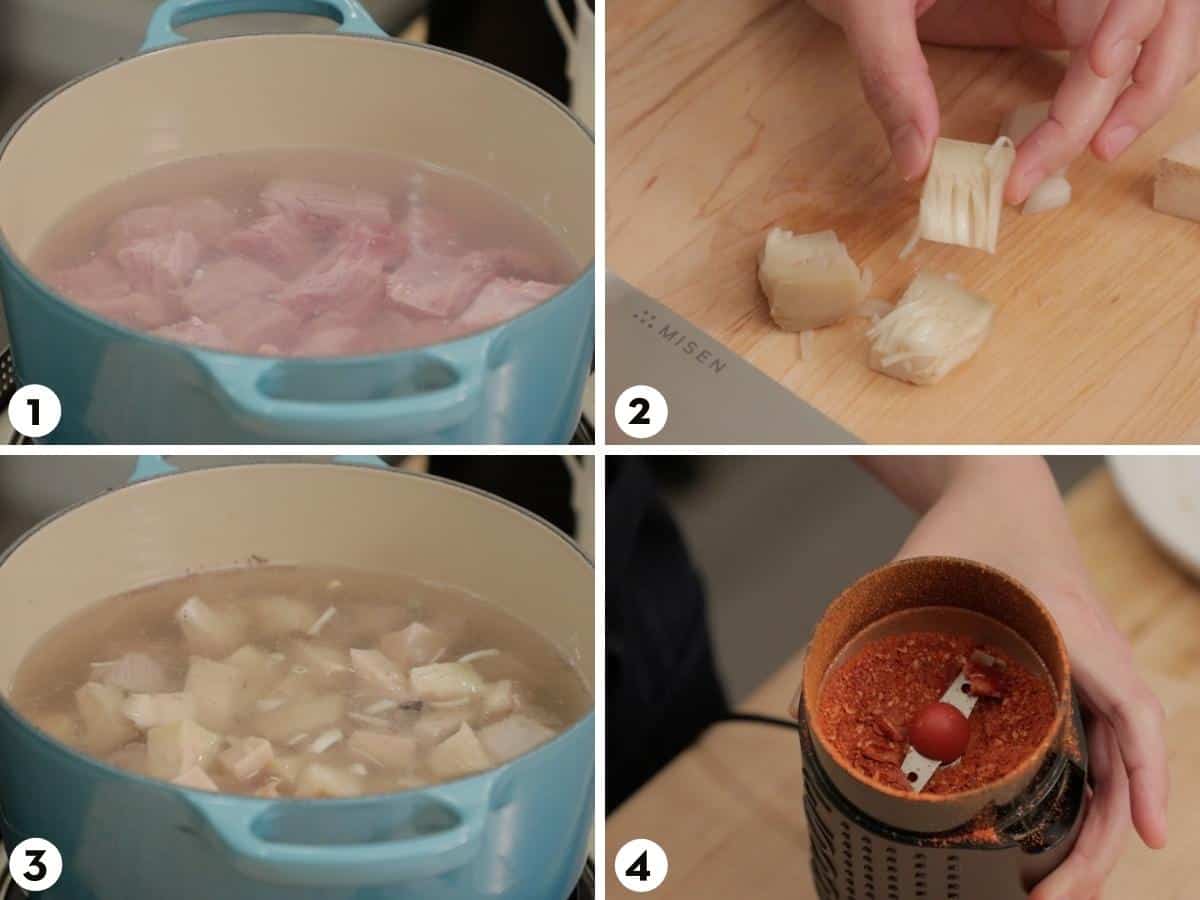
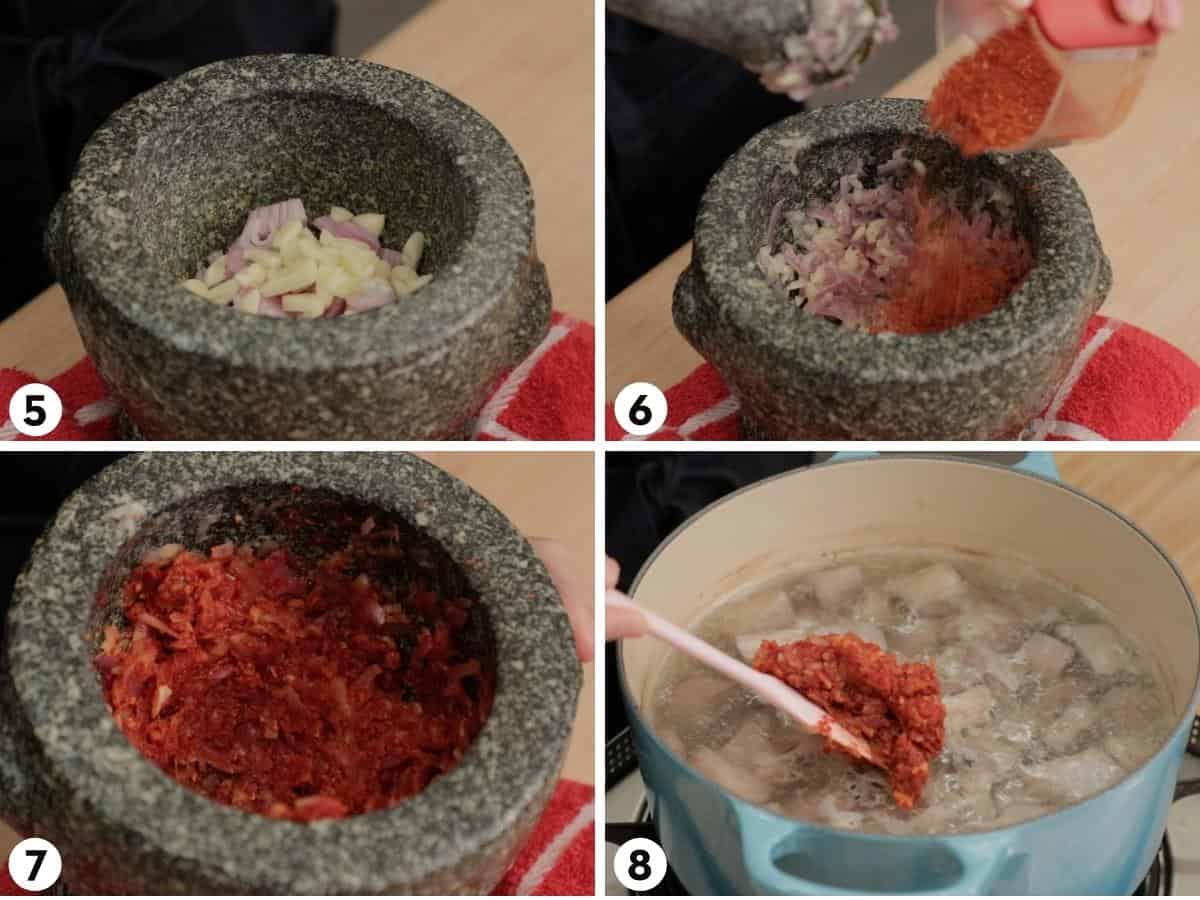
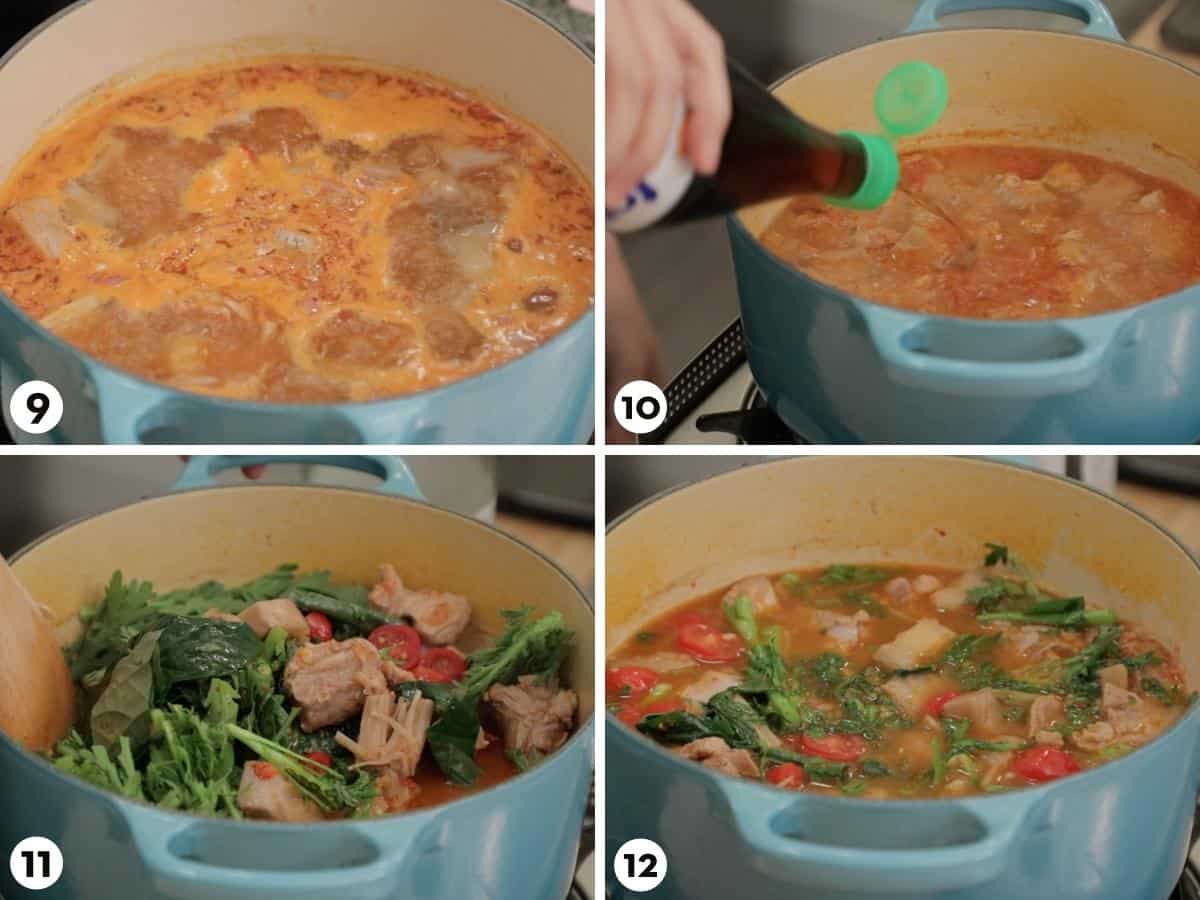
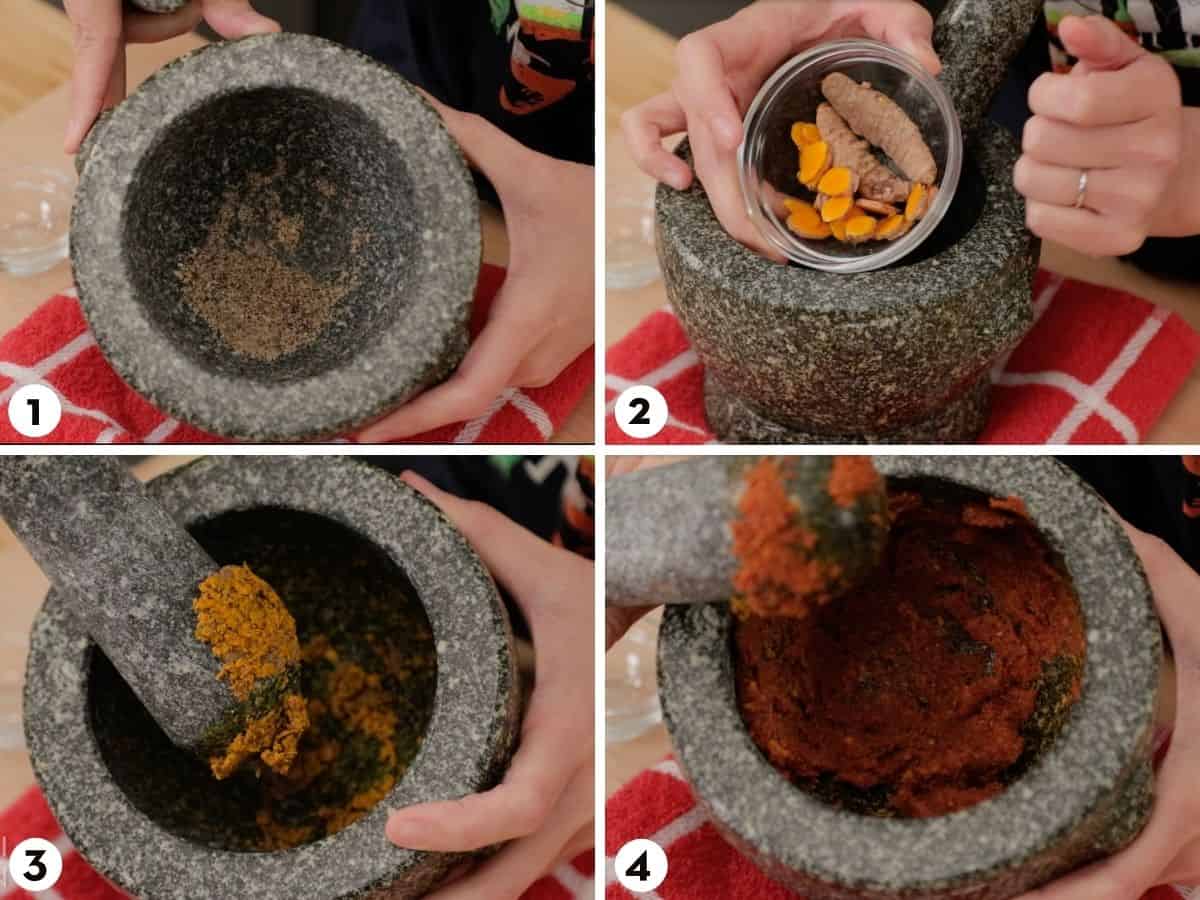
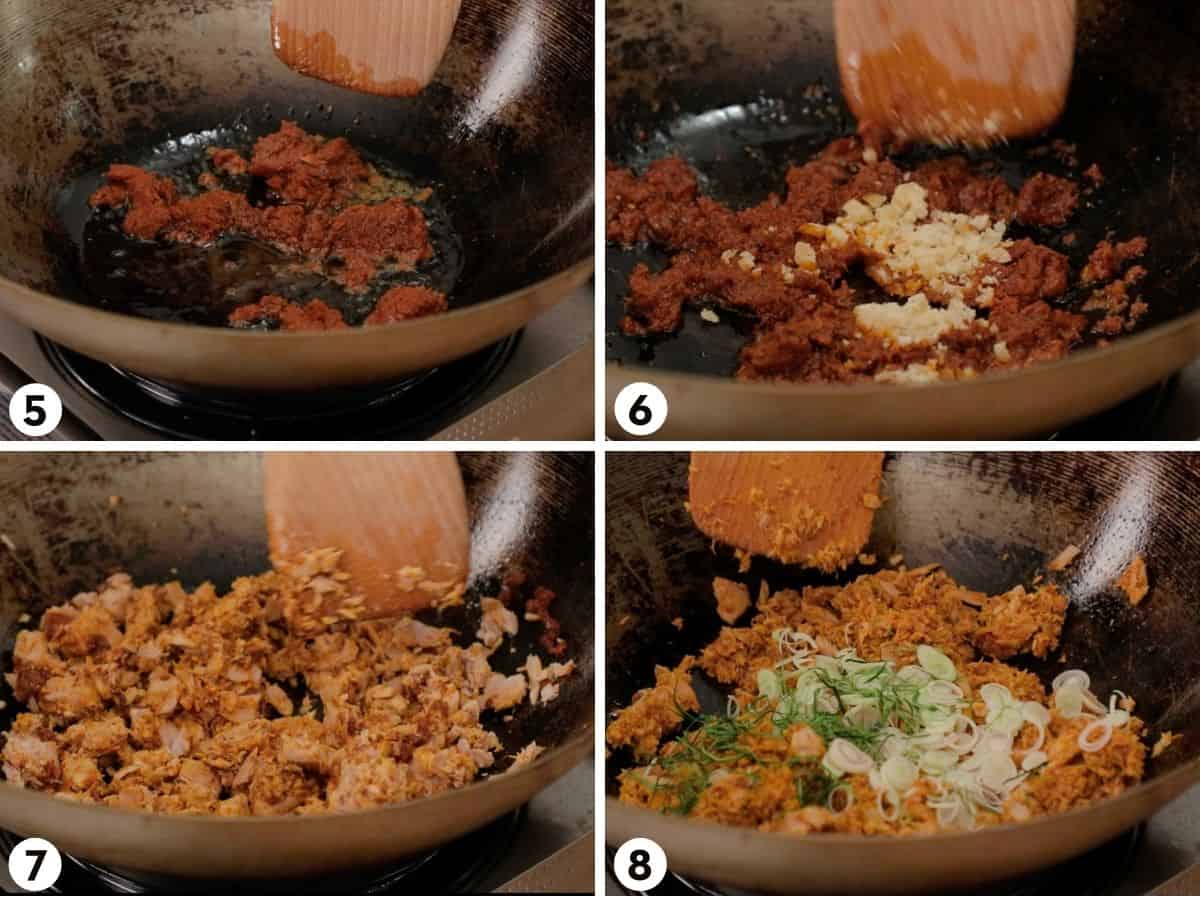
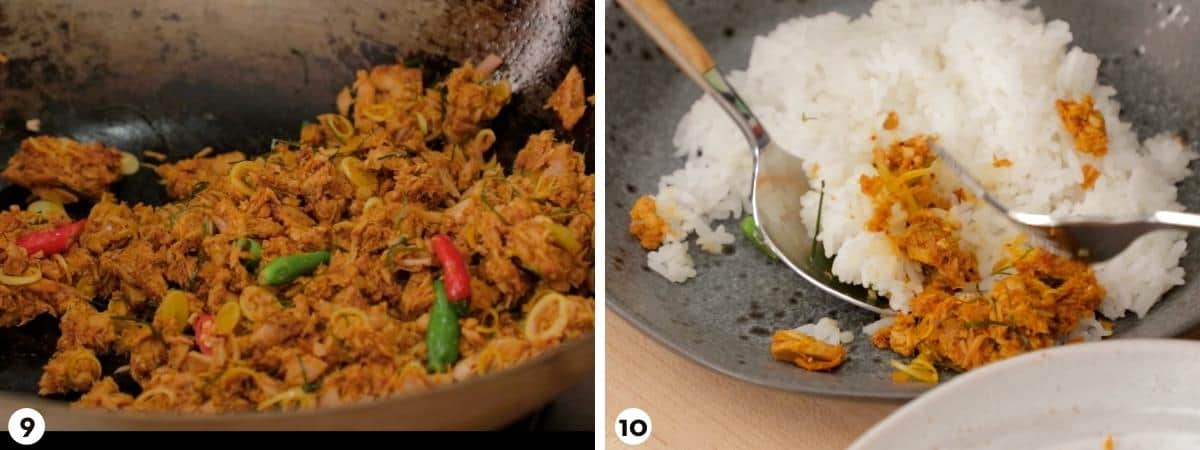
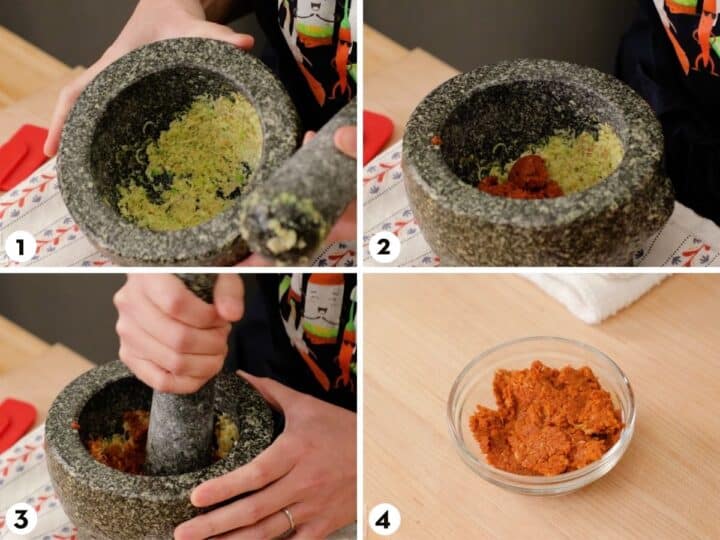
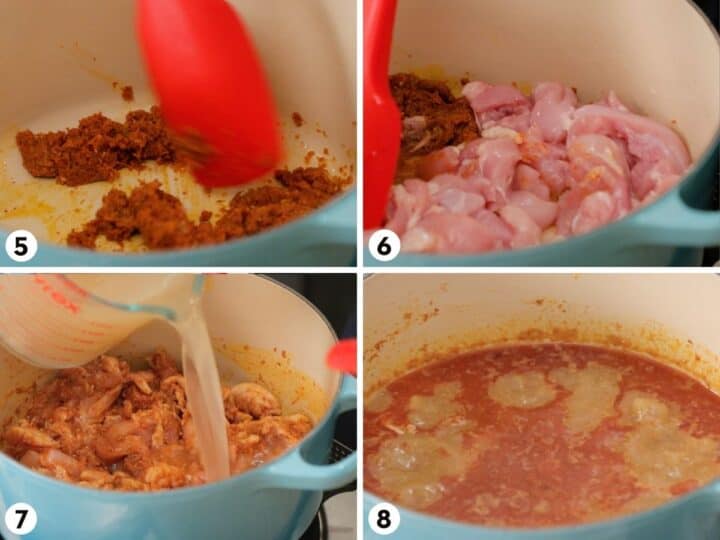
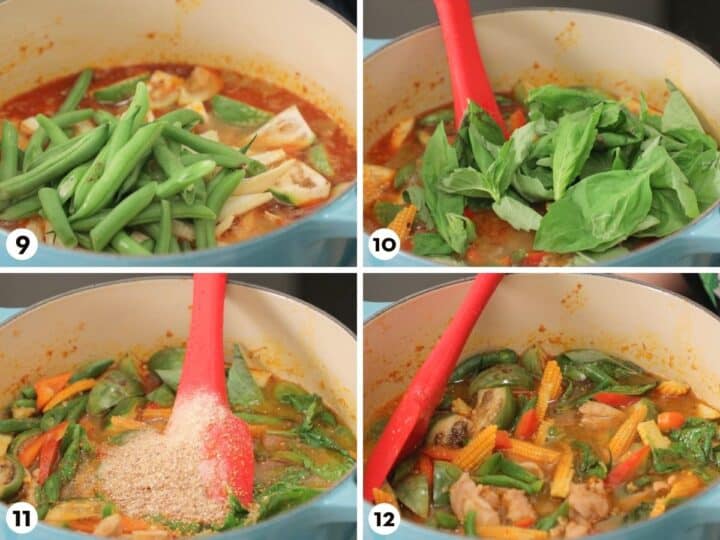
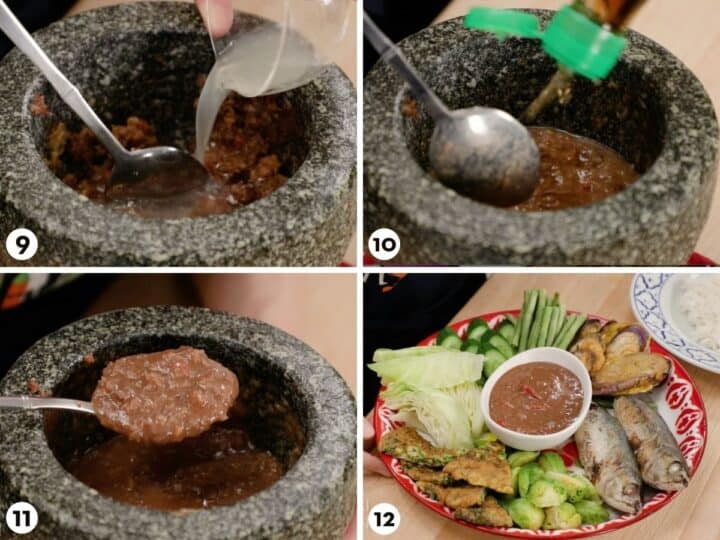
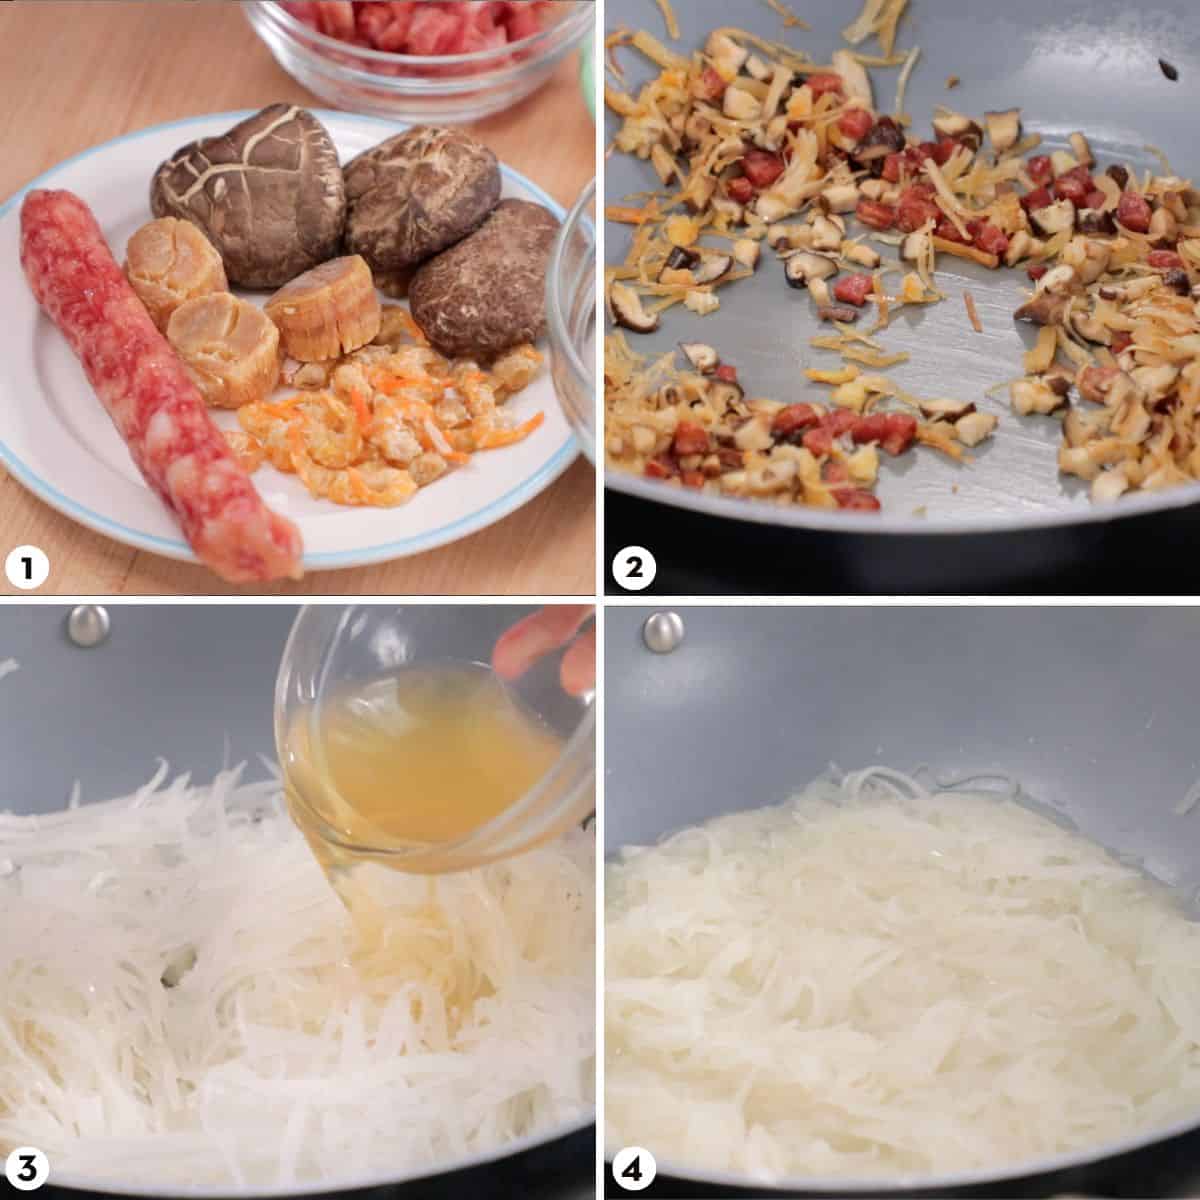
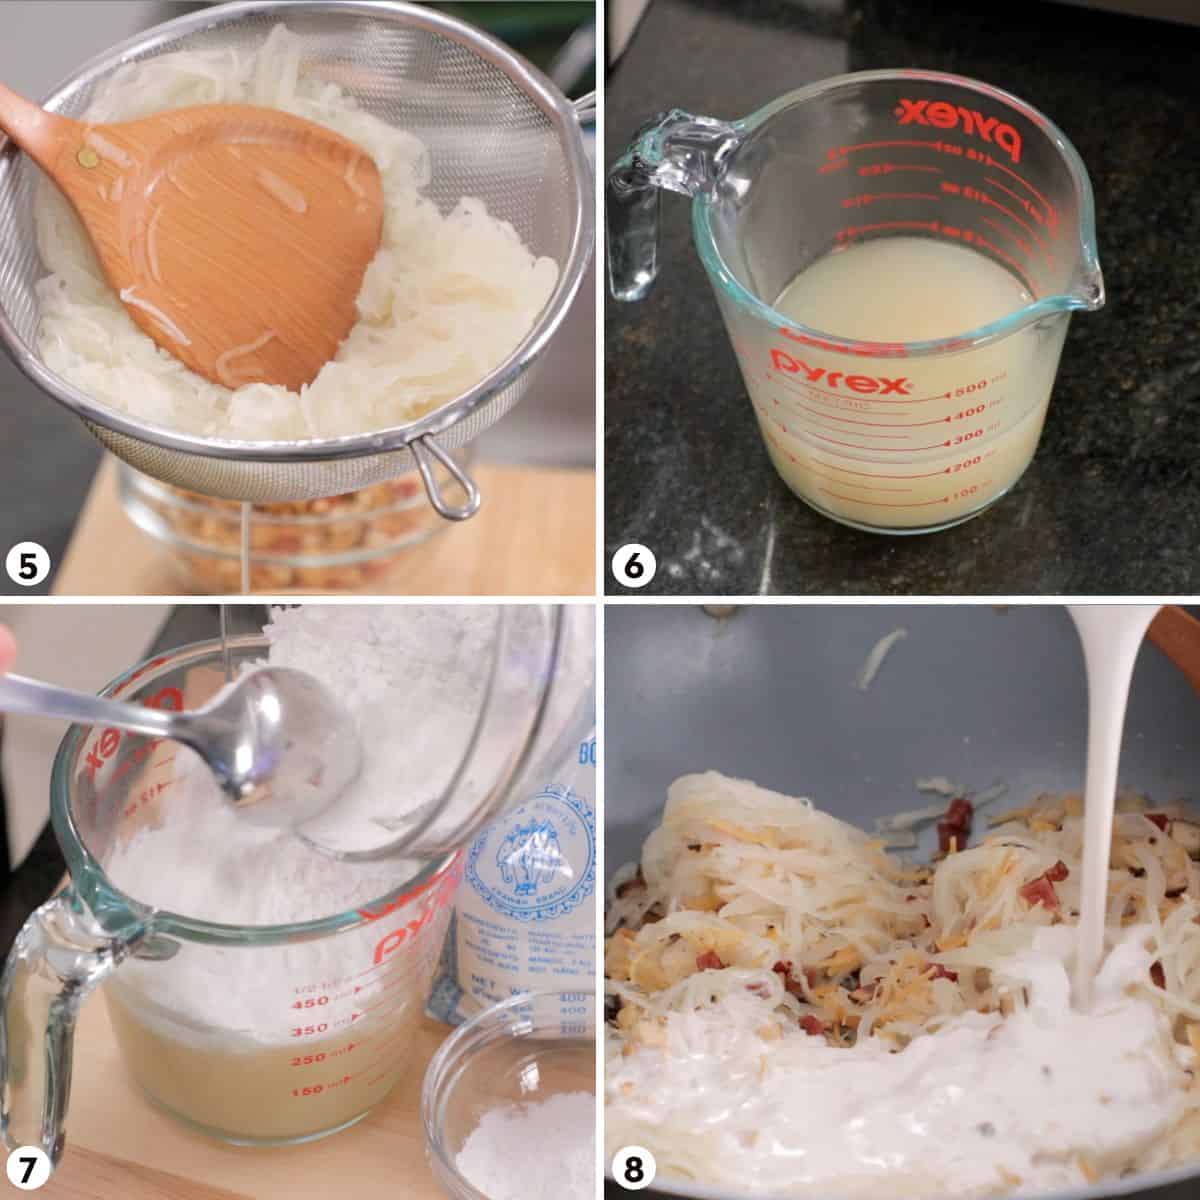
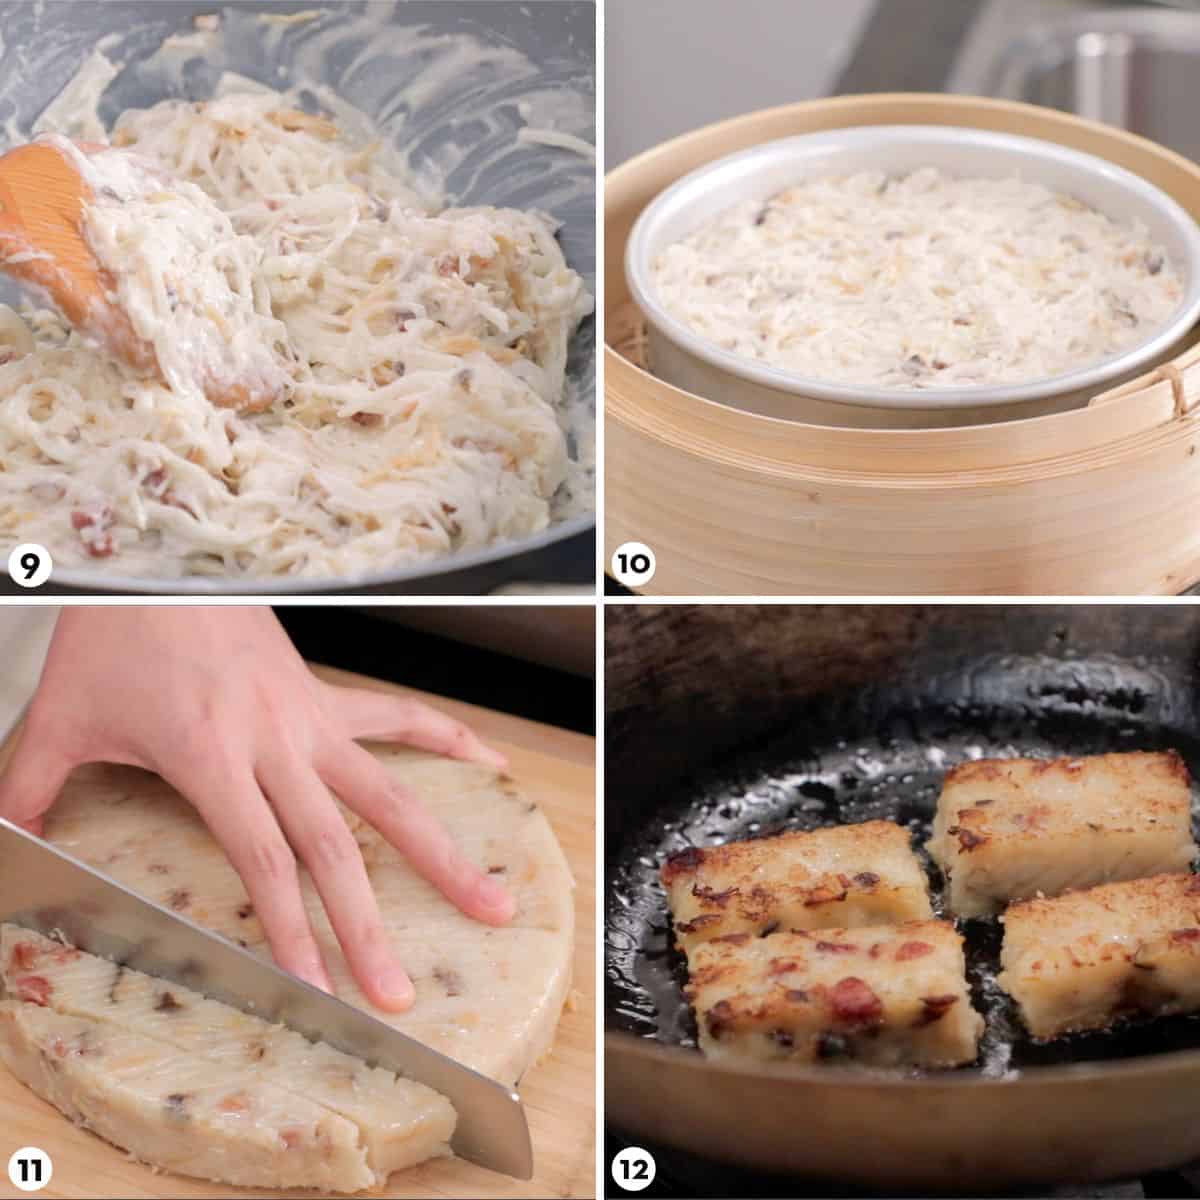
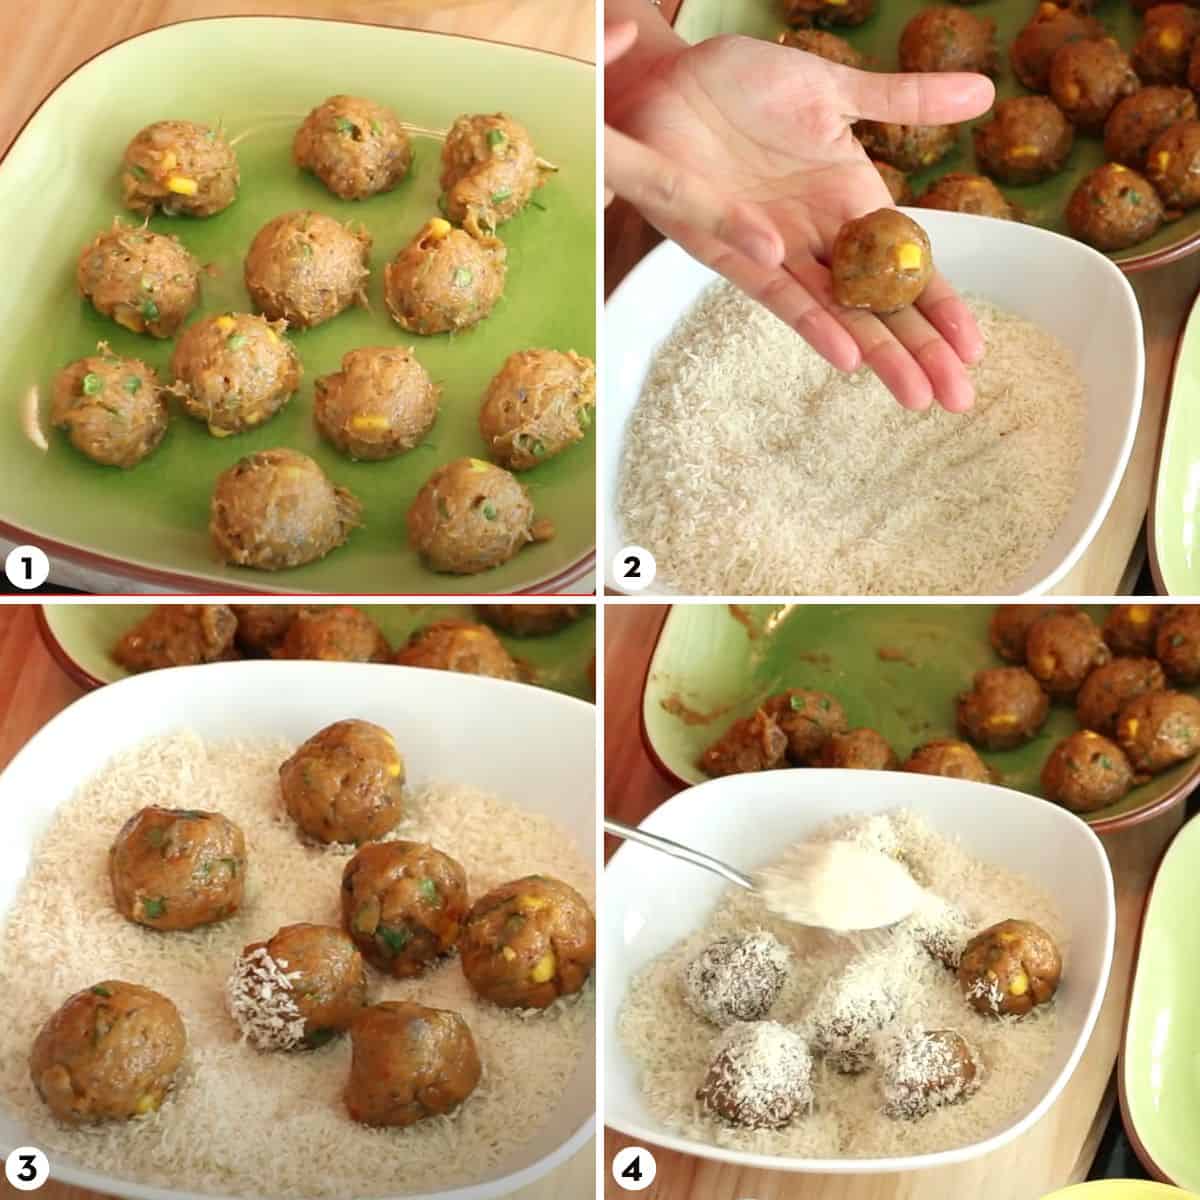
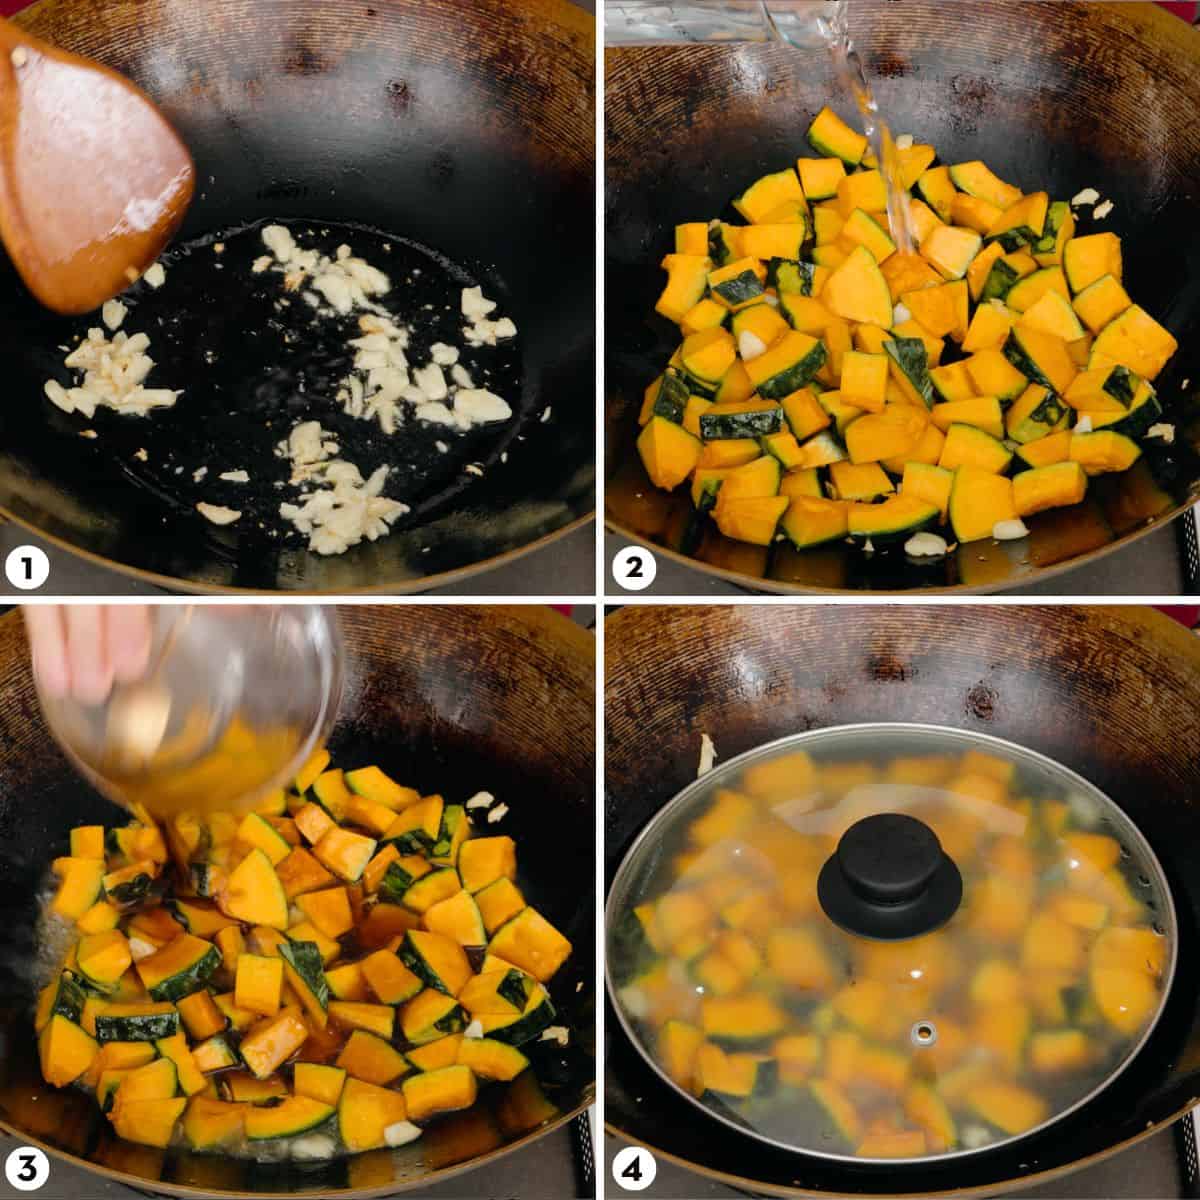
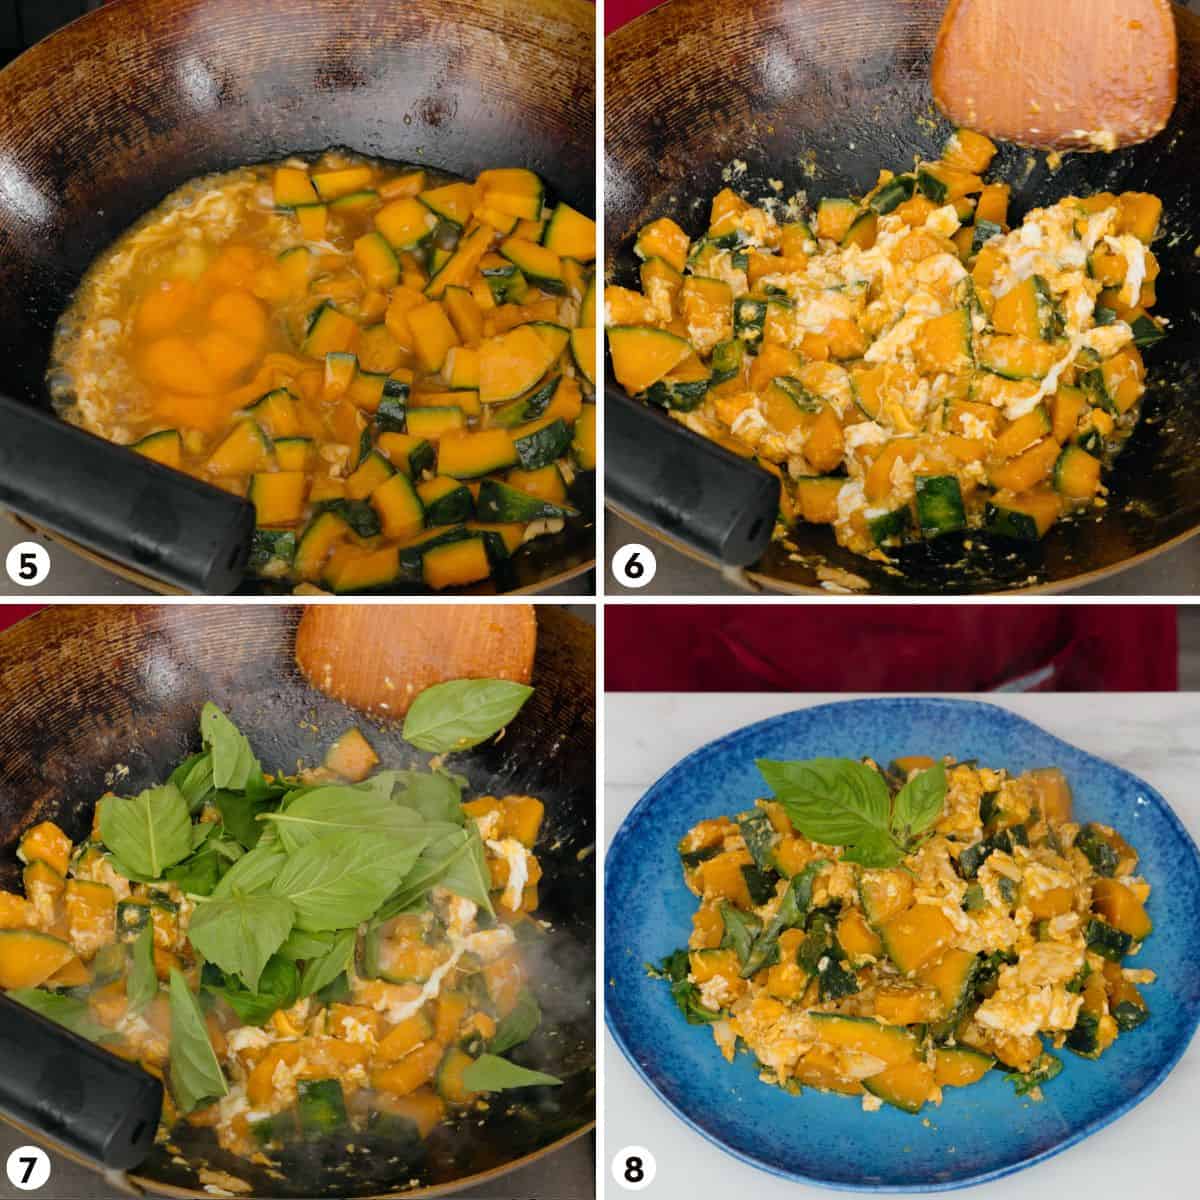
Step-By-Step:
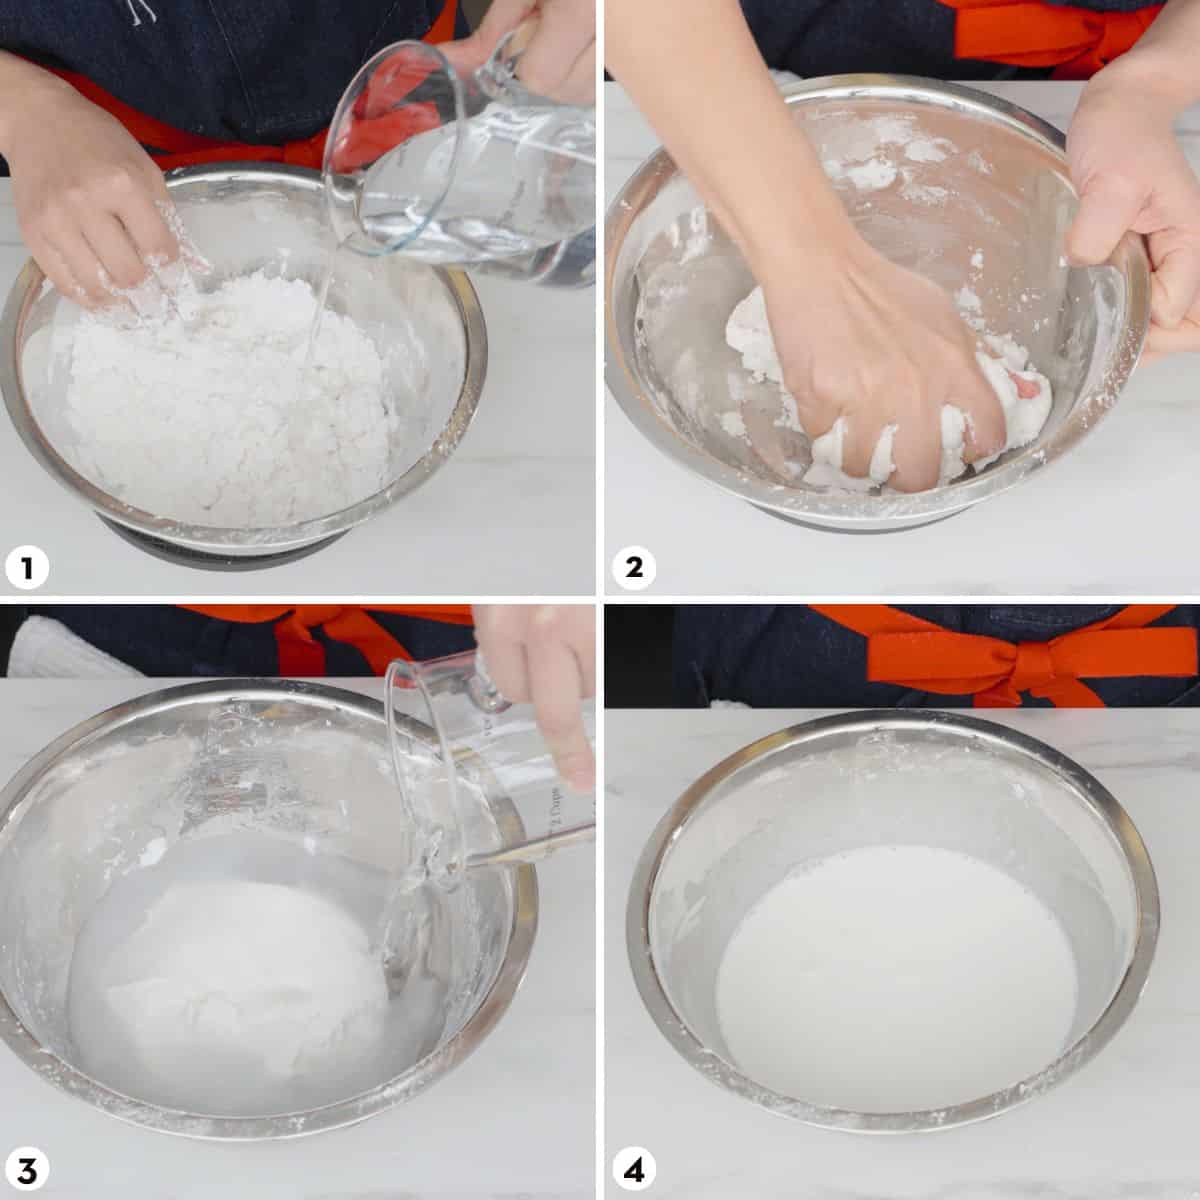
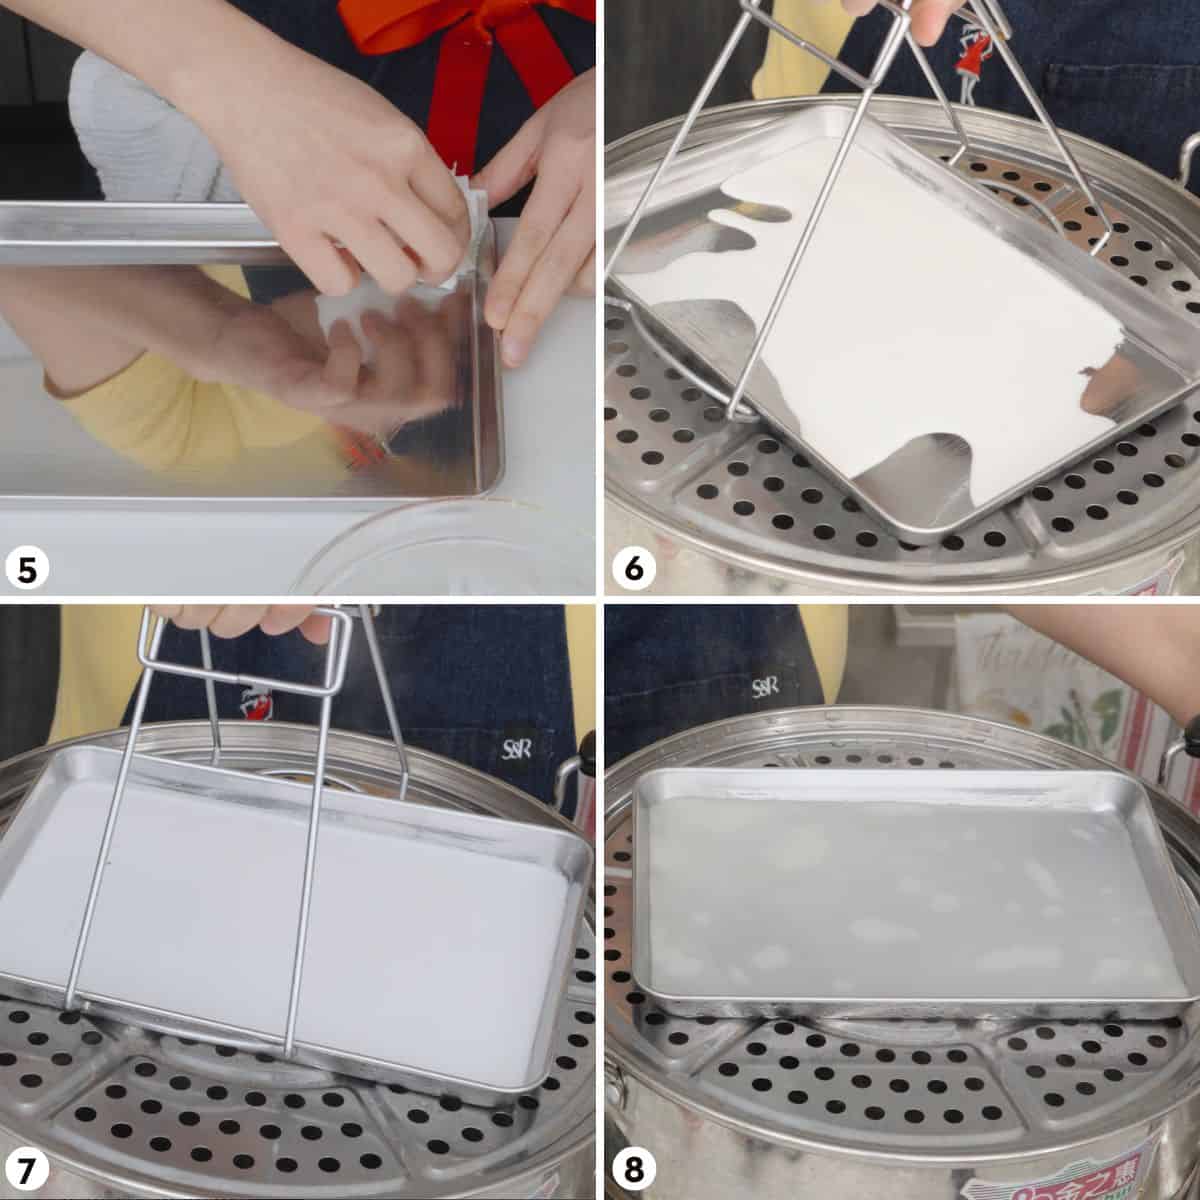
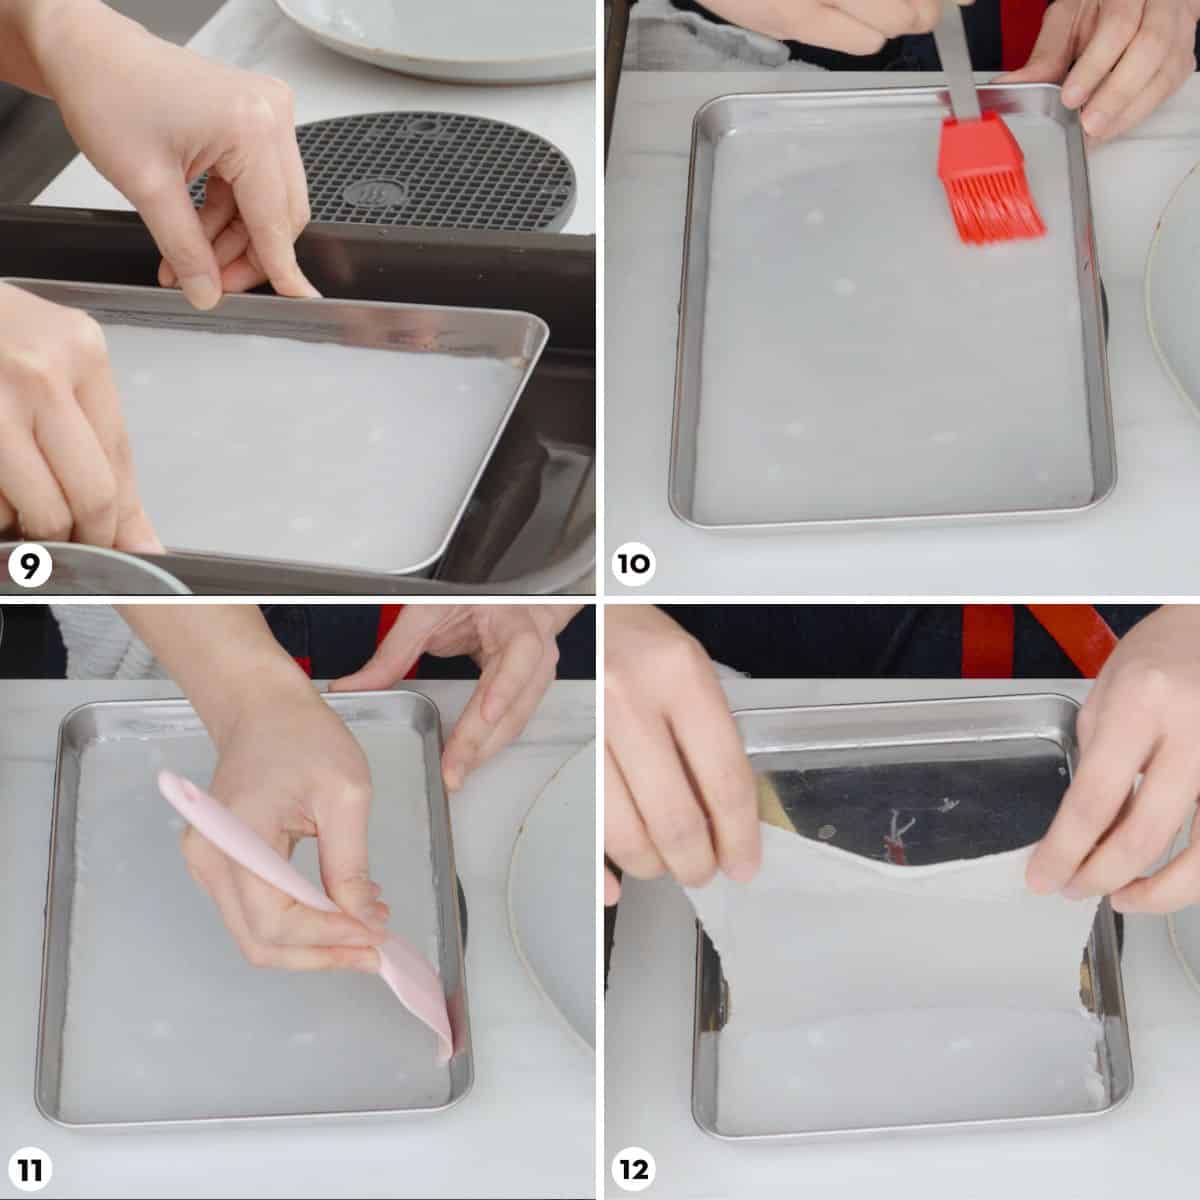
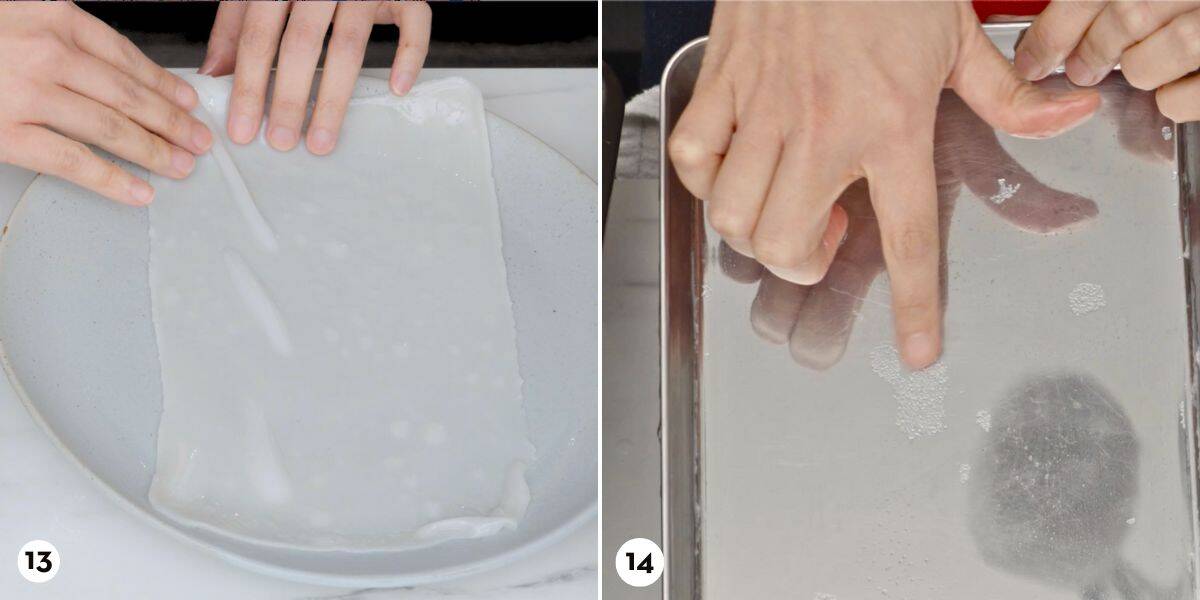
Here's a bird's eye view of the process, but be sure to check out the full video tutorial in the recipe card below to ensure success!
Pro Tip: For better chicken thighs, overcook them a little
Seriously! Many of us faithfully cook chicken to an internal temperature of 165°F because we know overcooked chicken is bad news. But that's only true for chicken breast. For dark meat, with more connective tissue, at 165°F the texture is fine but still a little bit chewy. Once you cook it to a minimum of 175°F, and up to 195°F, all that connective tissue dissolves, making it tender and juicy. Read this article by America's Test Kitchen for more on this.
Frequently Asked Questions
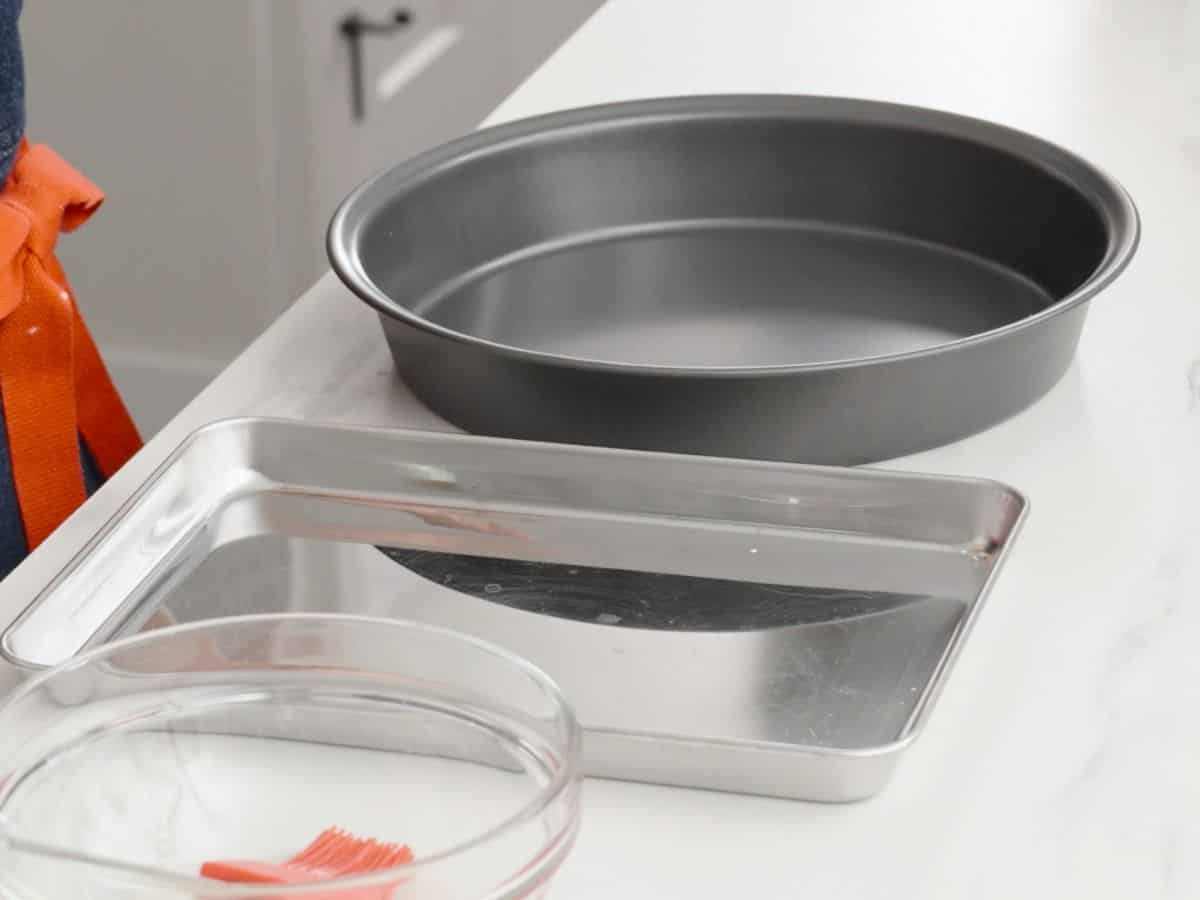
Broiling in the oven also works very well for this recipe. To do this, preheat the broiler on high for 5 minutes and set the rack to the top position, or about 3-4 inches away from the element. Line a baking sheet with foil (not parchment!) and place the chicken on the baking sheet, pretty side up.
Broil the chicken for 7-10 minutes, or until you have nice browning with little charred bits on the chicken. By the time this happens the chicken should be fully cooked. Don't flip the chicken because if you do, the chicken will not have enough time to get any browning—it's better to get a good char on one side than none on either side!
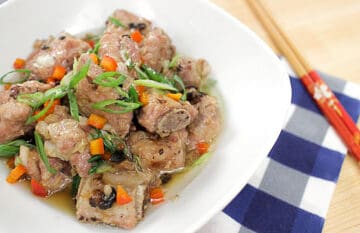
Yes! This marinated chicken is very versatile. If doing it stove top you can cut each chicken thigh down into 2 pieces so they fit better in the pan. Heat a large skillet with some oil and sear the chicken over high heat until browned, 2-3 minutes. Flip and sear the other side until done; lower the heat if the chicken is browning too quickly.
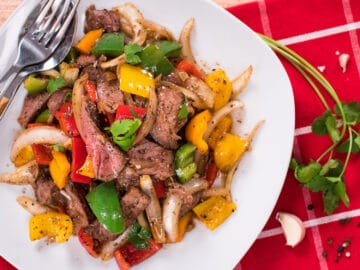
You can also cut them into stir-fry-sized pieces and stir fry it!
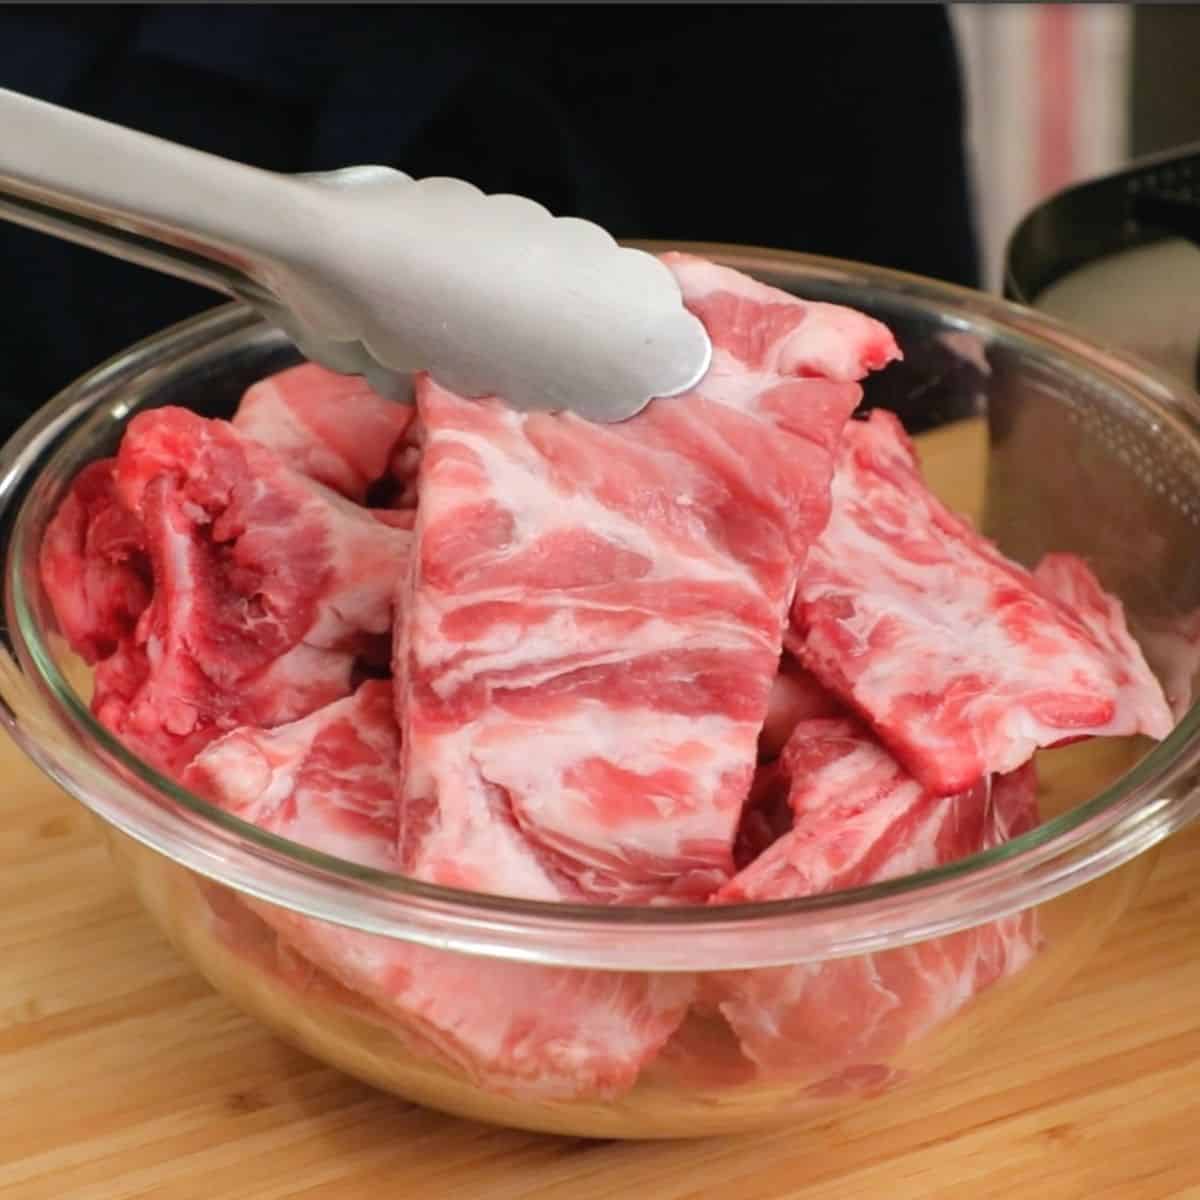
Absolutely! Pork would be my second go-to for this recipe, and a pork version is also available at some Vietnamese restaurants here. You can use pork tenderloin or pork chops for something lean, or use a pork shoulder steak or pork jowl for something fattier (my preference). Be sure to slice the pork into thin steaks to allow the flavour to penetrate, and do not overcook the pork or it will be dry, especially if you're using a lean cut.
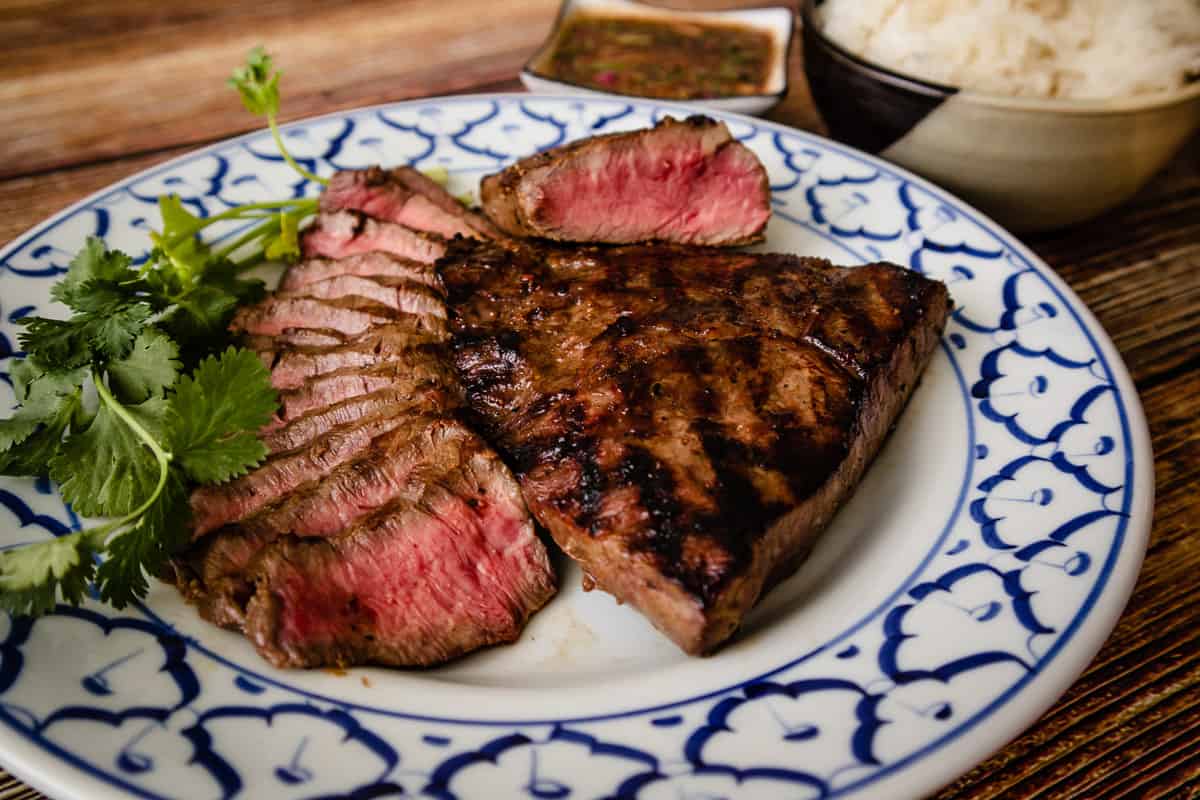
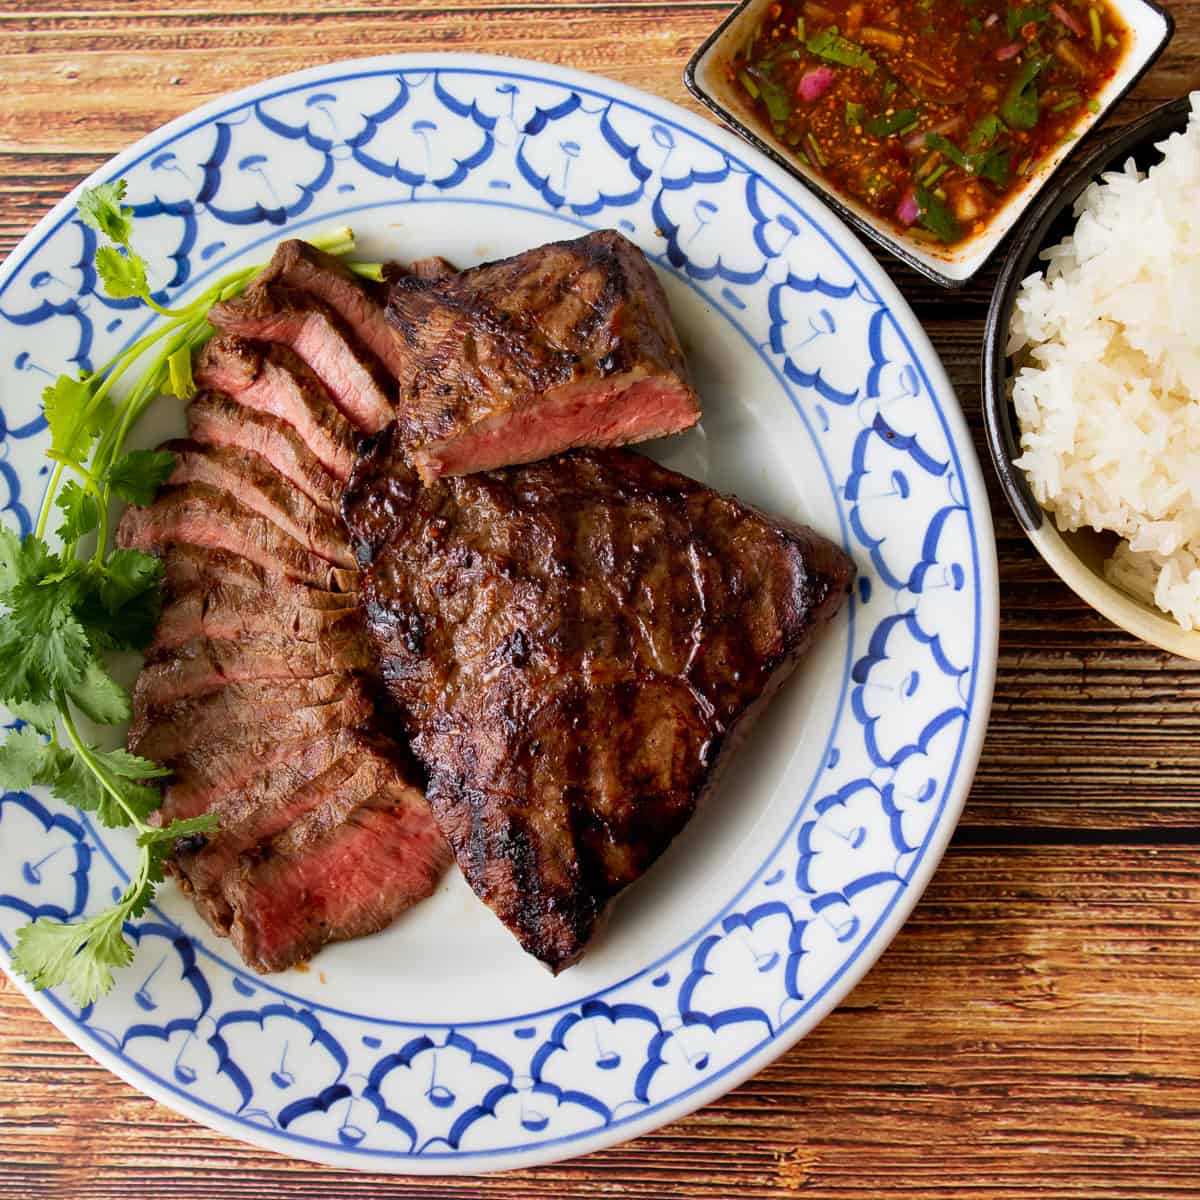
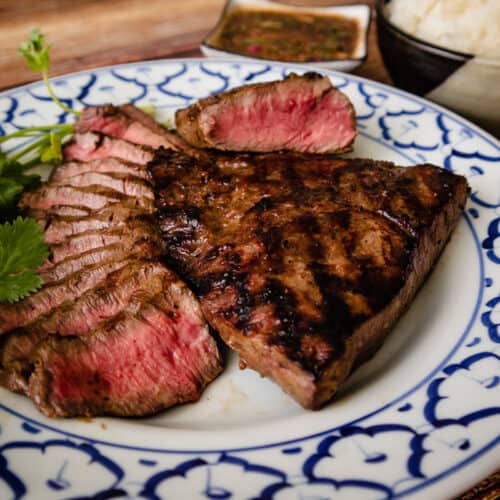
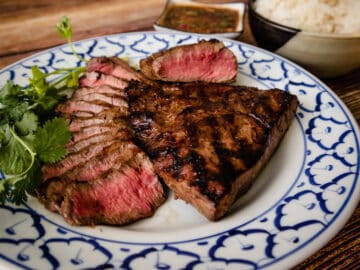
For beef, I think the marinade is a little too mild and may not stand up well to the stronger flavour of beef. If you're looking for a marinated grilled beef, try my all-time favourite steak marinade, and you can add a bunch of lemongrass to it as well!
Yes, though for the marinade pounding is ideal as it helps bruise and release more flavour from the lemongrass. But you can also process all the marinade ingredients in a small food processor, though you'll need to grind the black pepper separately. You can mince everything by hand, but you'll want to smash and bruise the lemongrass before chopping to help release the aroma.
For the dipping sauce, you can finely mince the chilies and either press or grate the garlic with a zester. Then just stir everything else in! You can also use the Huy Fong brand sambal oelek (chili garlic paste) in place of the Thai chili.
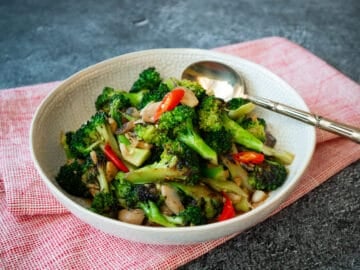
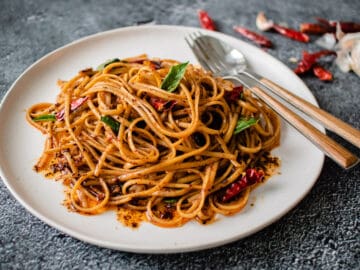
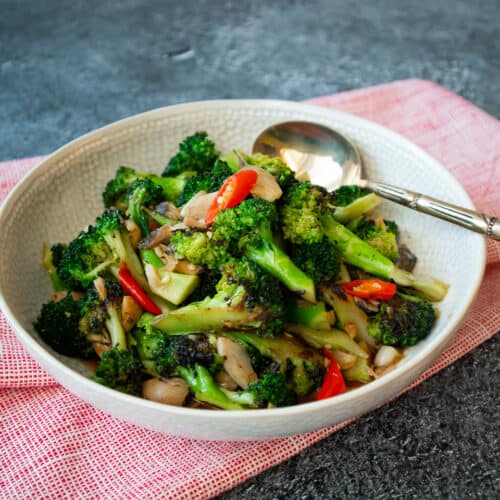
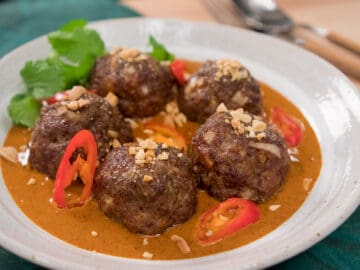
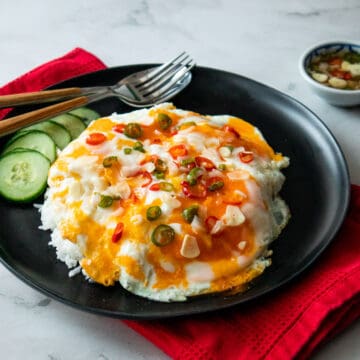
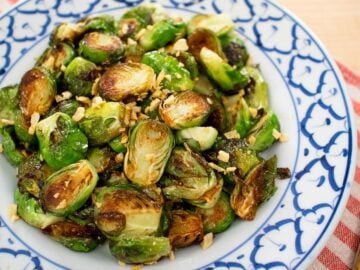
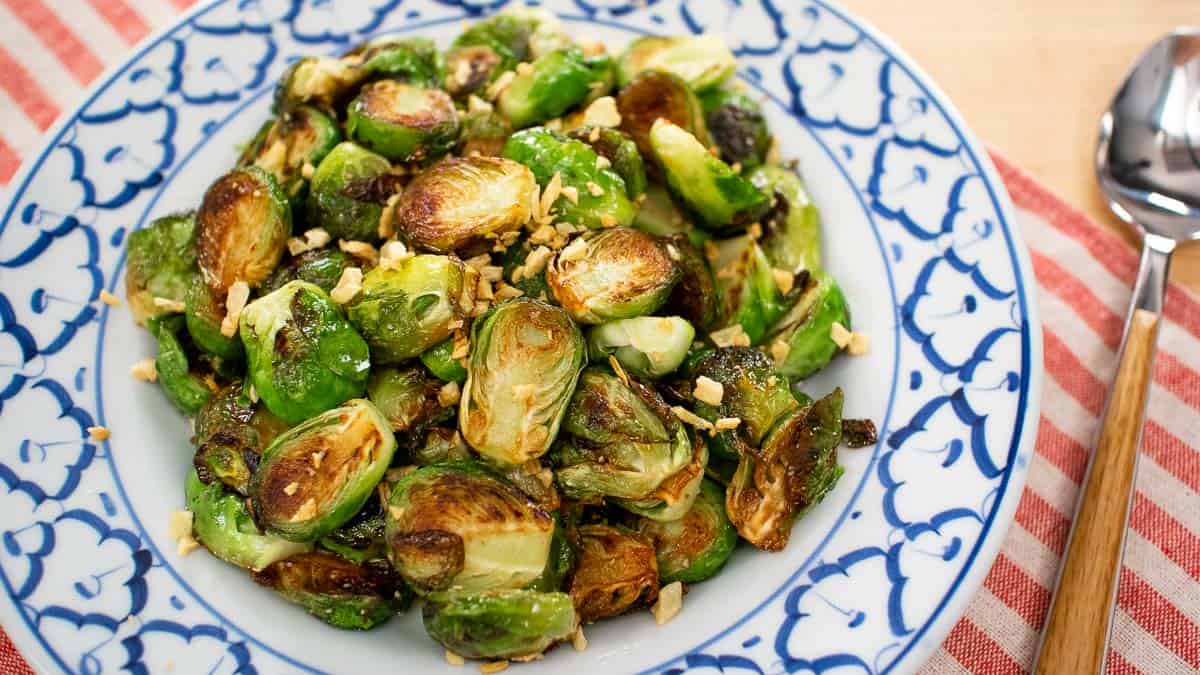
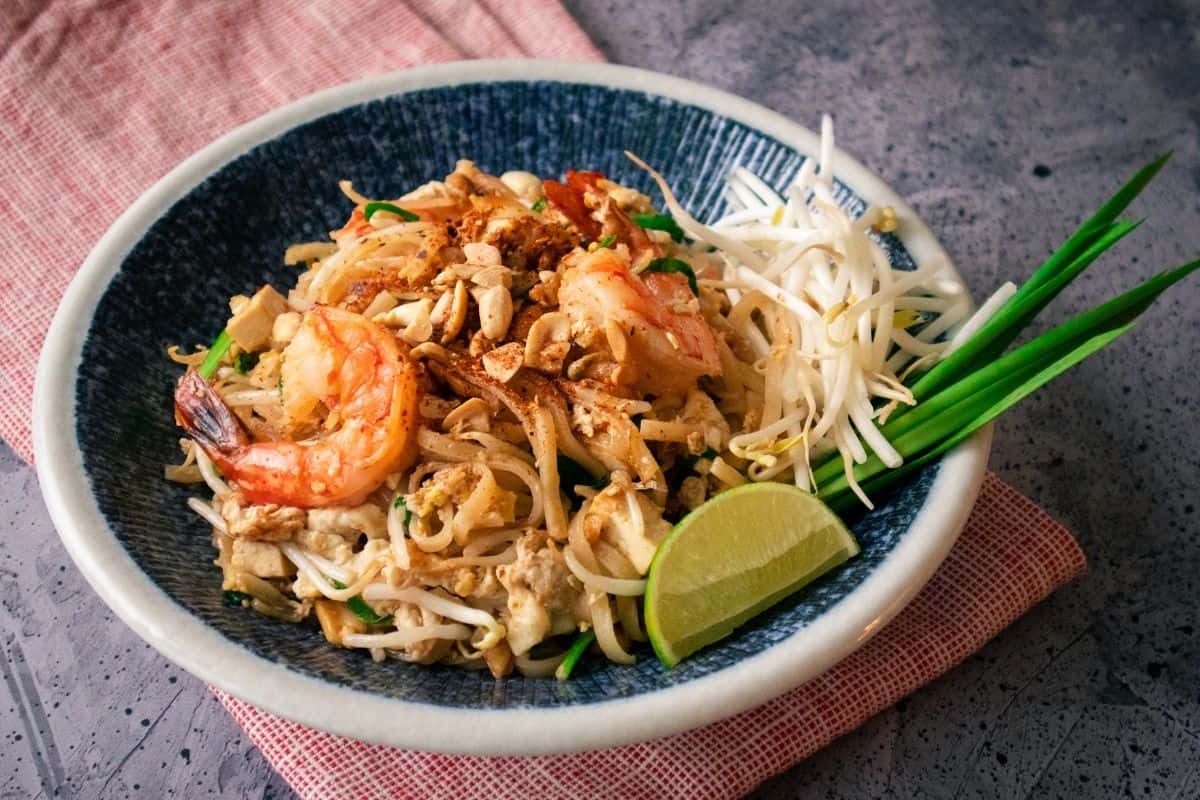
Like this recipe? You'd also love these!


Before you start, be sure to watch the video tutorial to ensure success! I always include little tips and tricks not mentioned in the blog post. The video is in the recipe card below, but you can also watch it on YouTube!
Grilled Lemongrass Chicken with Vietnamese Nuoc Cham
Equipment
- Grill optional
Ingredients
- 4 cloves garlic
- ½ teaspoon black peppercorns
- 1 stalk lemongrass, bottom half only, finely chopped
- 2 tablespoon neutral oil
- 1 tablespoon fish sauce
- 1 tablespoon soy sauce
- 1 tablespoon sugar
- 2 tablespoon water
- 1 lb chicken thighs, boneless, skinless
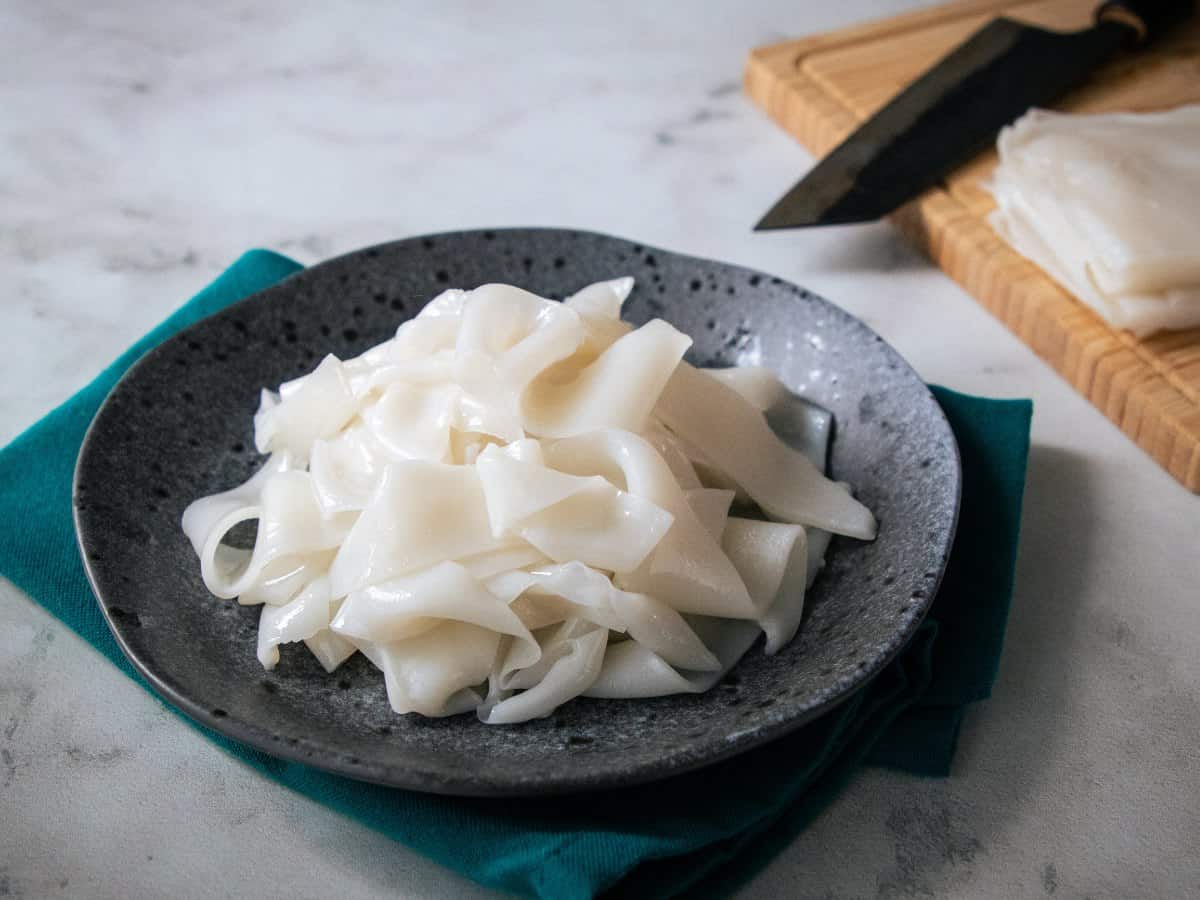
- Jasmine rice or rice vermicelli, for serving
Nuac Cham Dipping Sauce
- 1 small garlic clove
- 1 Thai chili, or to taste
- 1 ½ tablespoon sugar
- ¼ cup water
- 2 tablespoon lime juice
- 1 ½ tablespoon fish sauce
Want to save this recipe?
FULL VIDEO TUTORIAL
All my recipes come with step-by-step video tutorials with extra tips not mentioned in the blog post, so make sure you watch the video to ensure success. If you enjoy them, consider subscribing to the YouTube Channel to not miss an episode. Thank you!
Subscribe to my YouTube ChannelInstructions
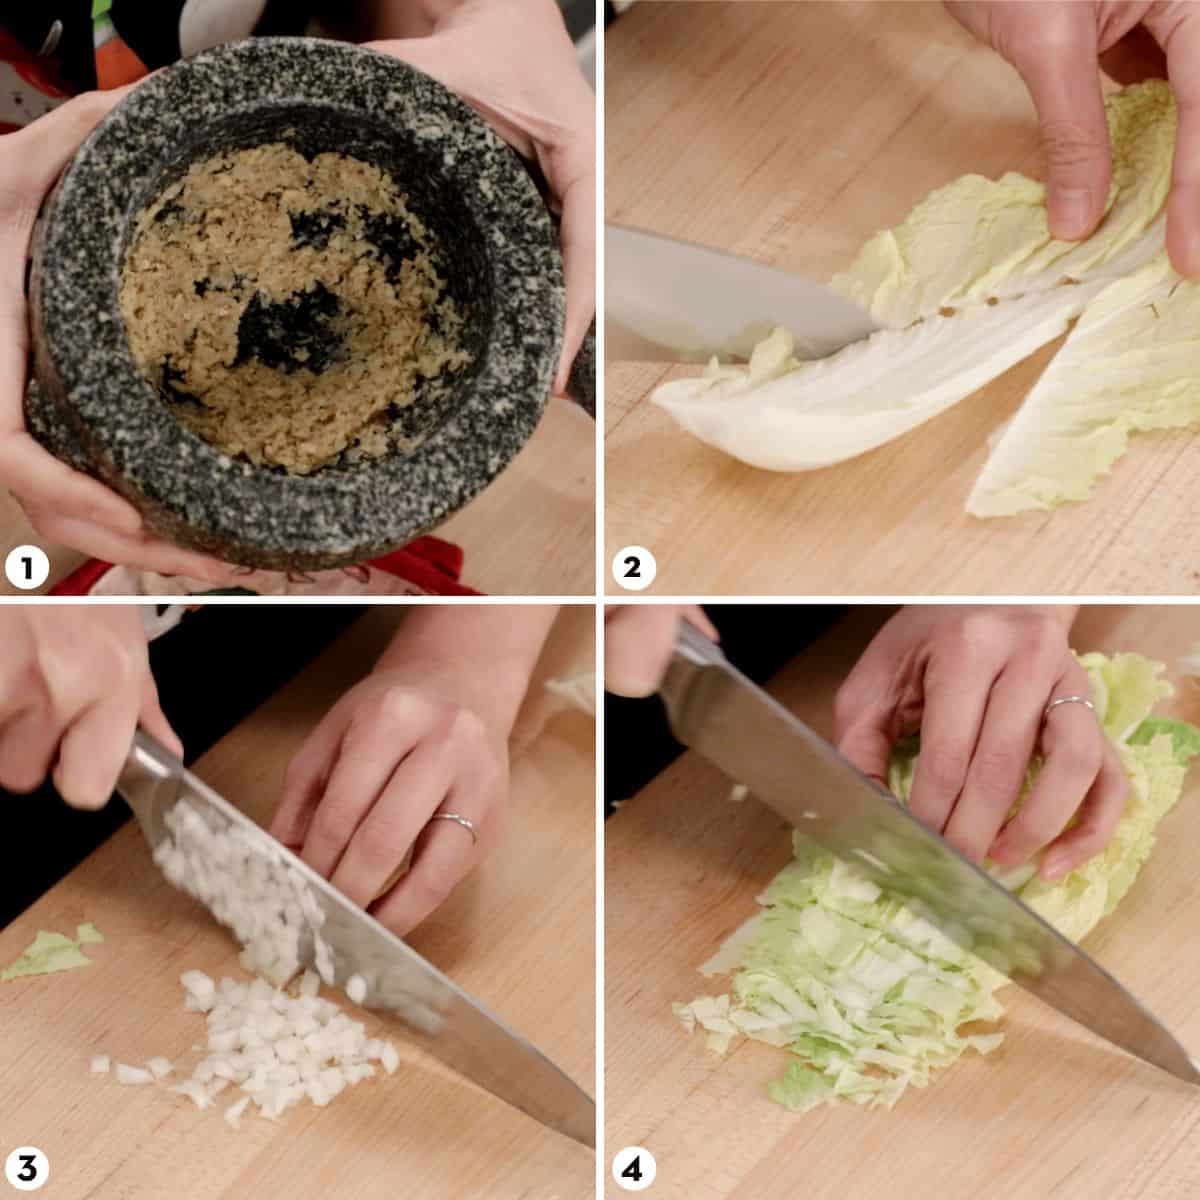
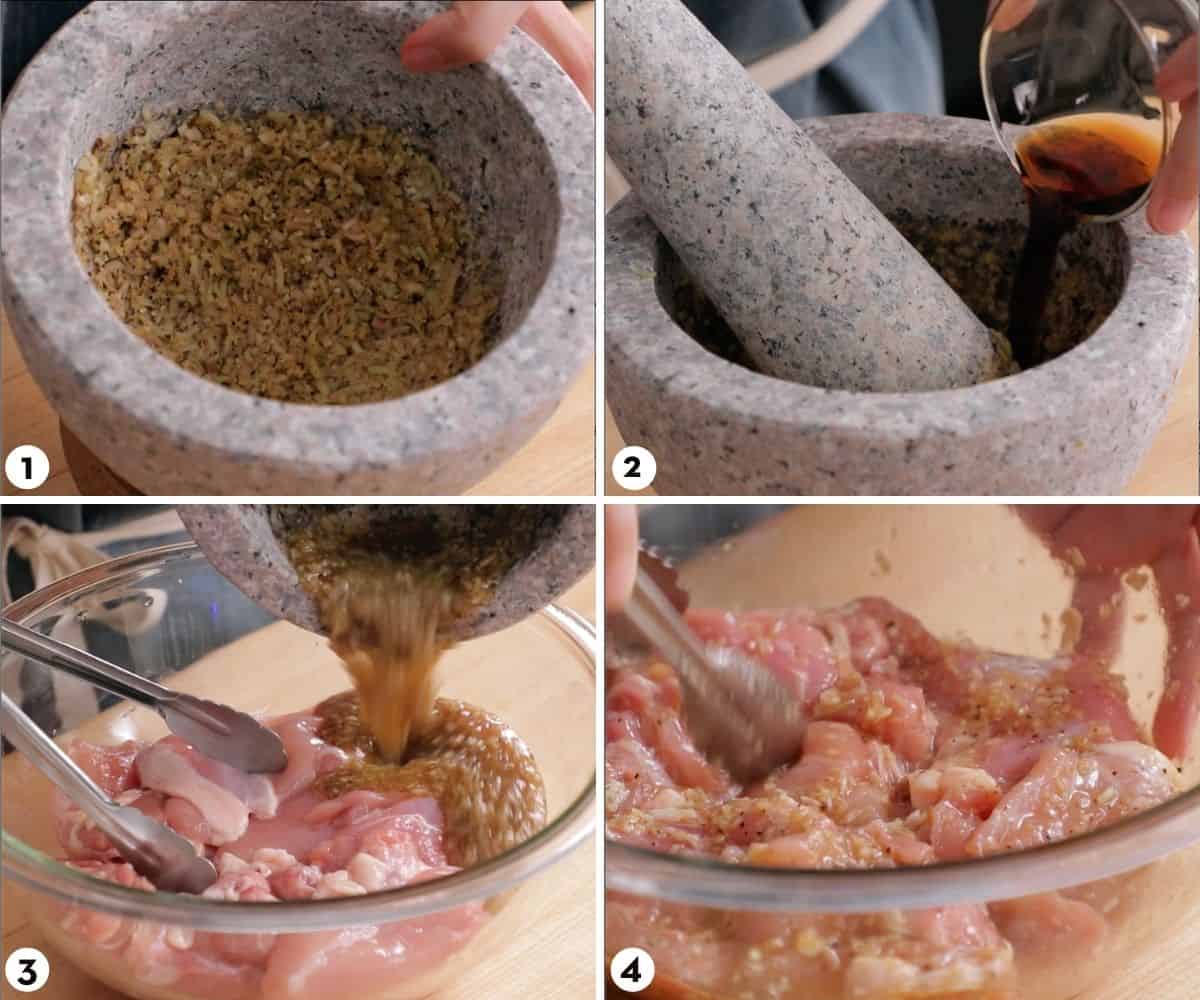
- Pound the garlic and black peppercorns in a mortar and pestle until fine.4 cloves garlic, ½ teaspoon black peppercorns
- Add the lemongrass and pound into a rough paste.1 stalk lemongrass
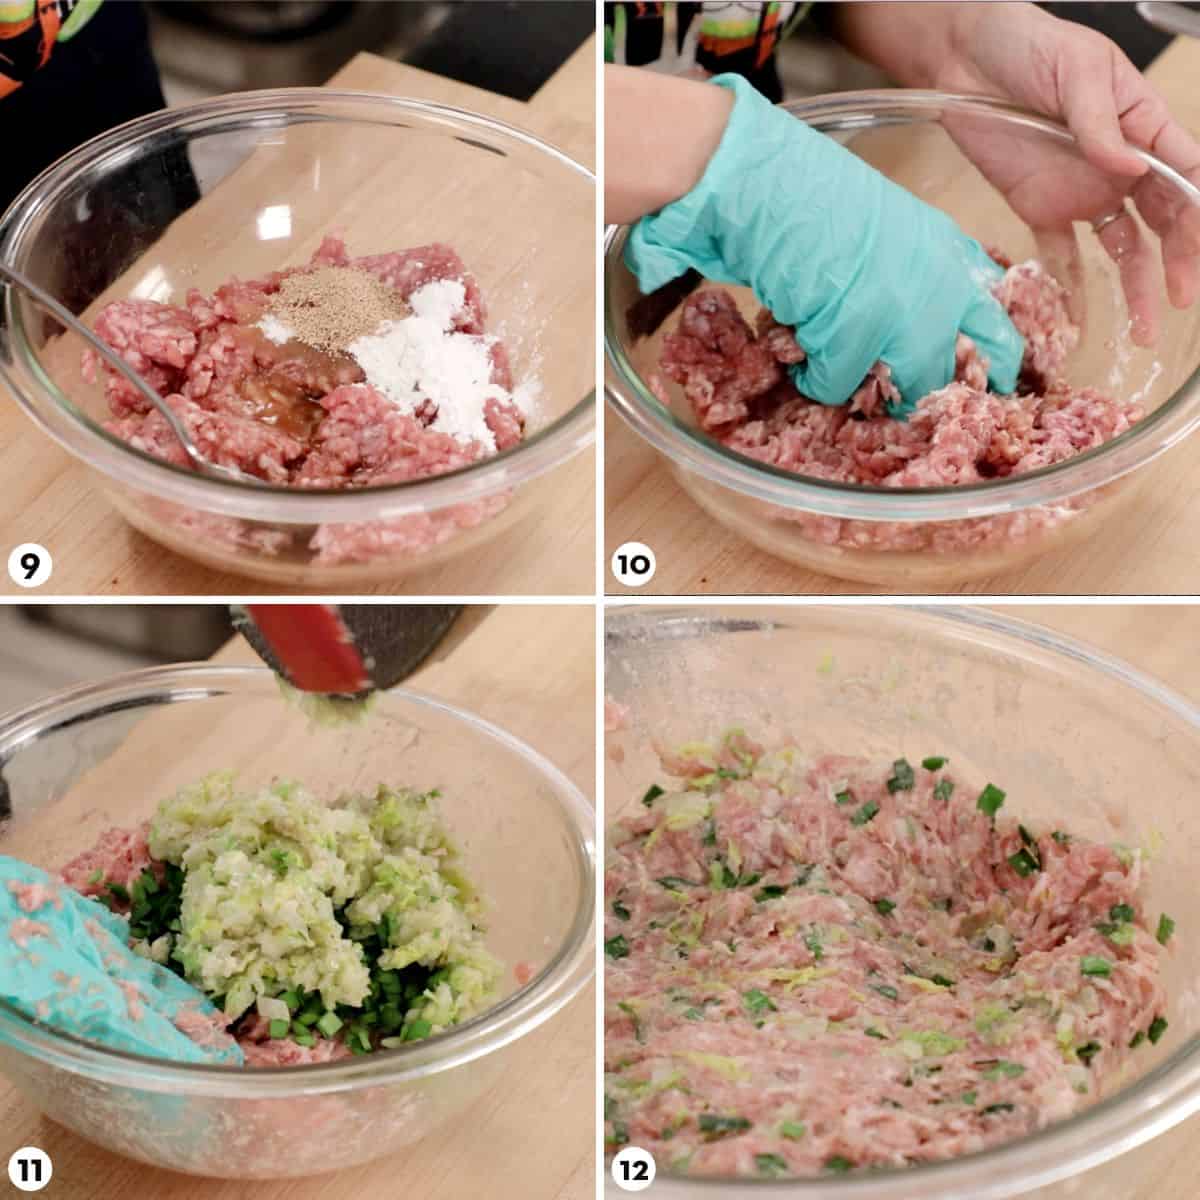
- Add the oil, fish sauce, soy sauce, sugar and water and stir until the sugar is dissolved. Pour the marinade onto the chicken and mix well. Let marinate overnight, or at least 2 hours; stirring halfway in between if you can to make sure marinade is well distributed.2 tablespoon neutral oil, 1 tablespoon fish sauce, 1 tablespoon soy sauce, 1 tablespoon sugar, 2 tablespoon water, 1 lb chicken thighs
To Grill
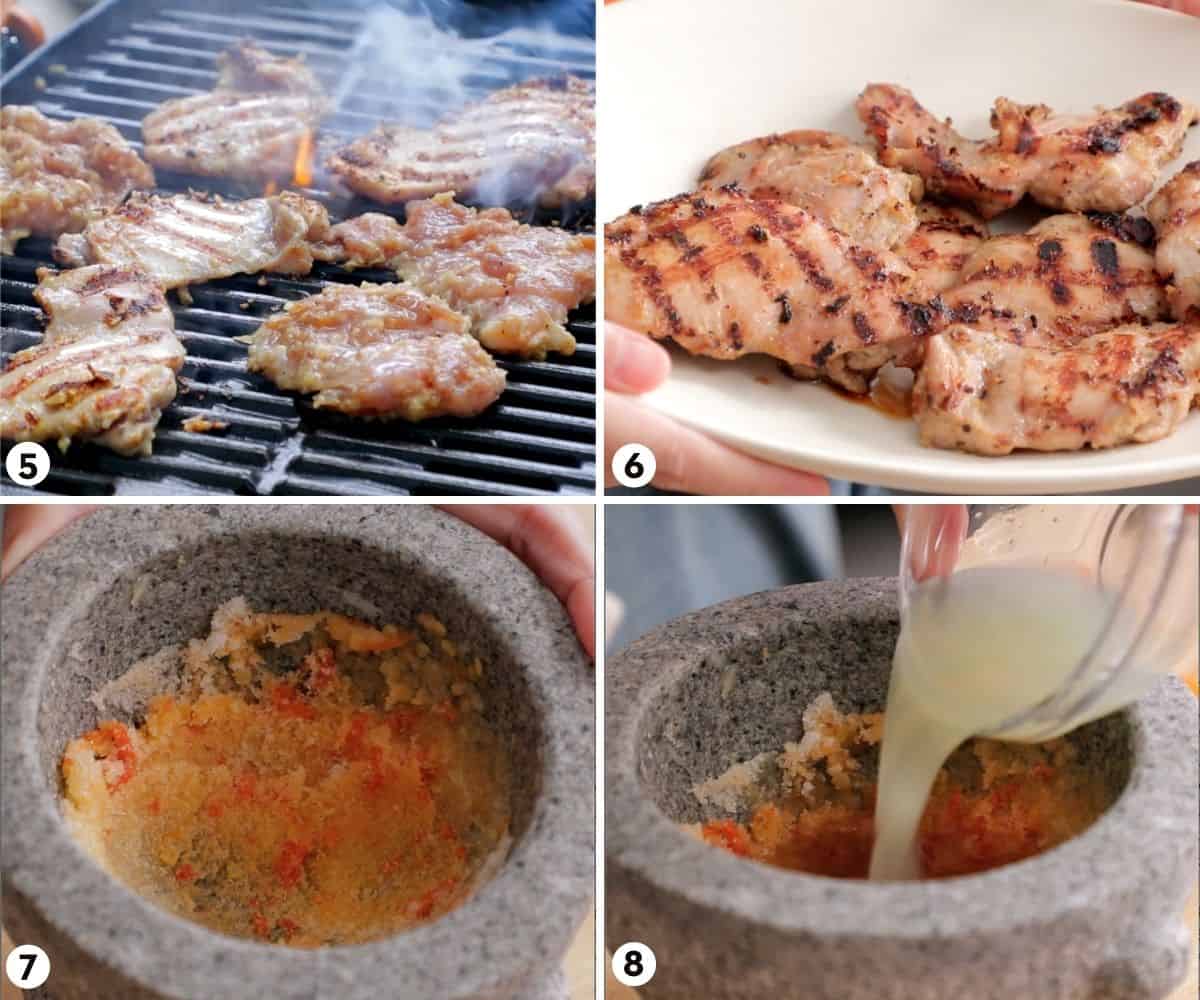
- Preheat the grill on high heat.
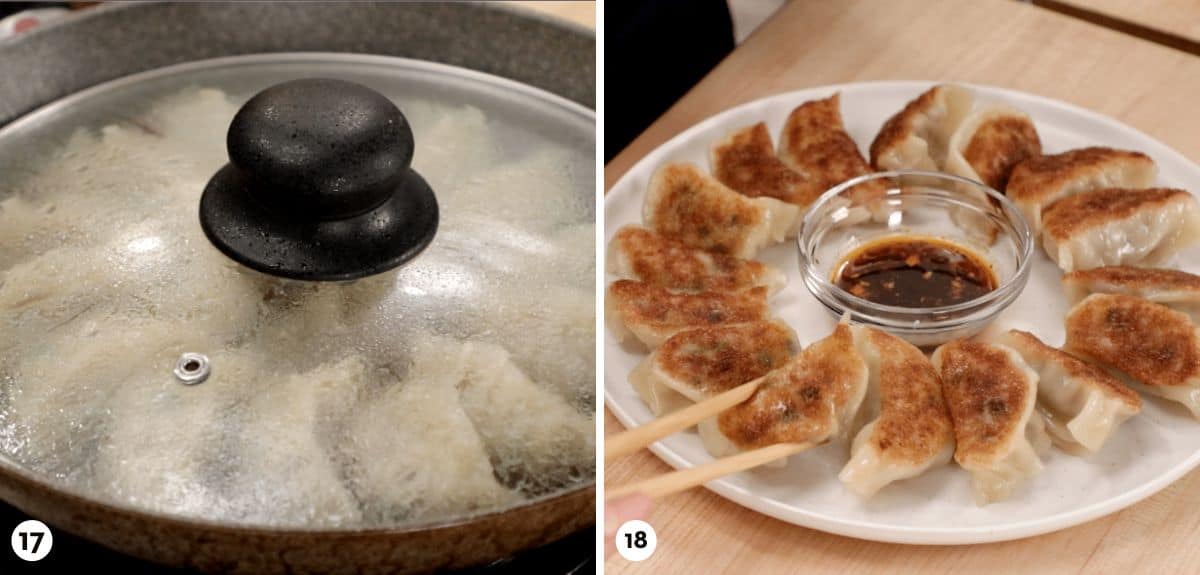
- Oil the grill grates well then place the chicken on the grill, presentation side down, and cook with the lid closed for 1-2 minutes or until the chicken has nice grill marks. Rotate the chicken 90 degrees to get the crosshatch grill marks, and let them grill for another 1-2 minutes. Tip: Skinless chicken can be sticky, so use a grill spatula to scrape the chicken off the grill rather than grabbing them with tongs which could tear the meat.
To Broil
- Set the oven rack to the top position, about 3-4 inches away from the element, and preheat the broiler on high for 5 minutes. Line a baking sheet with foil (not parchment!) and place the chicken on the baking sheet, pretty side up.
- Broil the chicken for 7-10 minutes, or until you have nice browning with little charred bits on the chicken. By the time this happens the chicken should be fully cooked. Don't flip the chicken; if you try to broil both sides the chicken will not have enough time to develop any browning—it's better to get a good char on one side than none!
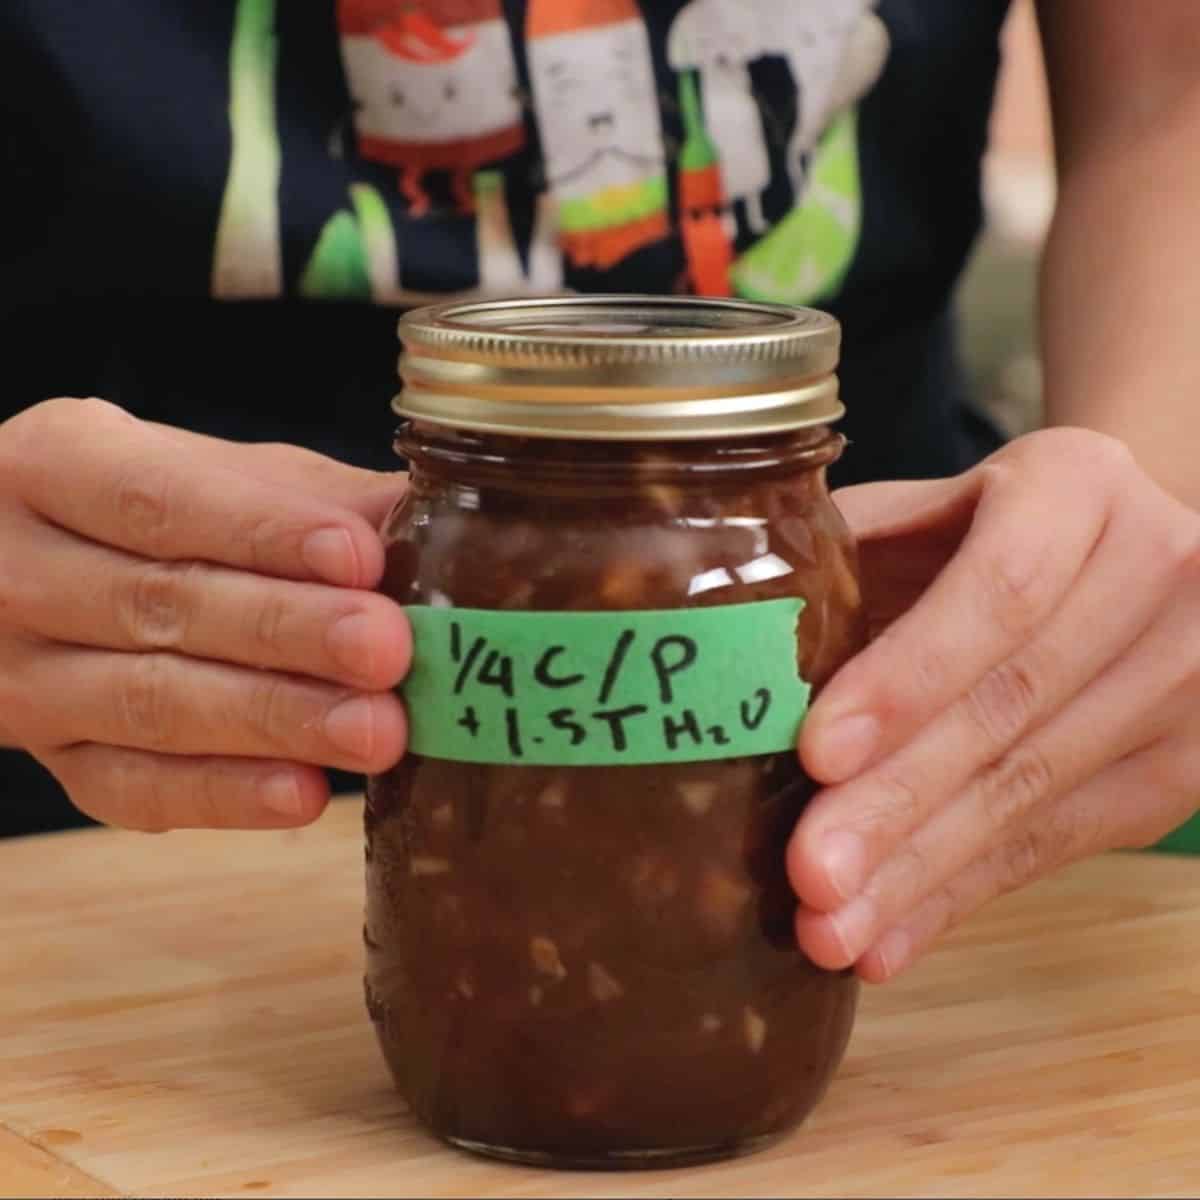
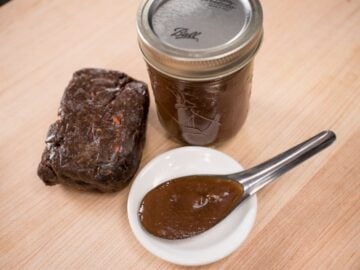
For the dipping sauce
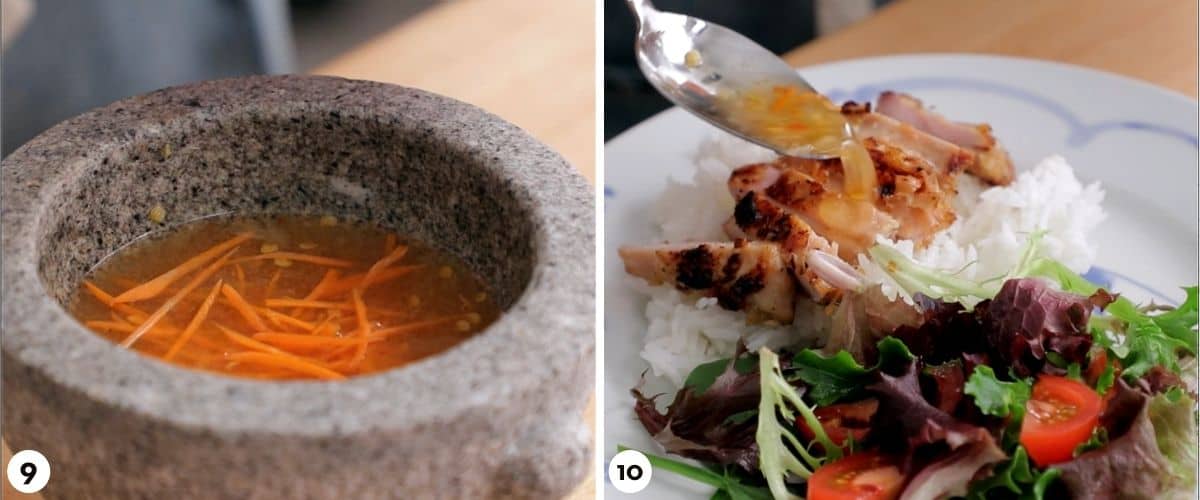
- Pound together the garlic and chili into a rough paste. Add the sugar and grind in a circular motion to break up the chilies further. Add all remaining ingredients and stir until the sugar is dissolved. This can be stored in the fridge for a few weeks.1 small garlic clove, 1 Thai chili, 1 ½ tablespoon sugar, ¼ cup water, 2 tablespoon lime juice, 1 ½ tablespoon fish sauce