Fresh soy milk is a quintessential Thai breakfast. It's one thing I miss most about Thailand, but luckily it's easy to make at home. If the only soy milk you've had comes from a carton, you owe it to yourself to try a homemade one as they taste nothing alike! In this post I'll also show you how to have it Thai-style with all the add-ins!
Why Make Your Own Soy Milk?
In short, homemade soymilk and the commercial versions, such as Silk, taste nothing alike. And I mean NOTHING. IMO fresh tastes better, as you might expect. When I first came to canada, I bought myself a carton of Silk, thinking how convenient it is that I can just grab my favourite breakfast drink at the supermarket in Canada! I was so excited for my first gulp, only to be stunned by how it looked and tasted completely different from the soymilk I grew up drinking.
I did not understand how something that contains basically ONE ingredient (soybeans) can taste so different...until I looked at the ingredient list of Silk and realized there were many more than one, including thickeners and flavouring. No wonder. Here, they try to make soy milk taste as much like milk as possible because they're marketing it as a milk substitute. But in Asia, we drink soy milk for the joy of soy milk itself.
Thankfully, it's pretty straight forward to make at home. Once you know the process, you don't even really need the measurements. We never used any measurements growing up!
Soymilk in Thailand
In Thailand, soy milk is called น้ำเต้าหู้ nam taohu (literally translated as "tofu water" which I know isn't the most appetizing but very much accurate, lol). It is most commonly sold by street carts and it's widely available. The soy milk is made fresh, day by day, and it's served steaming hot. Although it can be enjoyed any time of day, it's popular in the morning as breakfast.
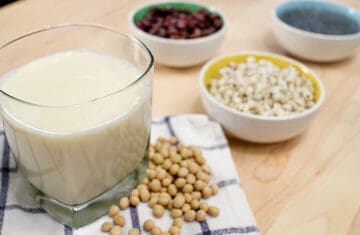
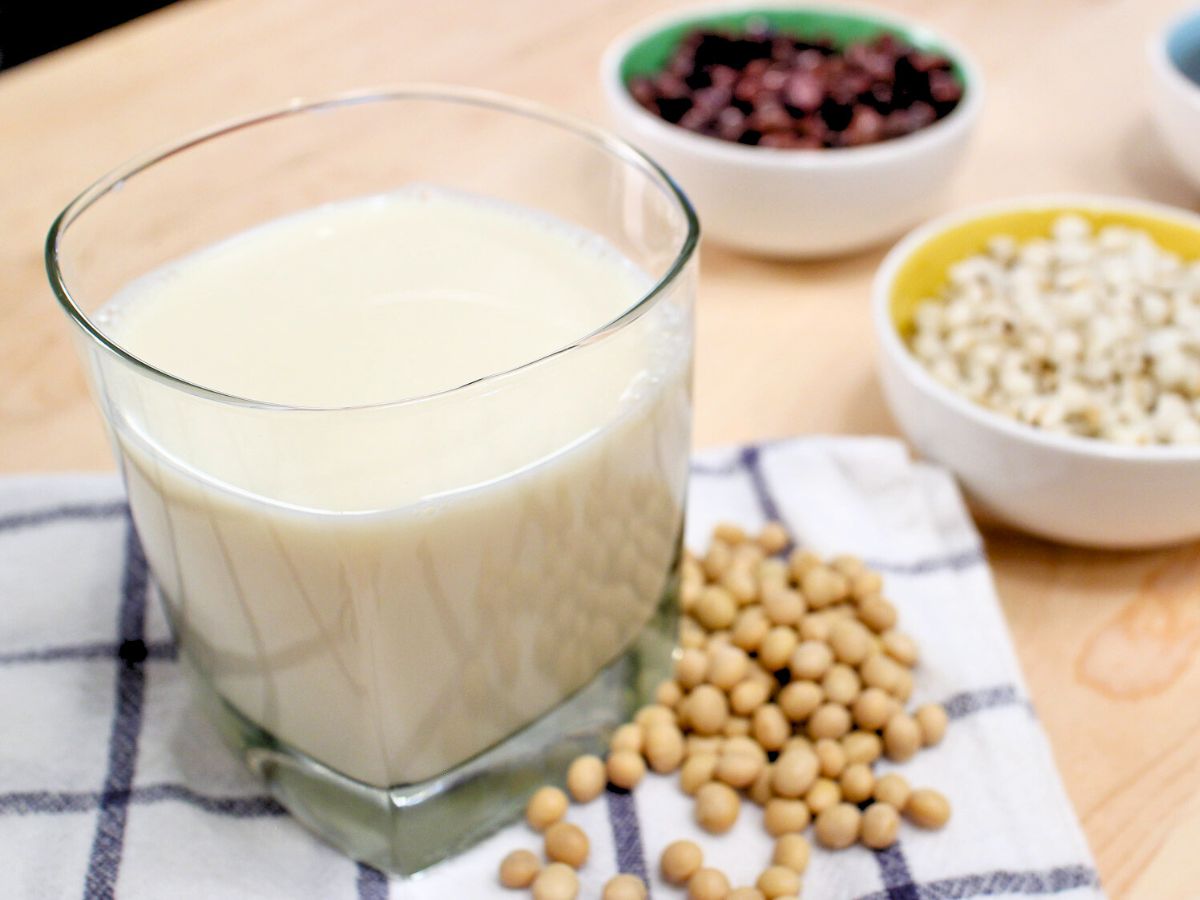
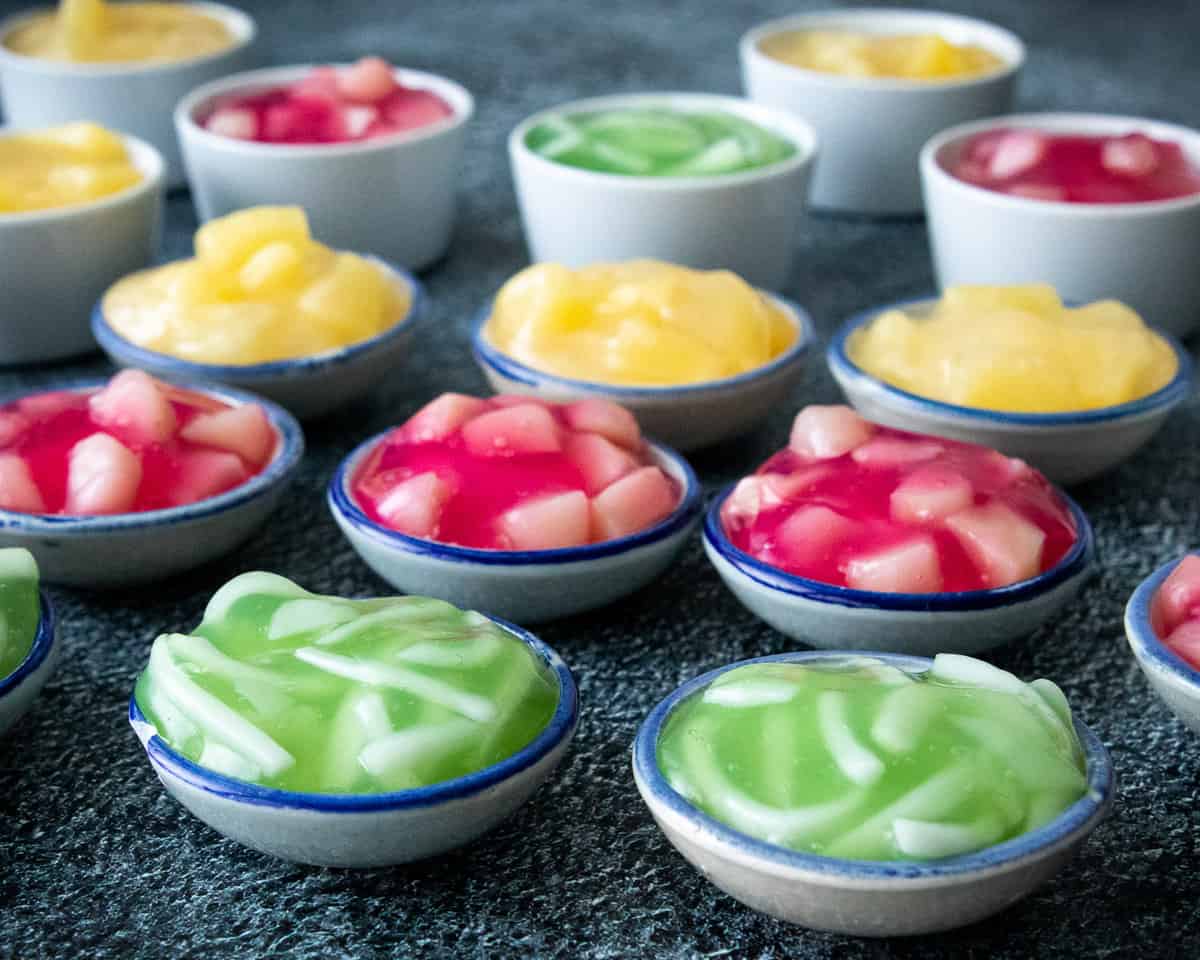
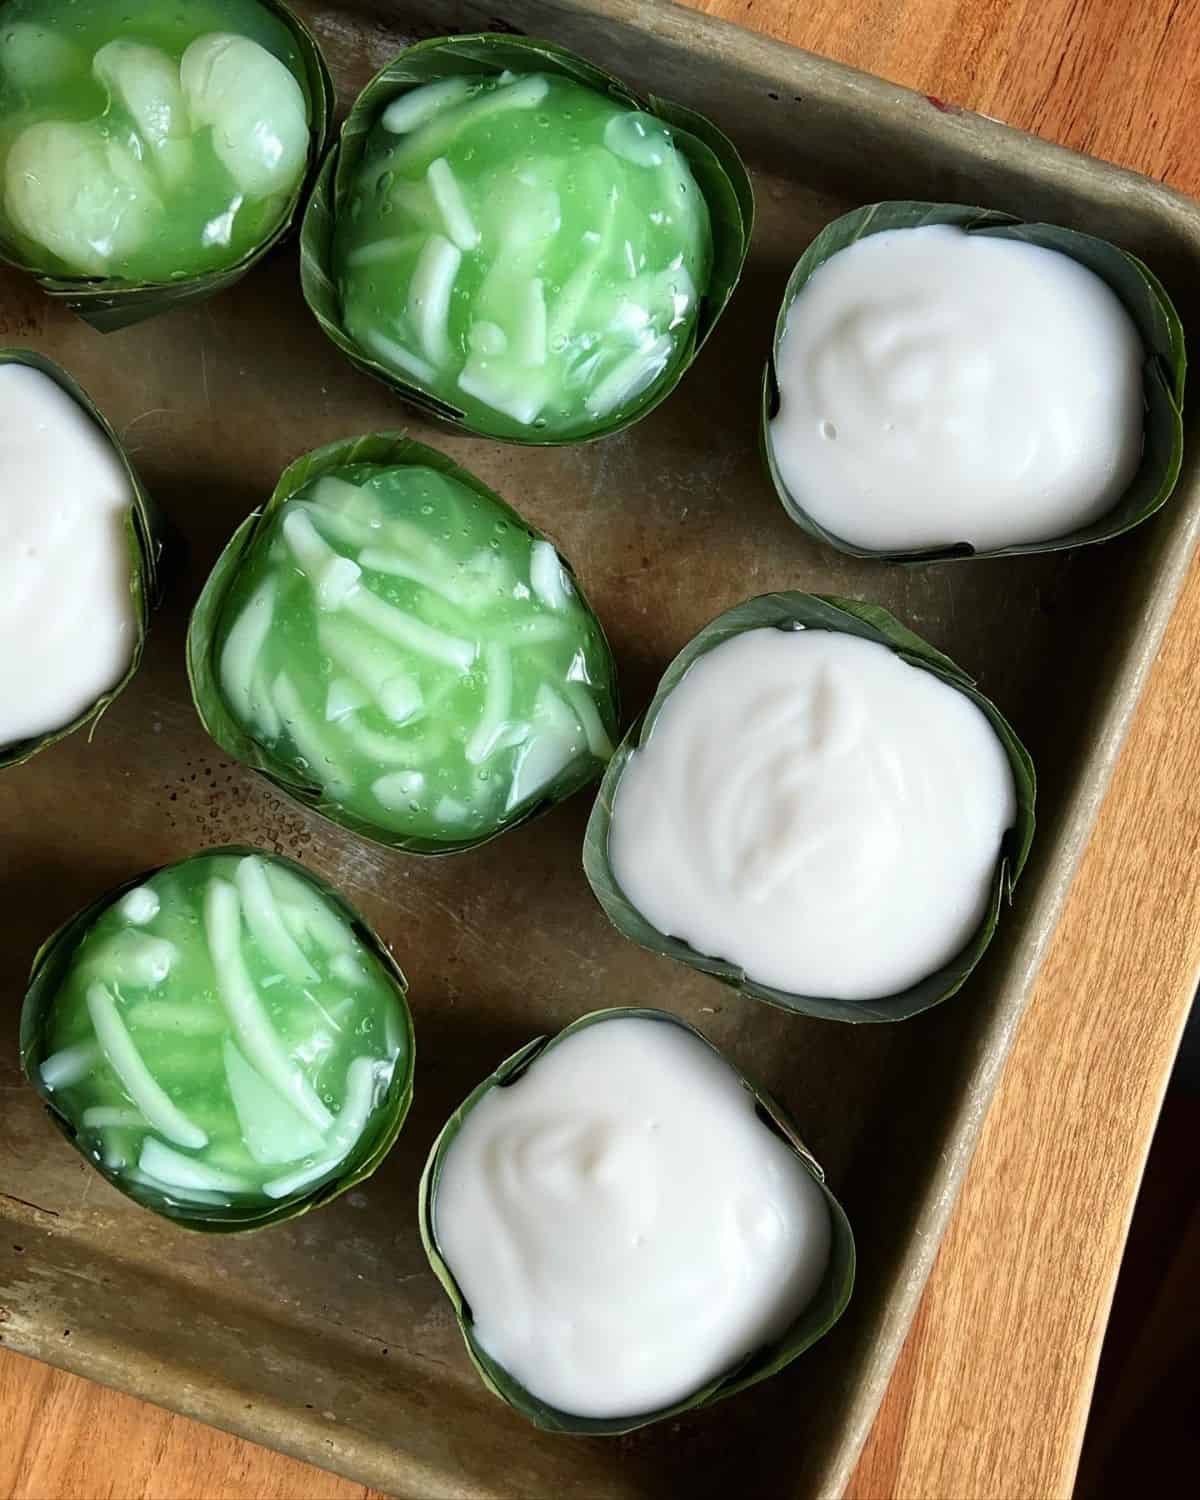
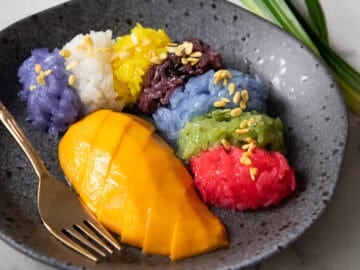
To make it a meal, we add beans, grains, and other add-ins to make it more nutritious and filling, and I'll show you a few of my favourites in this post. So it's kind of like a healthy version of bubble tea! You can order it sweetened or unsweetened, and some vendors also offer a black sesame flavour where they grind up toasted black sesame seeds in with the soy milk.
Watch The Full Video Tutorial!
All my recipes come with step-by-step video tutorials with extra tips not mentioned in the blog post, so make sure you watch the video below to ensure success - and if you enjoy the show, please consider subscribing to my YouTube channel. Thank you!
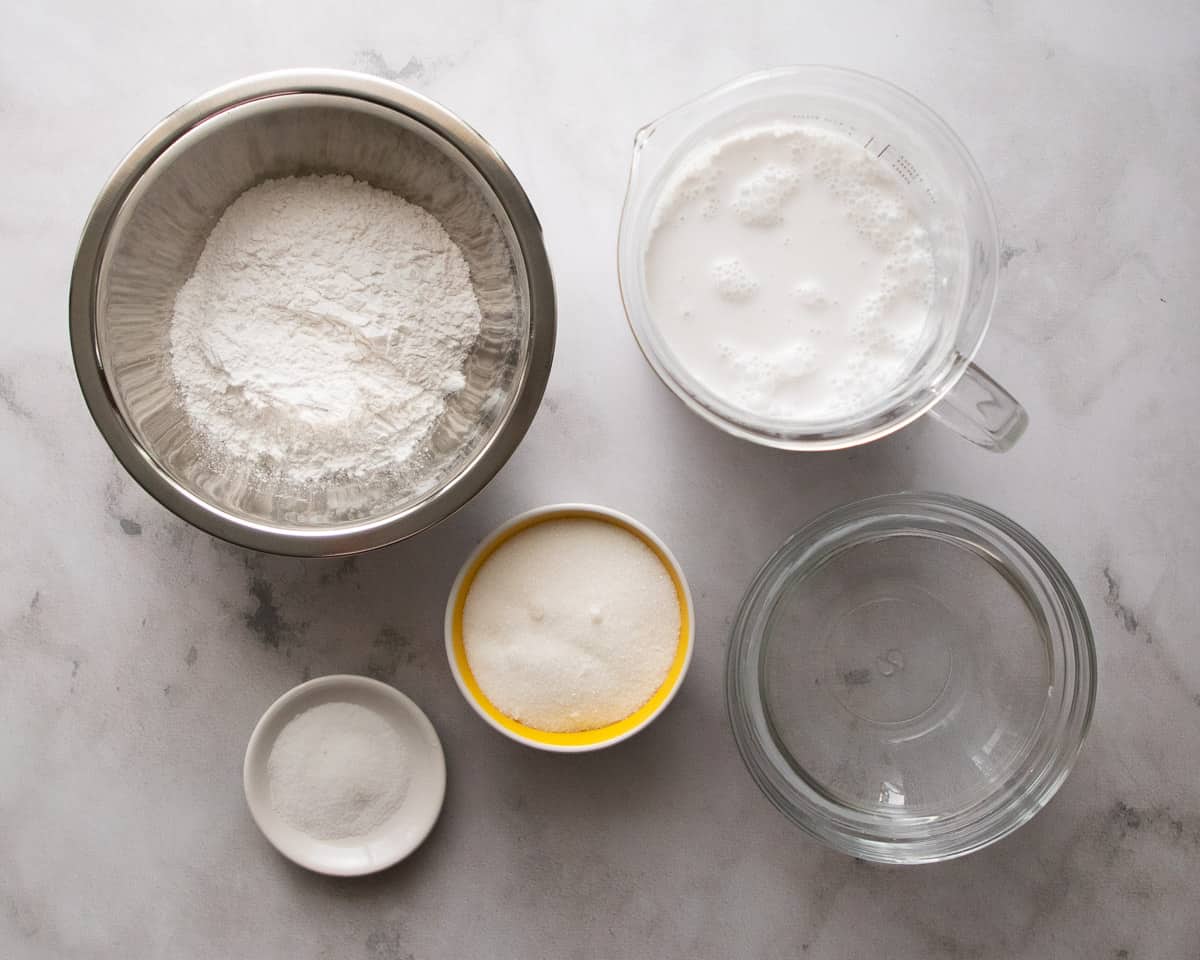
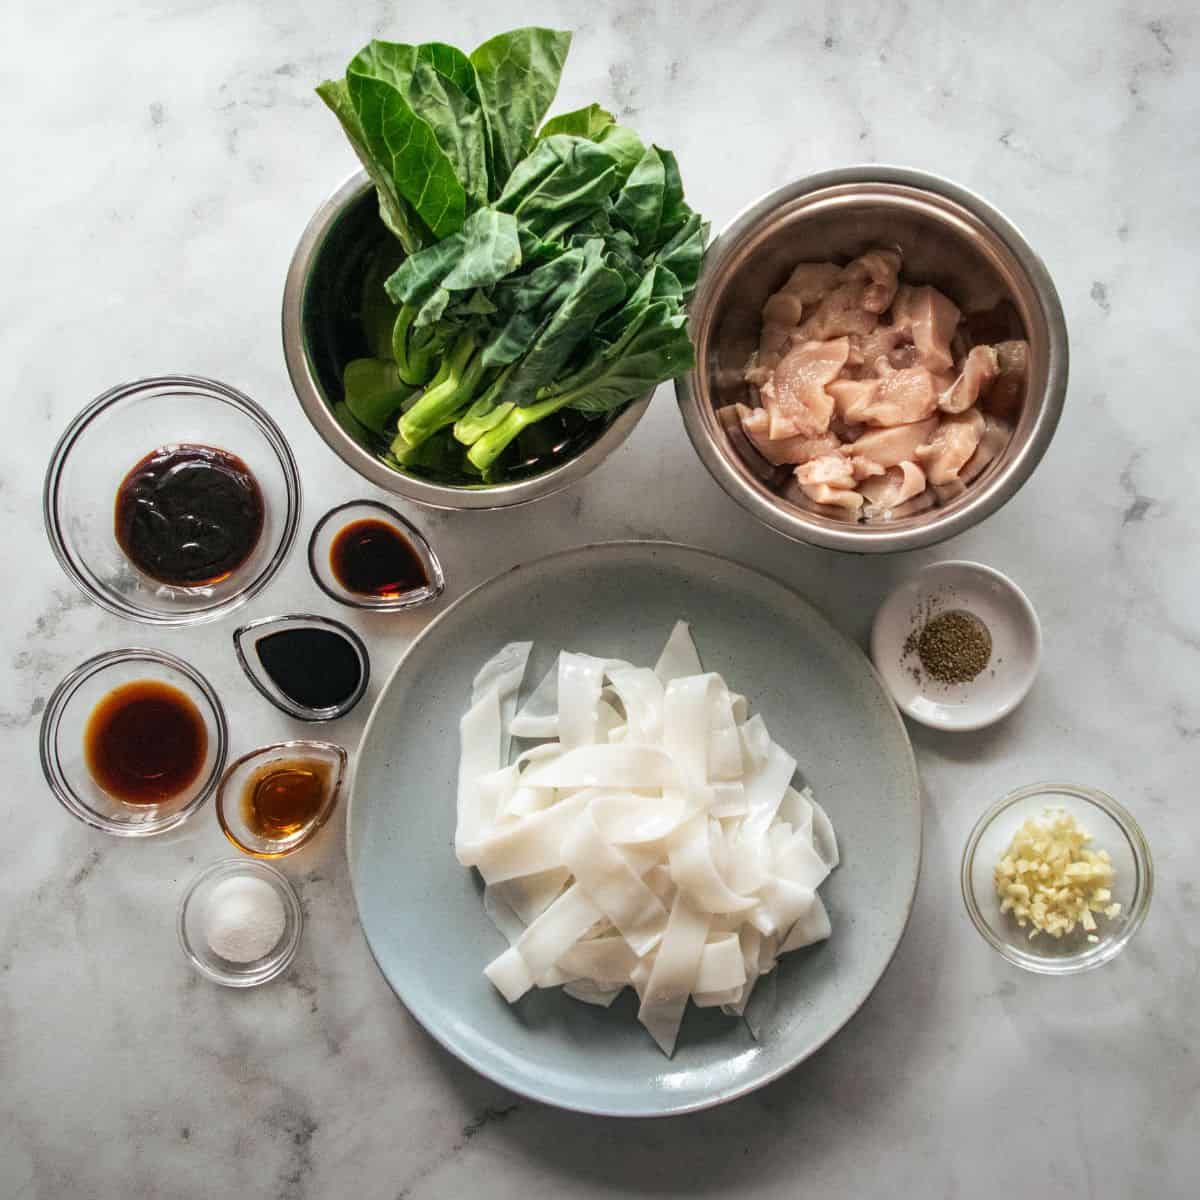
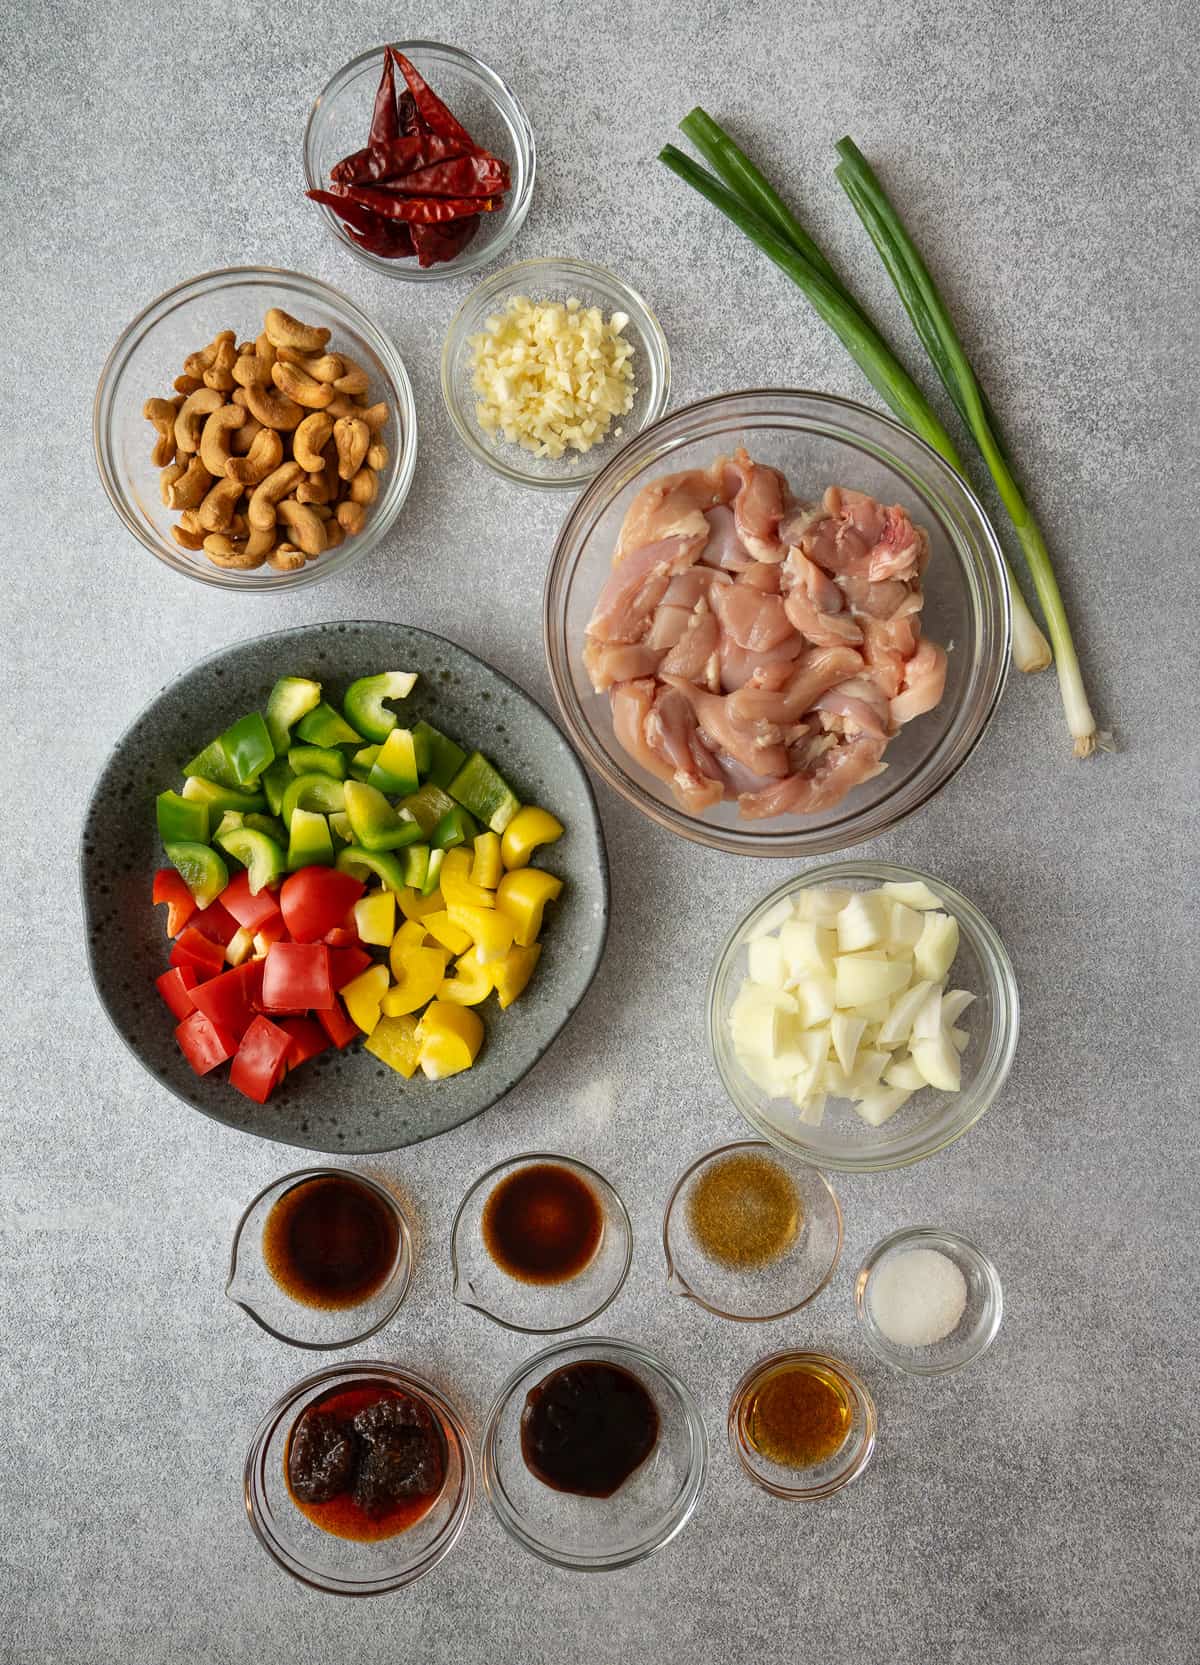
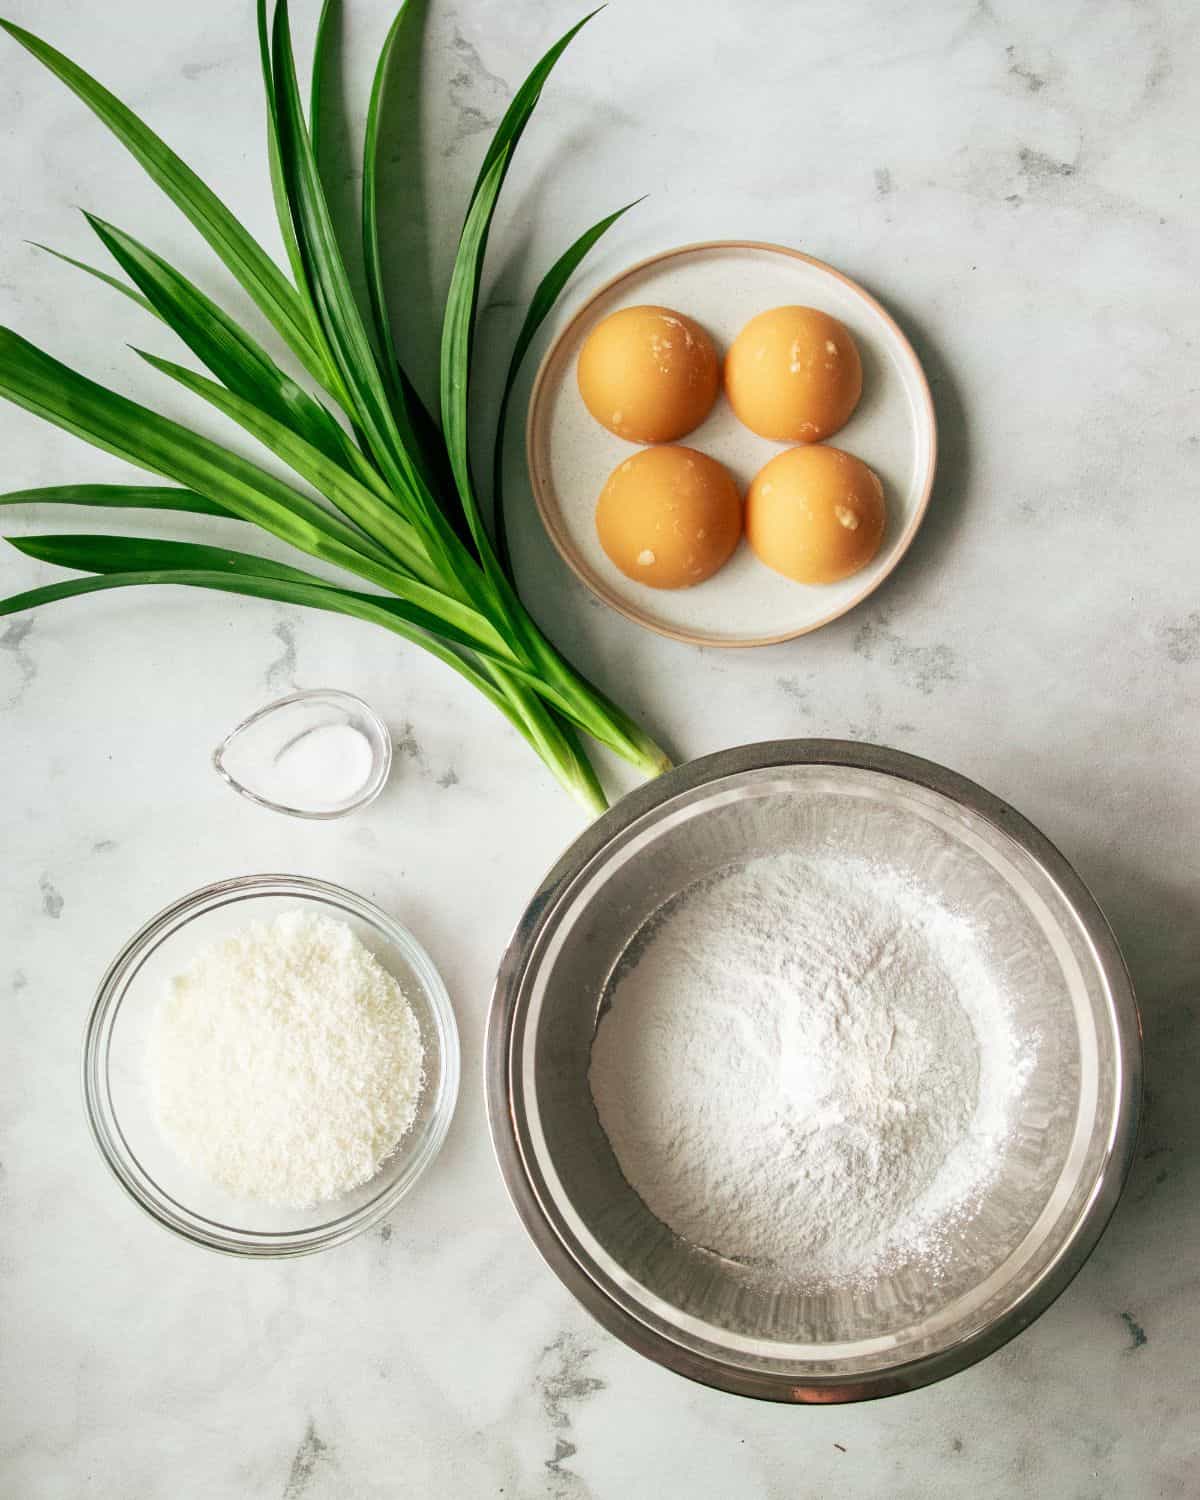
Ingredients and Notes
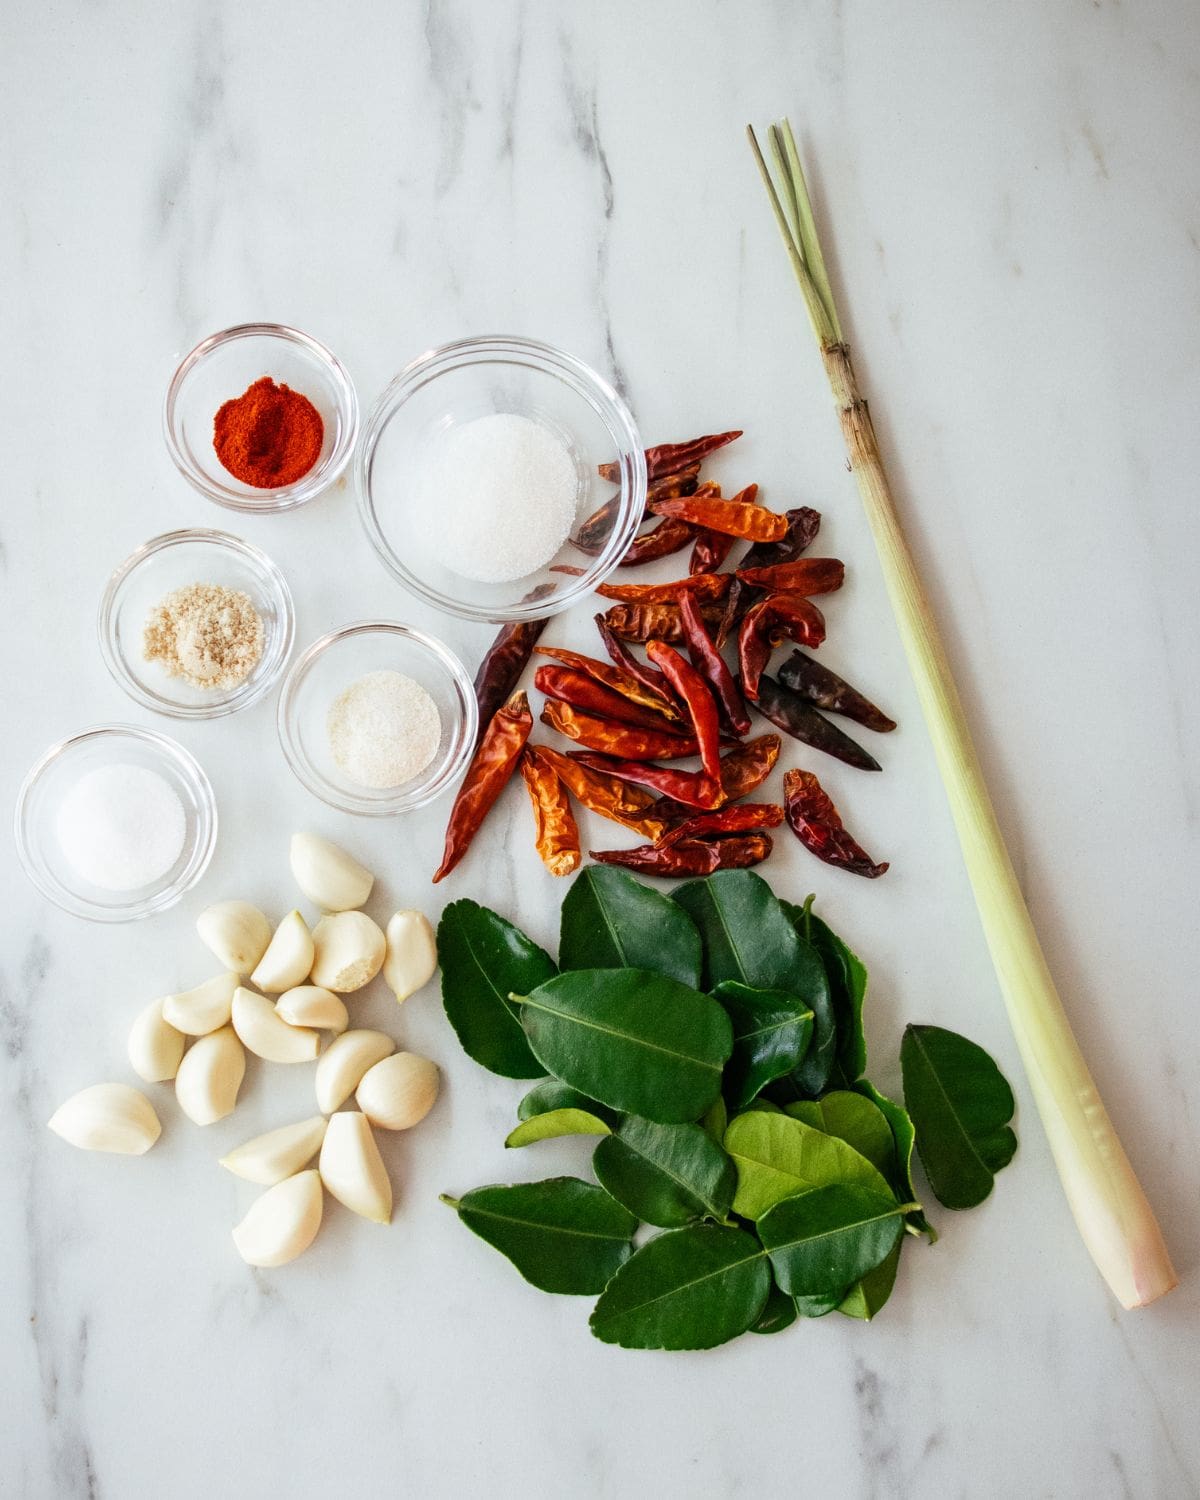
If you only have soybeans, you can make soy milk, but there are a few optional ingredients to make it a little more special. For amounts, check out the full recipe card below.
- Dry soybeans, preferably split, which will take less time to hydrate and you wouldn't also have to deal with the exterior membrane, but whole soybeans will work absolutely fine.
- Water
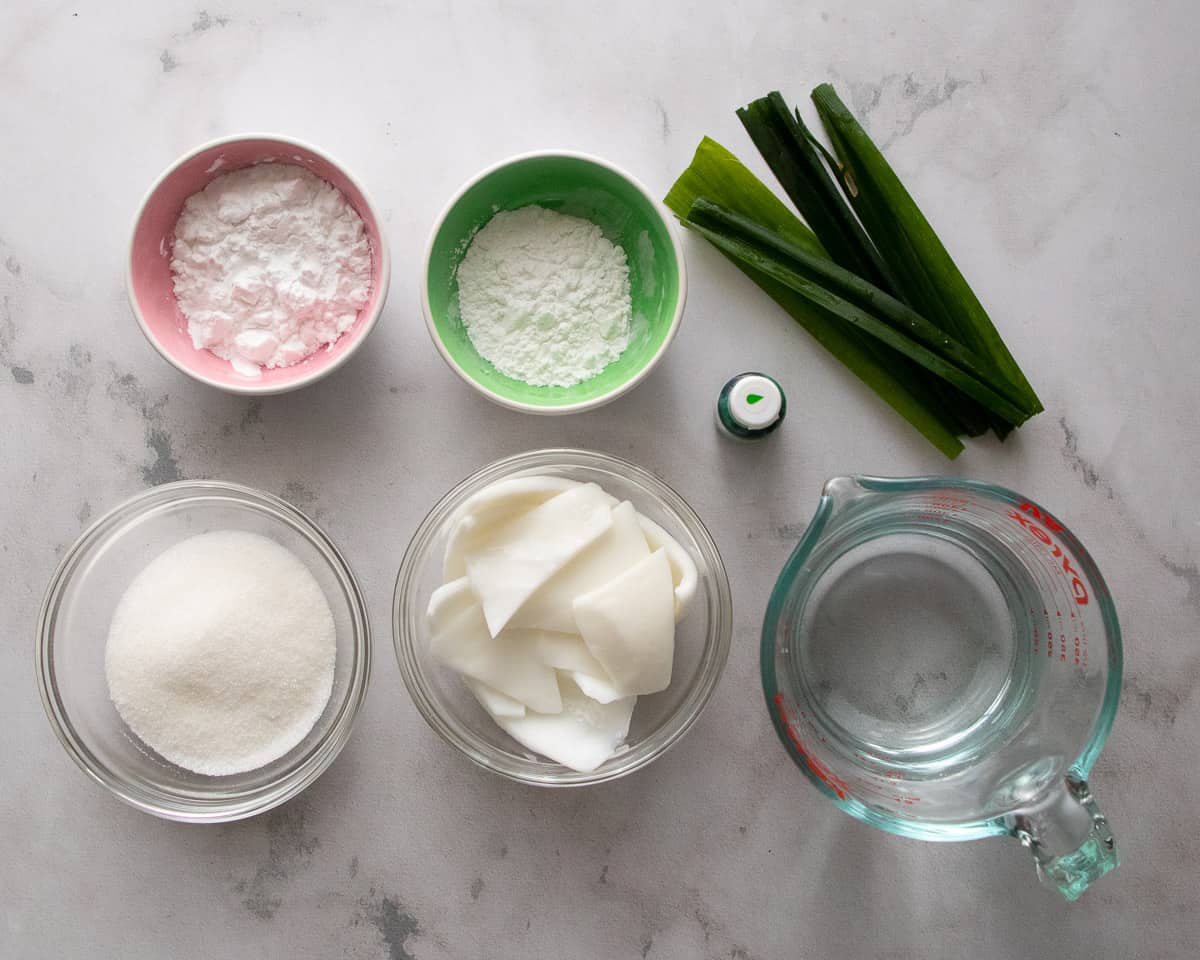
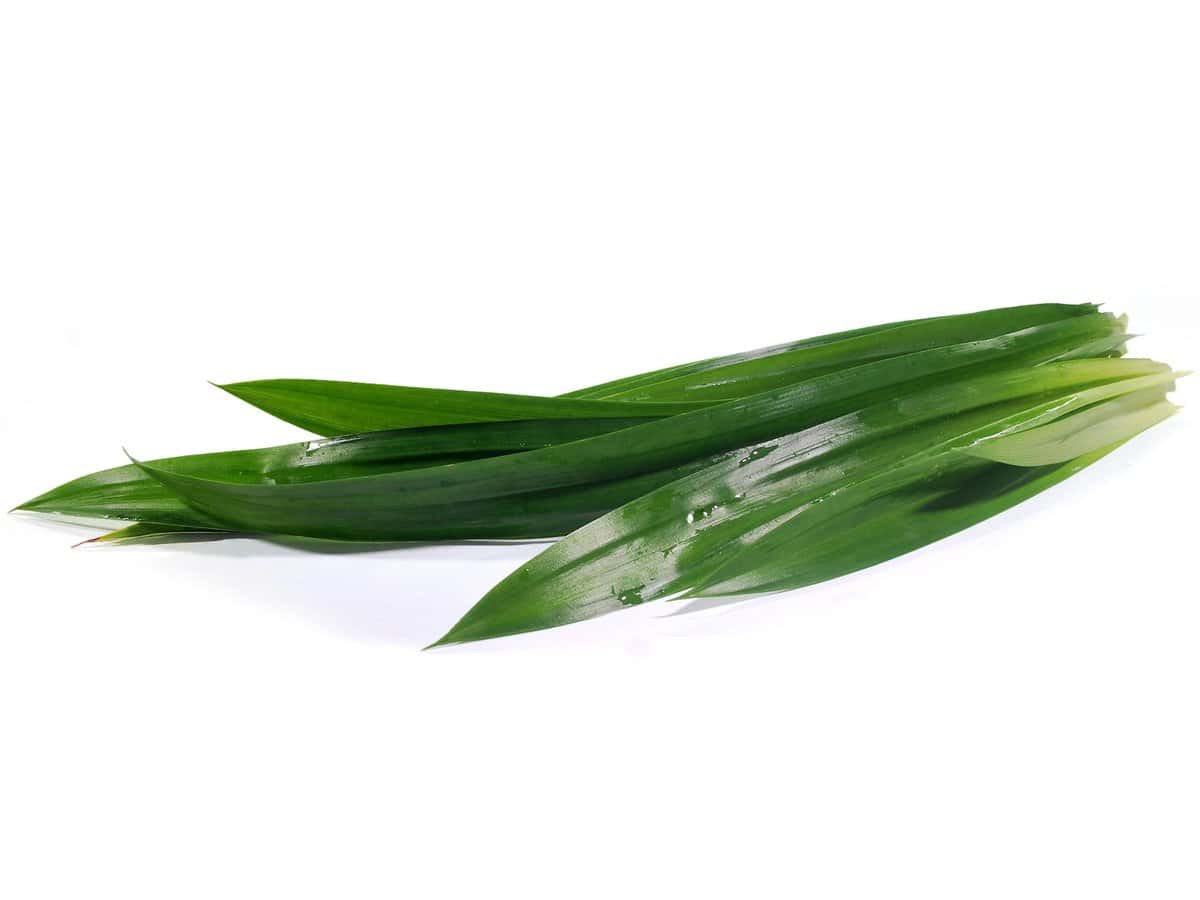
- Pandan leaf (optional). Pandan leaves are aromatic leaves commonly used in Thai desserts. We often add it to soy milk for an extra aroma, but we're very light handed with it as we don't want it to taste distinctly like pandan. Pandan leaves are available fresh and frozen at some Asian grocery stores.
- Salt (optional). I like to add a pinch to balance the sweet, but often skip it. Try adding it to a glass and see how you like it with and without!
- Sugar or other sweeteners, to taste, optional. White sugar is fine, as is brown sugar or honey. Feel free to sub any sweeteners you want for a sugar free version.
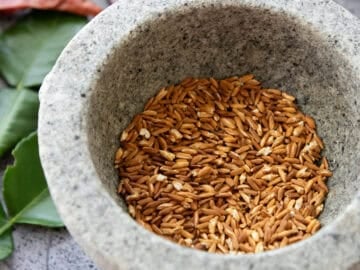
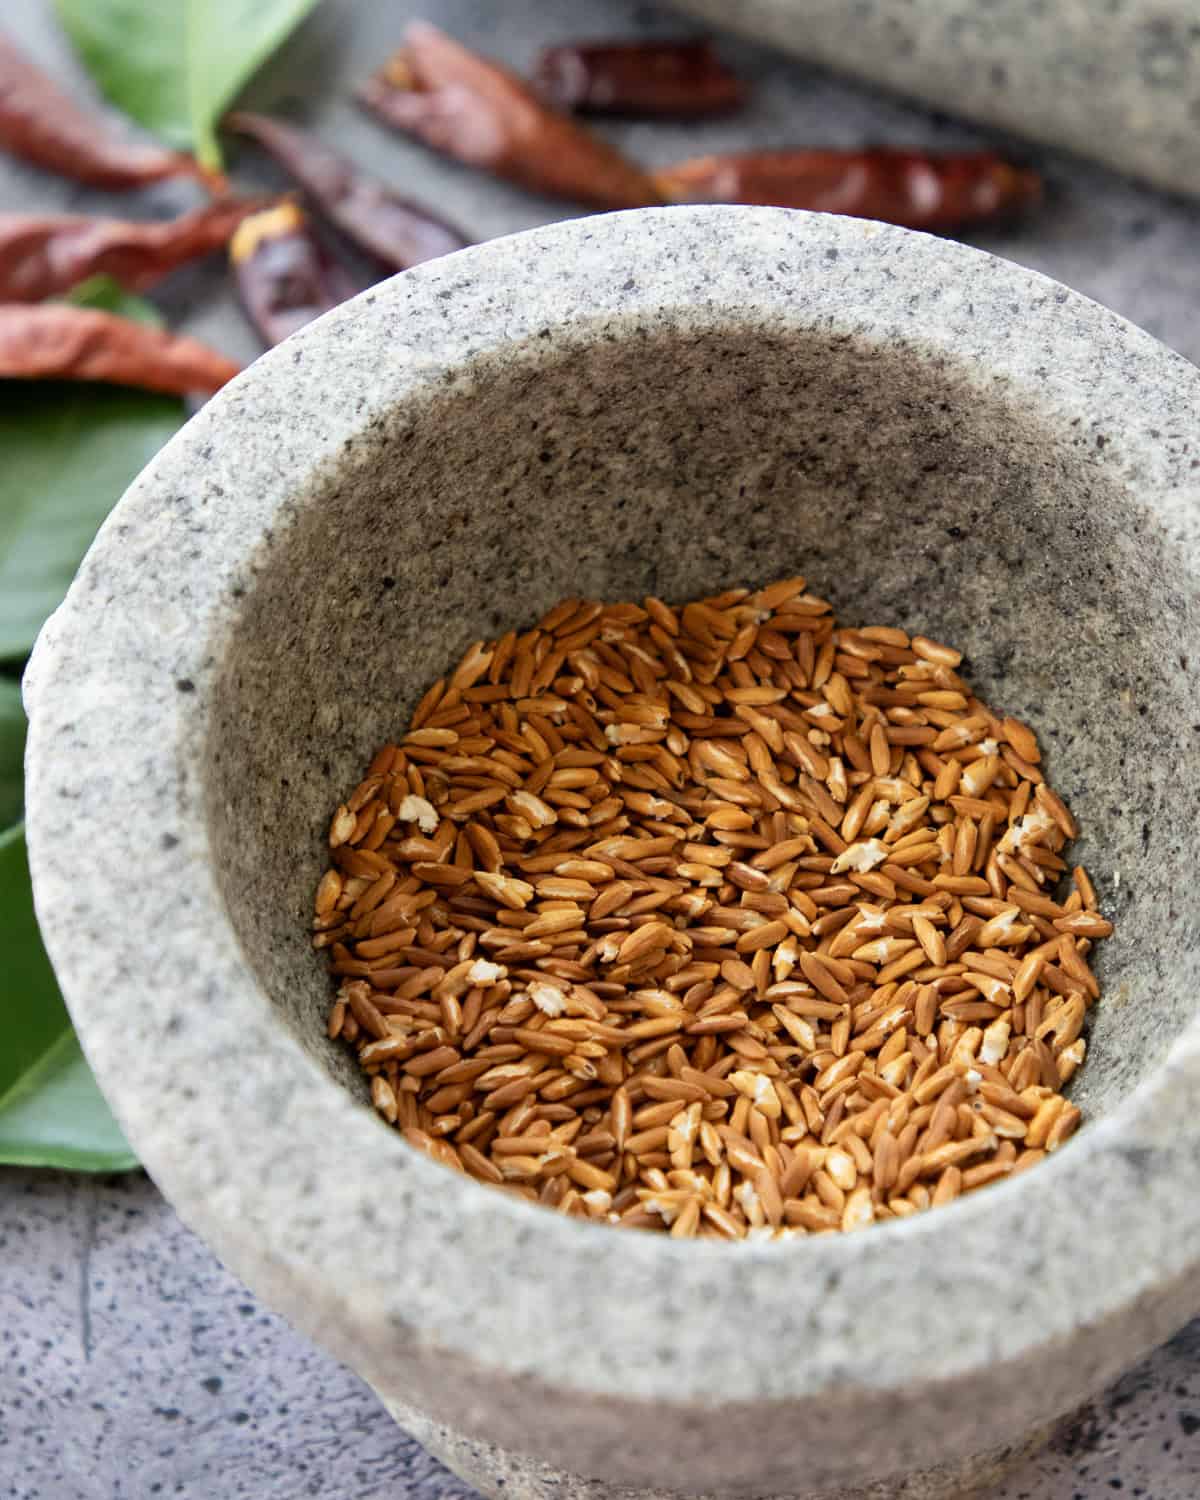
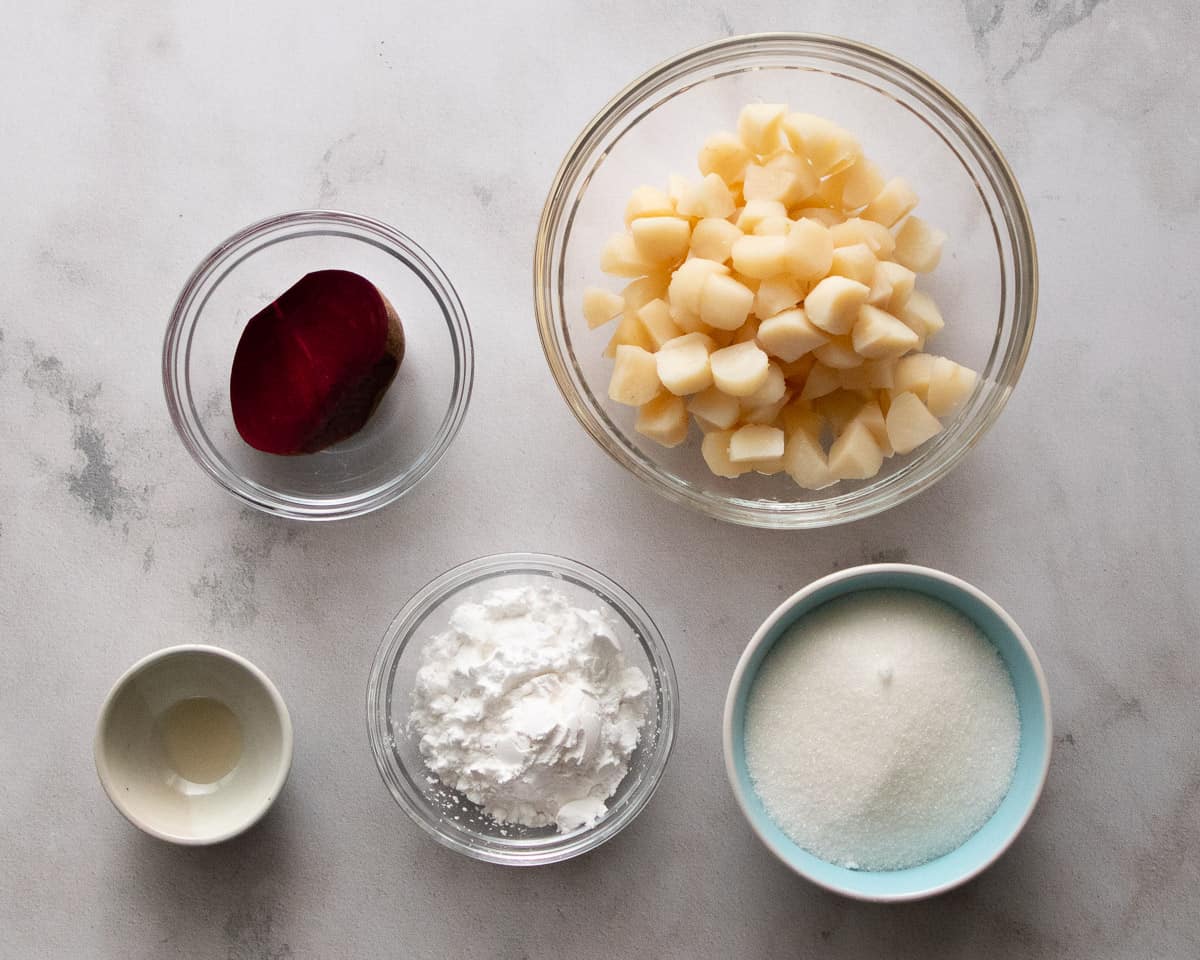
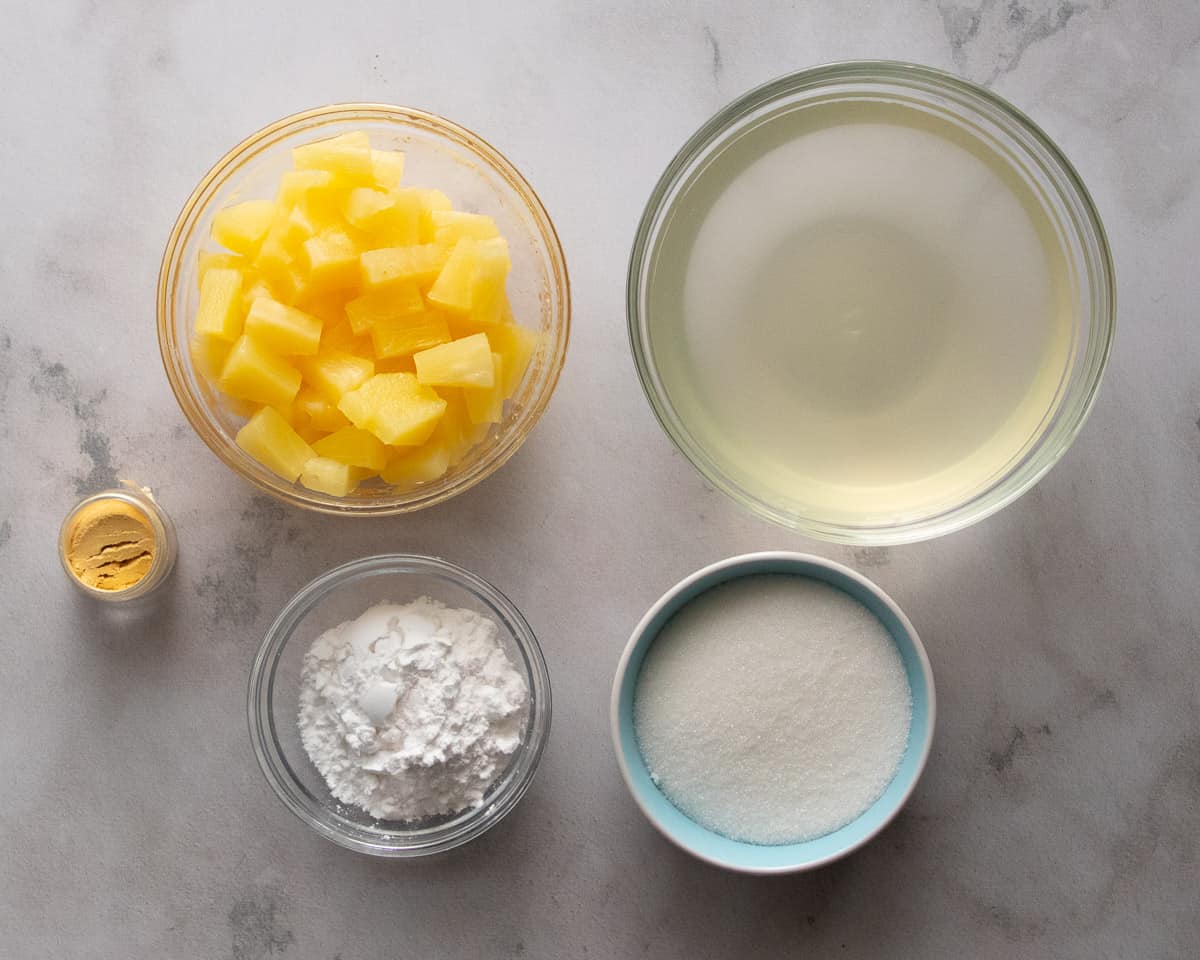
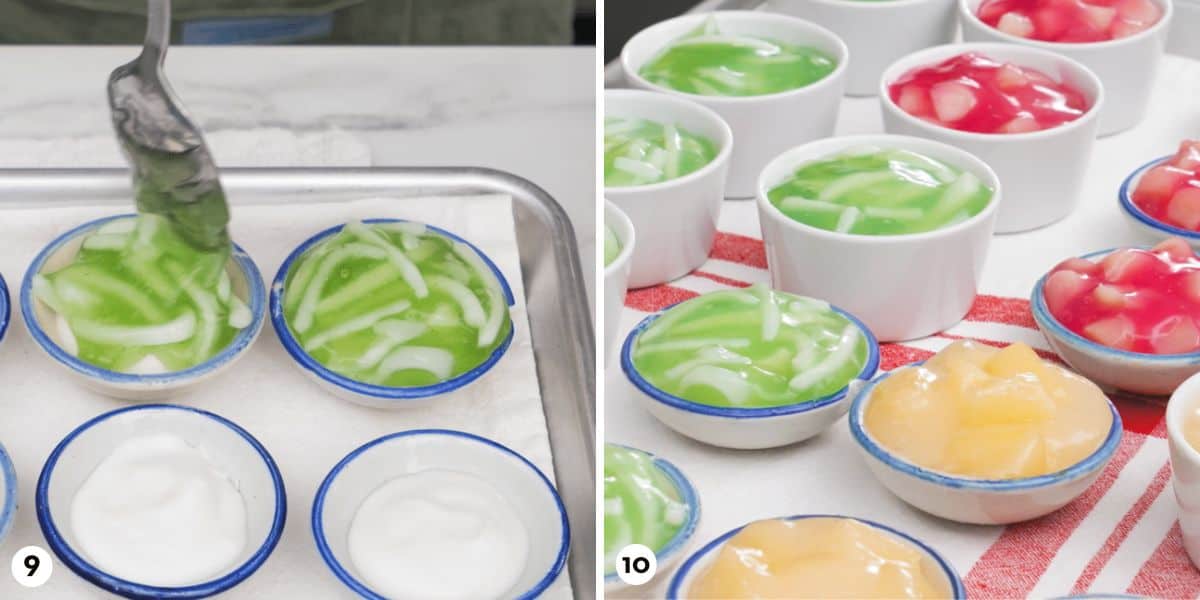
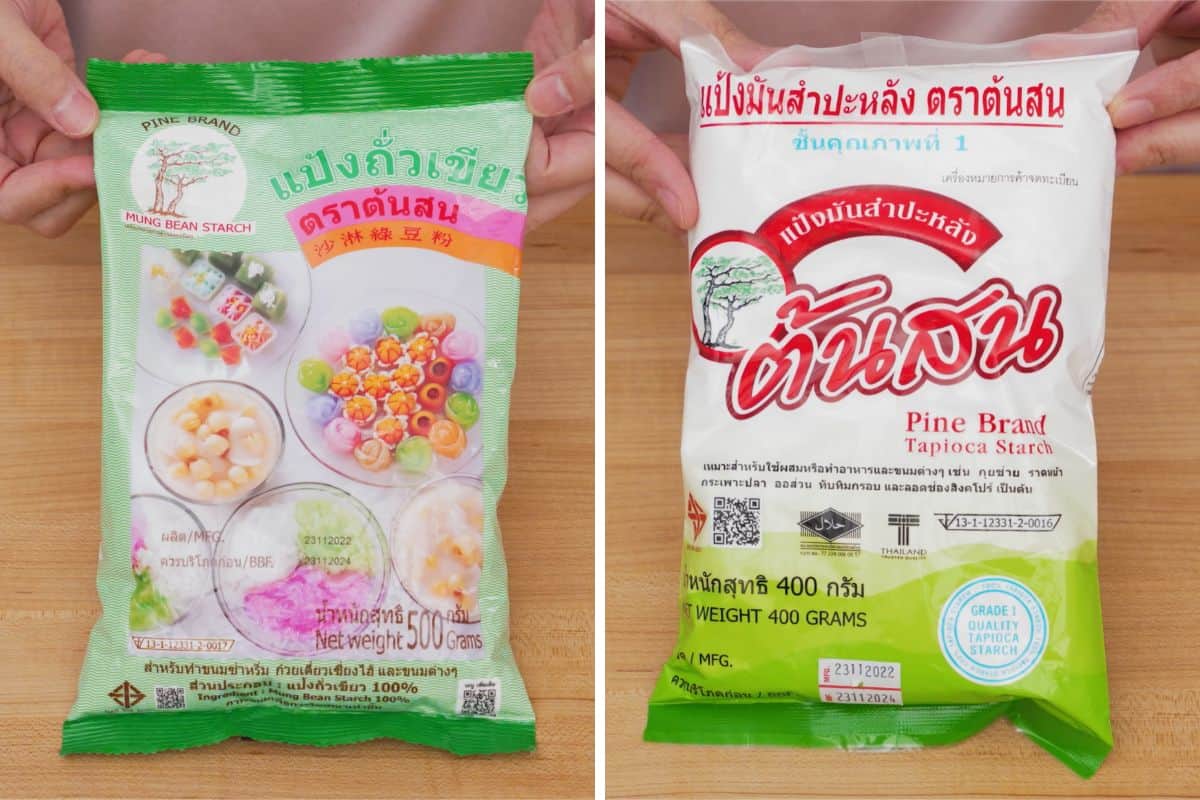
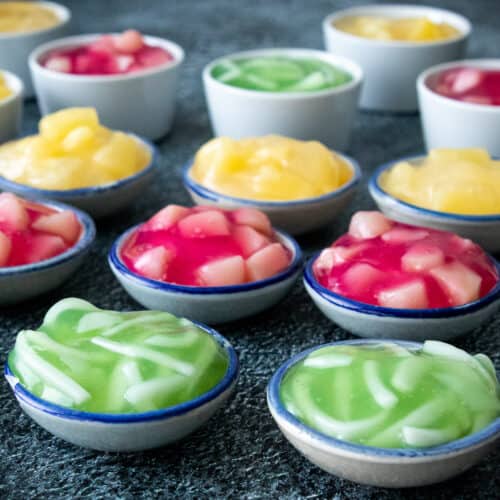
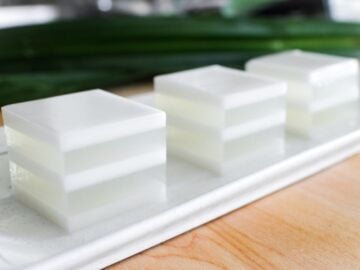
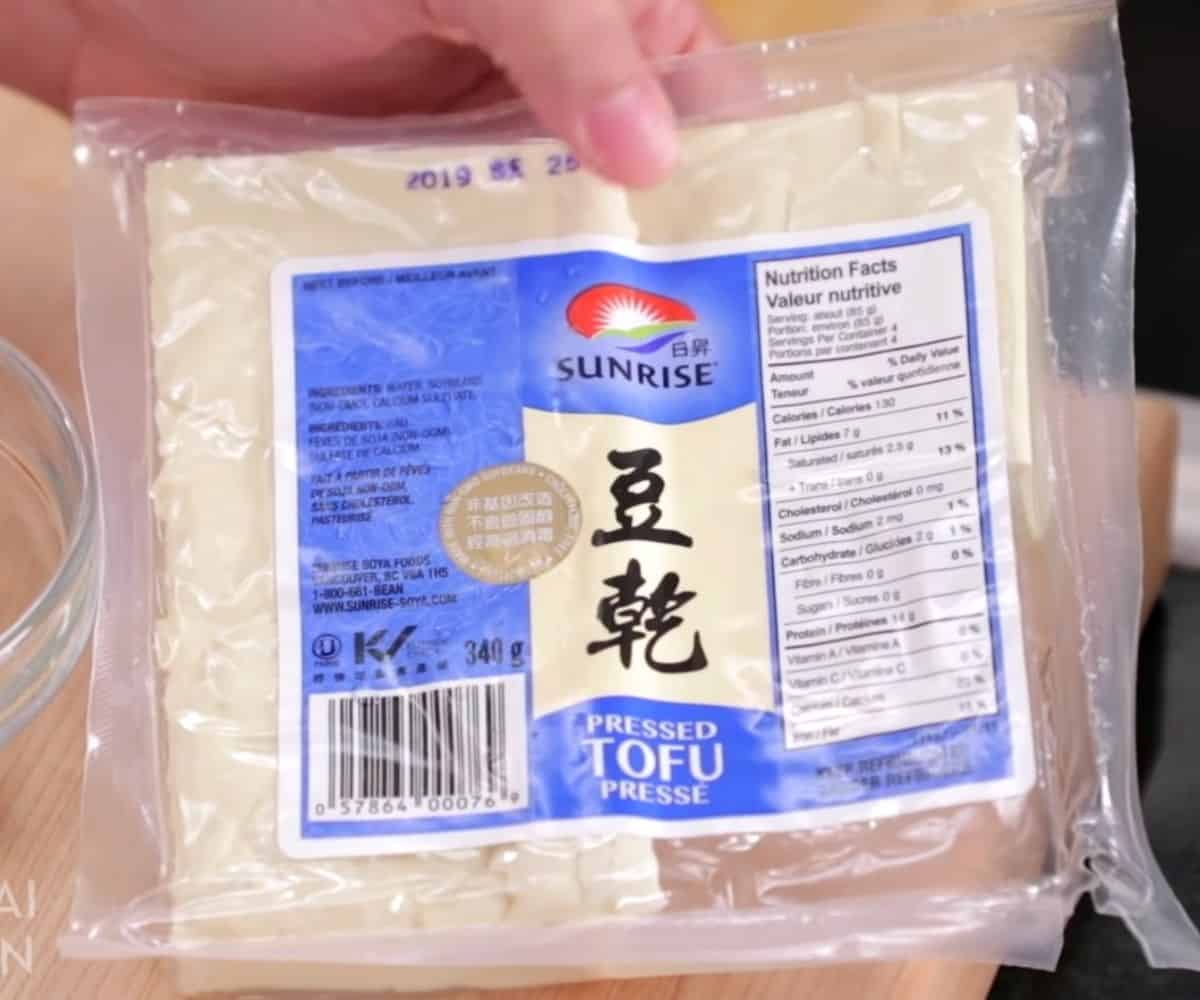
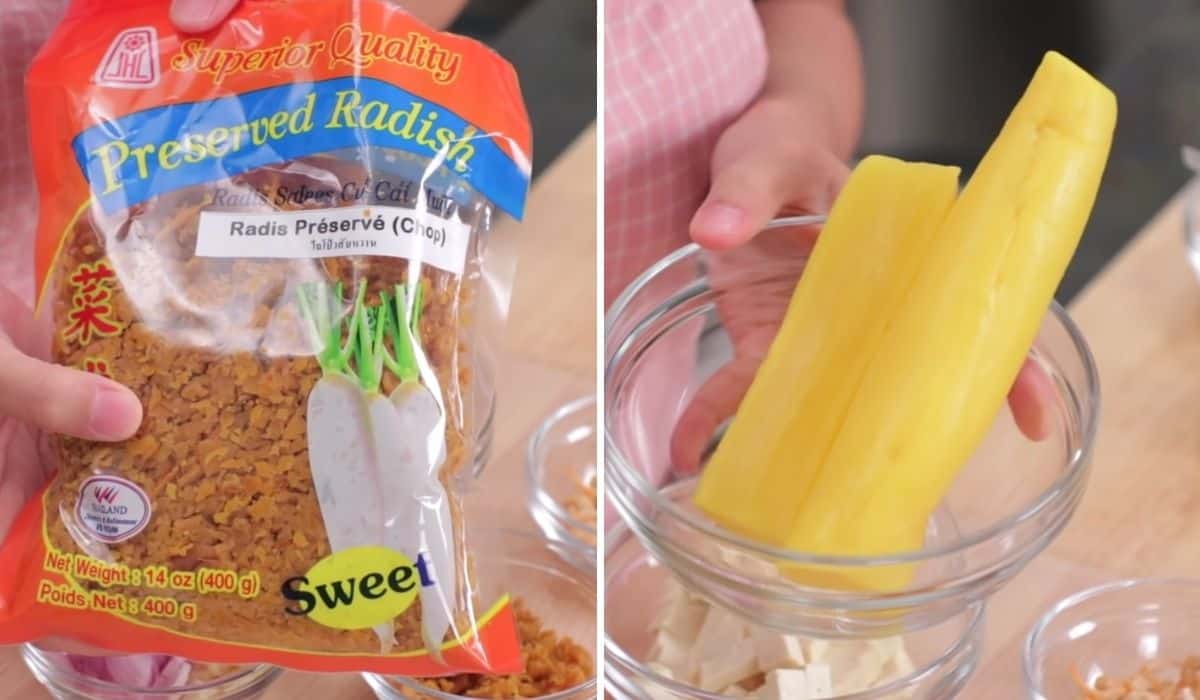
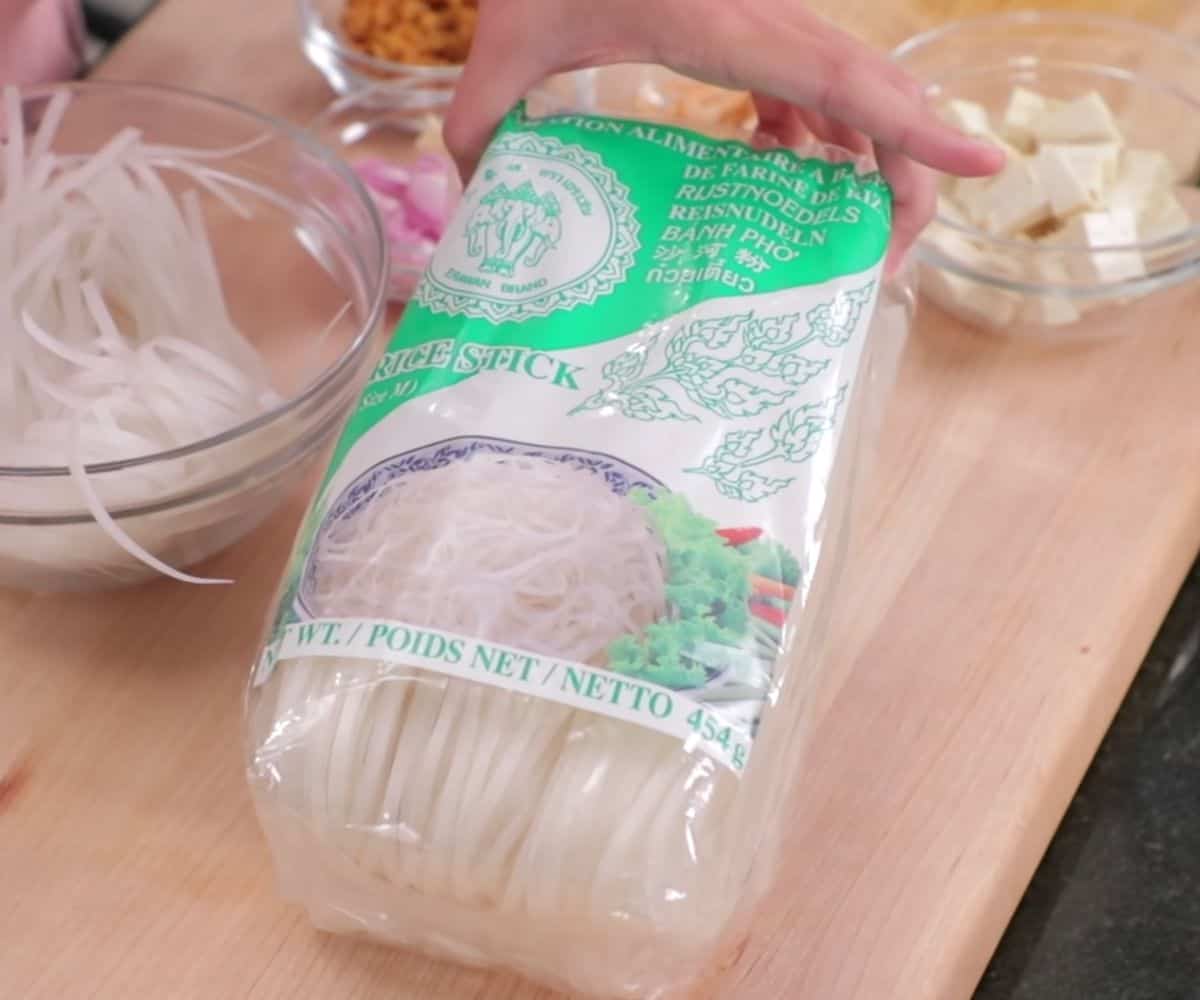
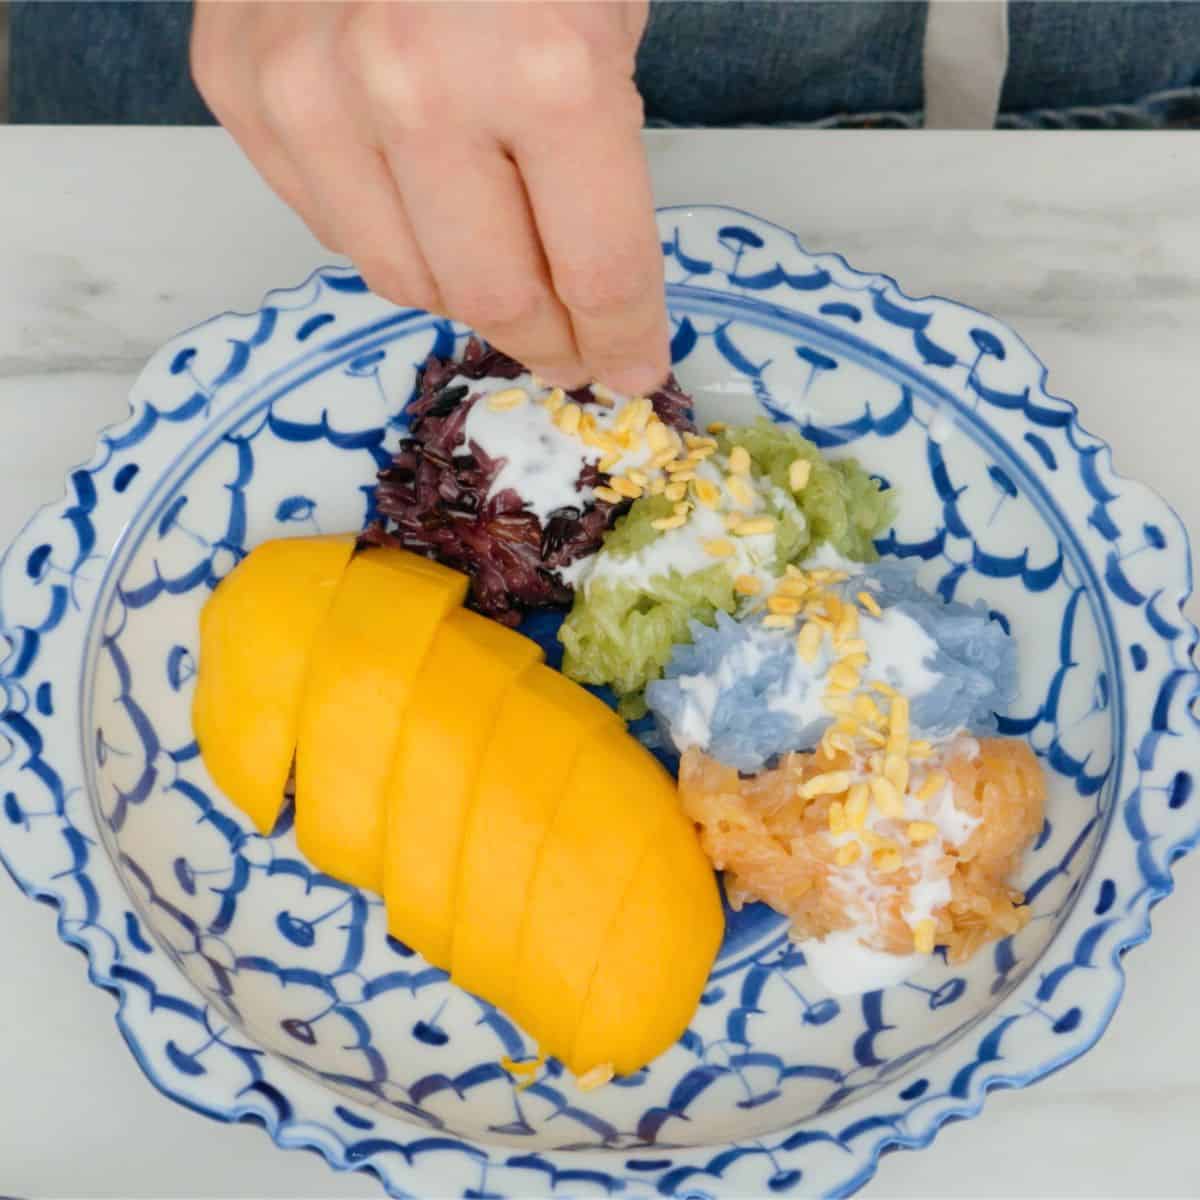
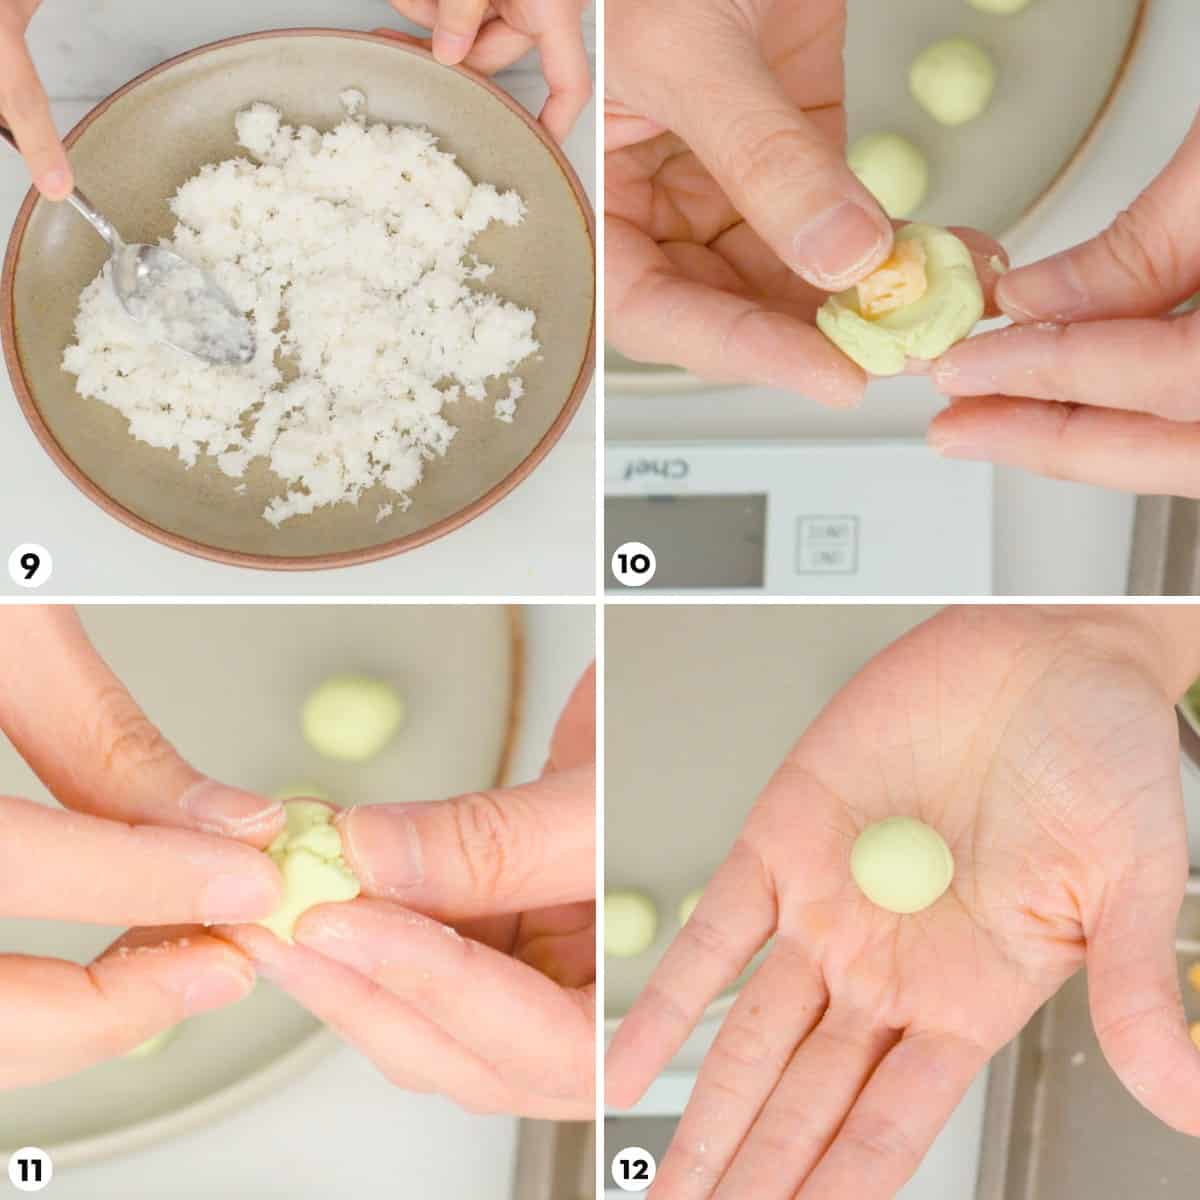
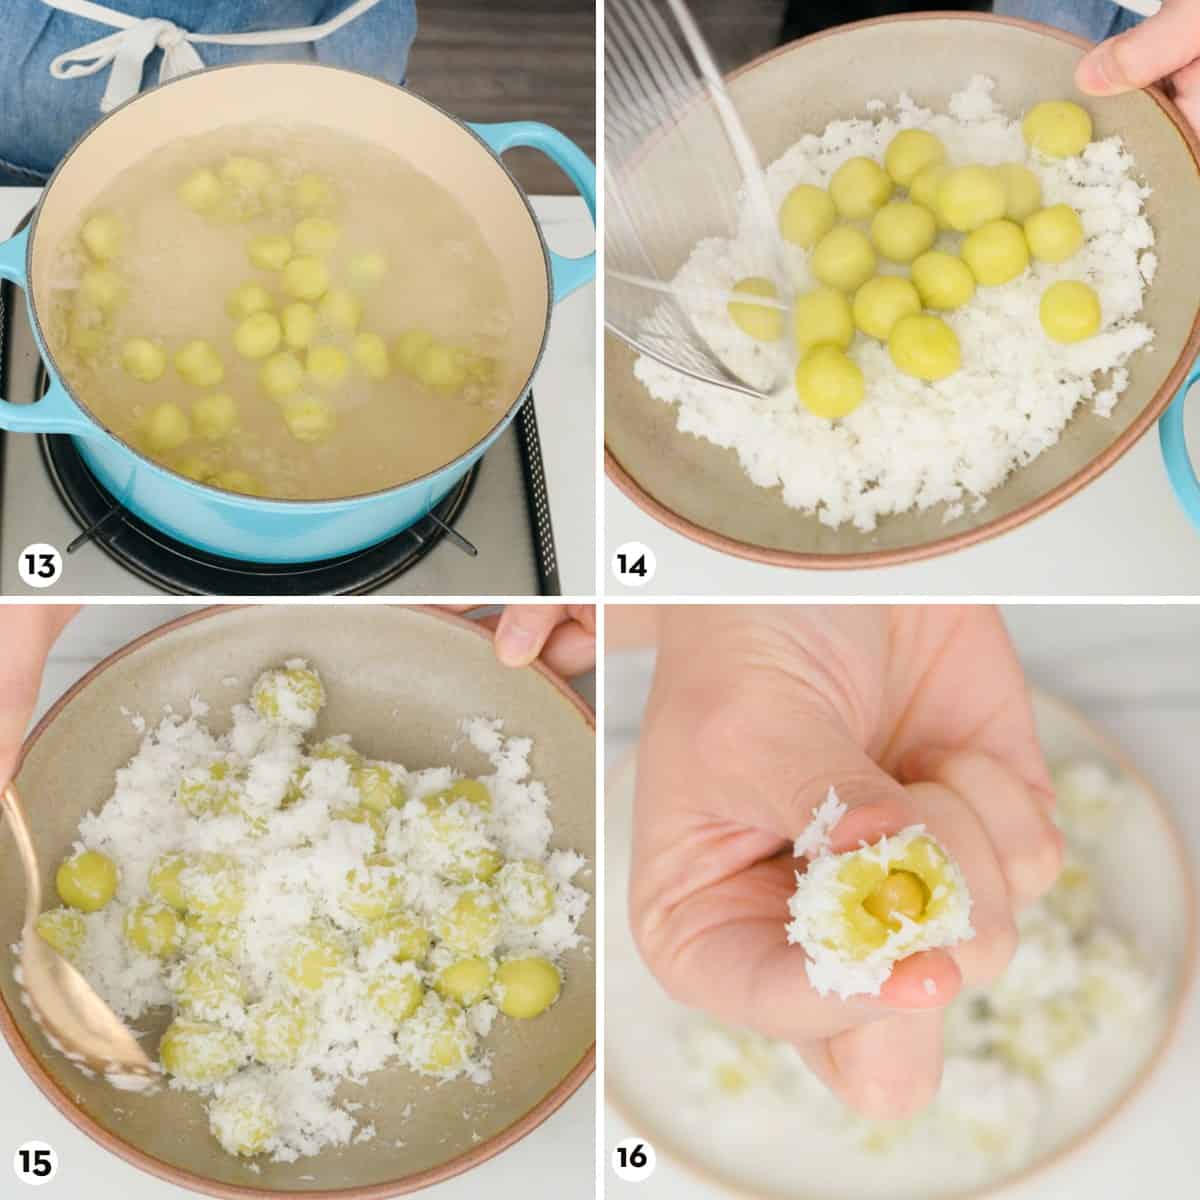
- Options for add-ins: Red beans, mung beans (split), job's tears (aka coix seeds), lemon basil seeds, tapioca pearls, plain agar agar cubes, gingko nuts.
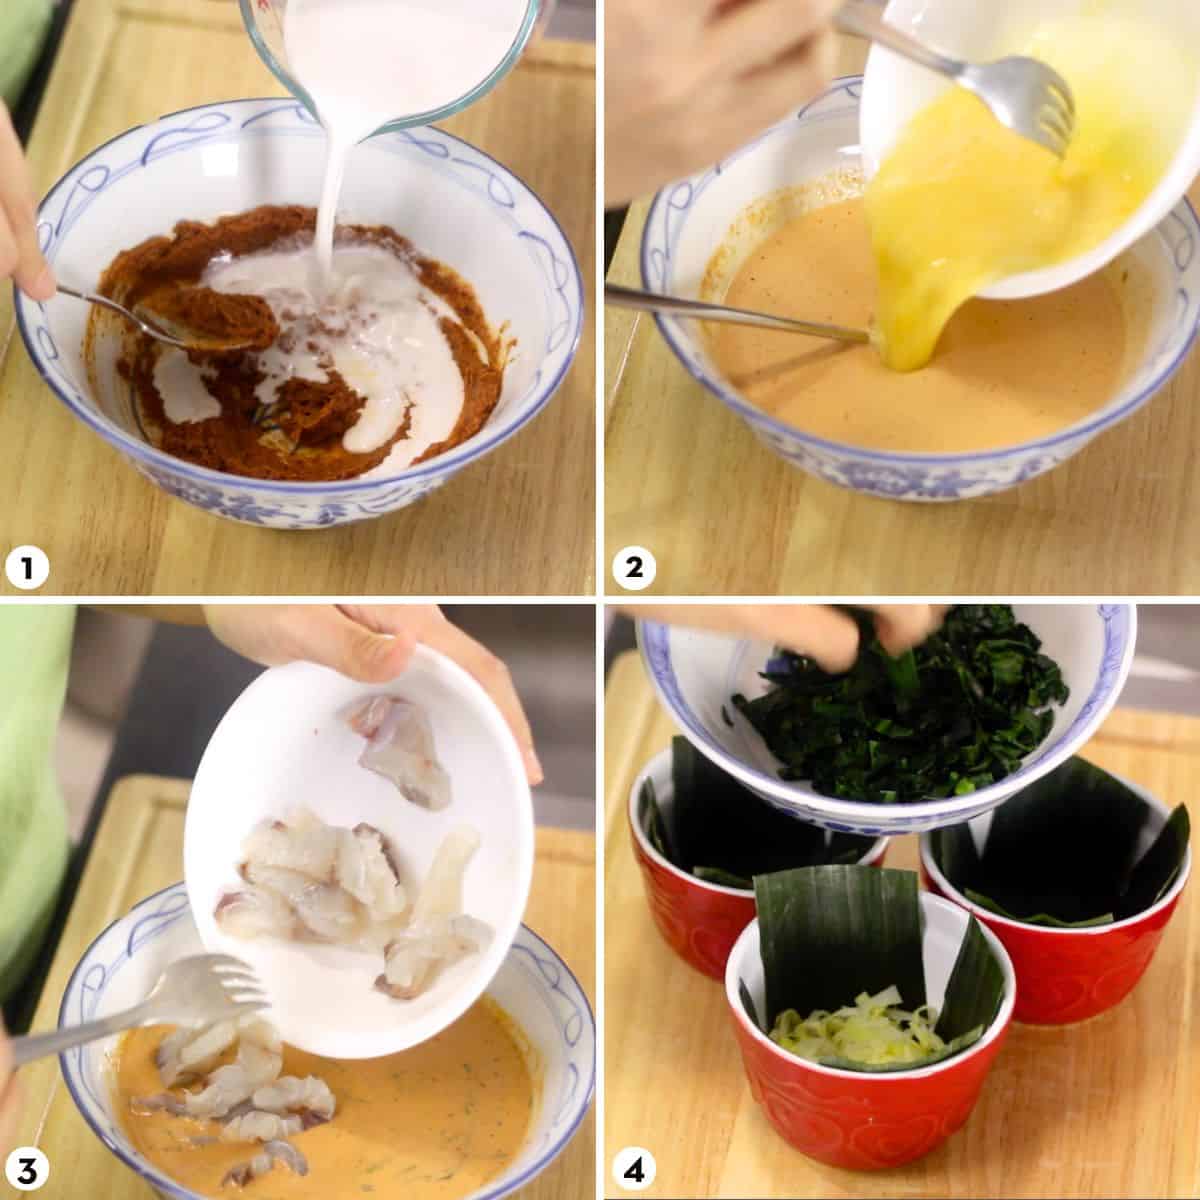
How to Make Homemade Soy Milk นำ้เต้าหู้
Here are all the steps to make this recipe. If this is your first time, I highly recommend watching the video tutorial to ensure success.
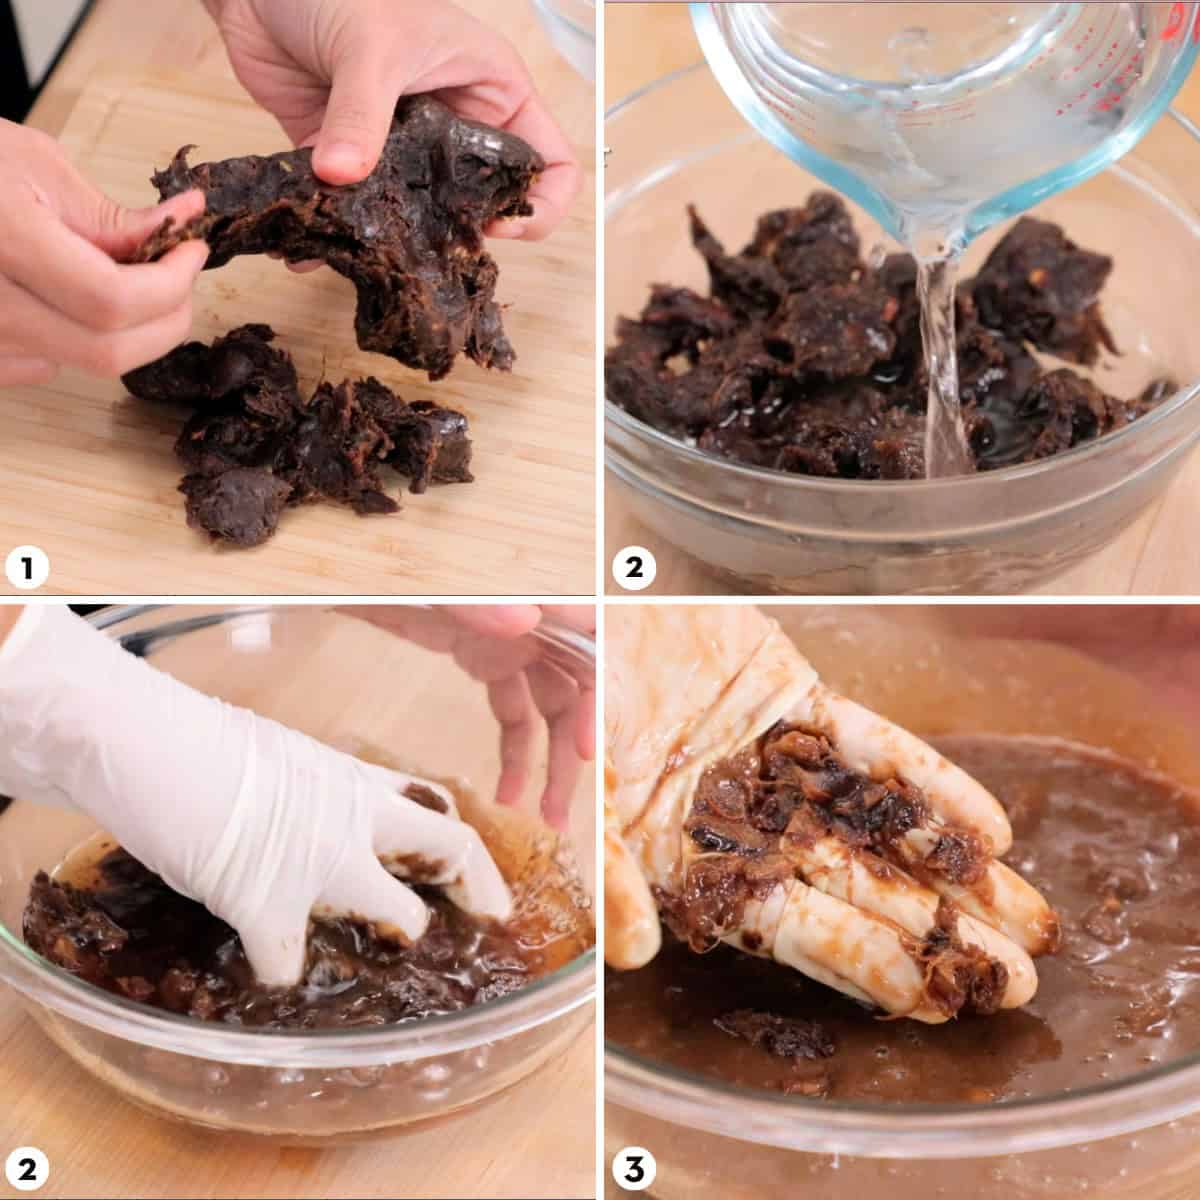
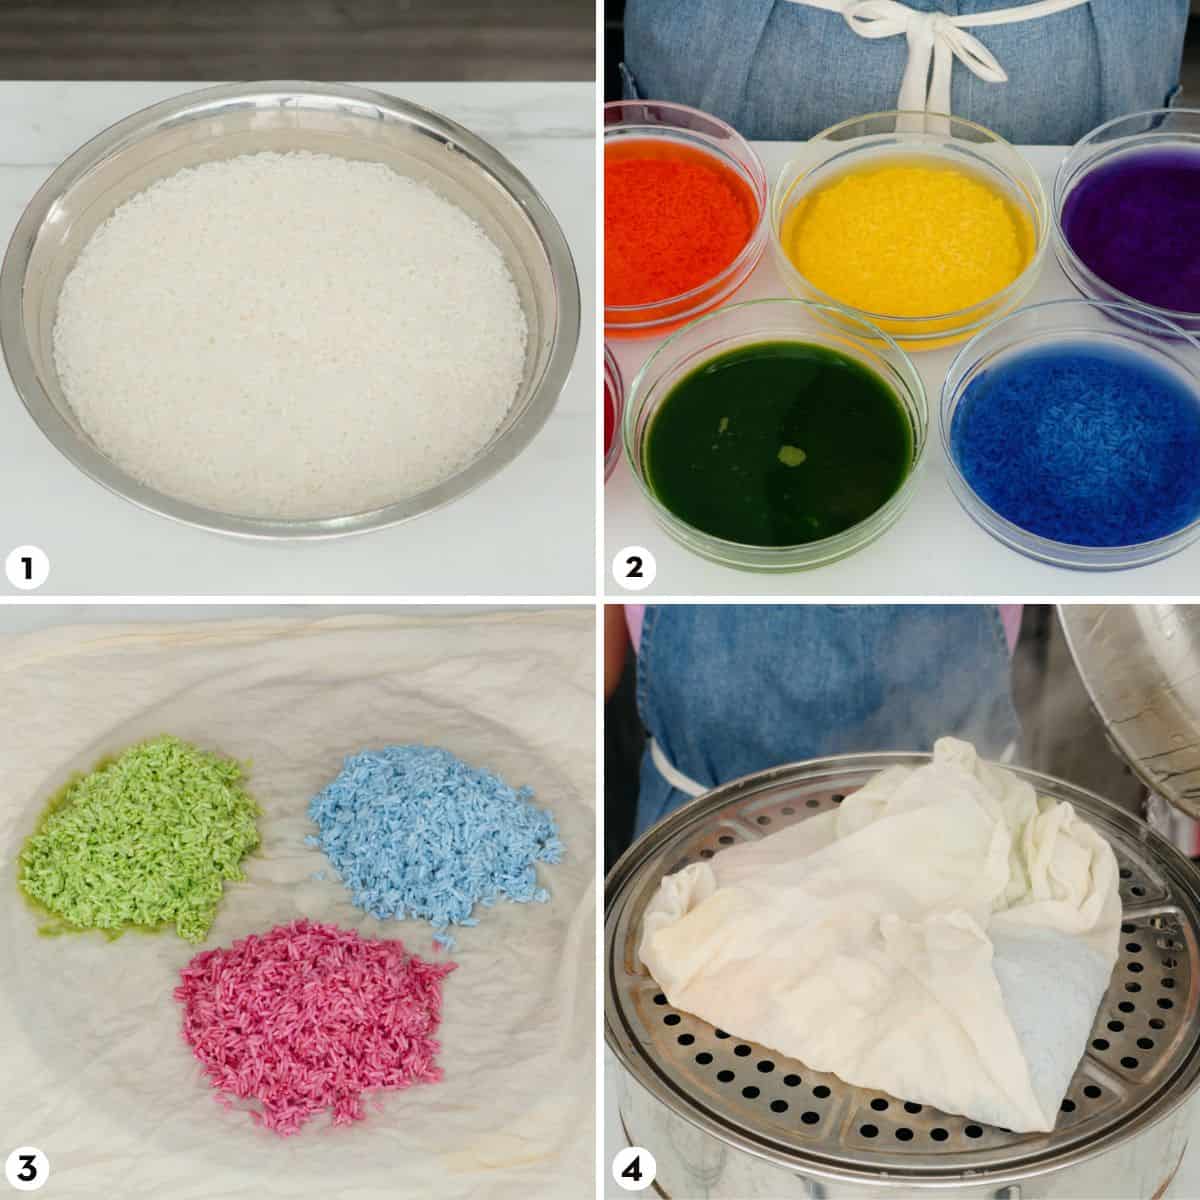
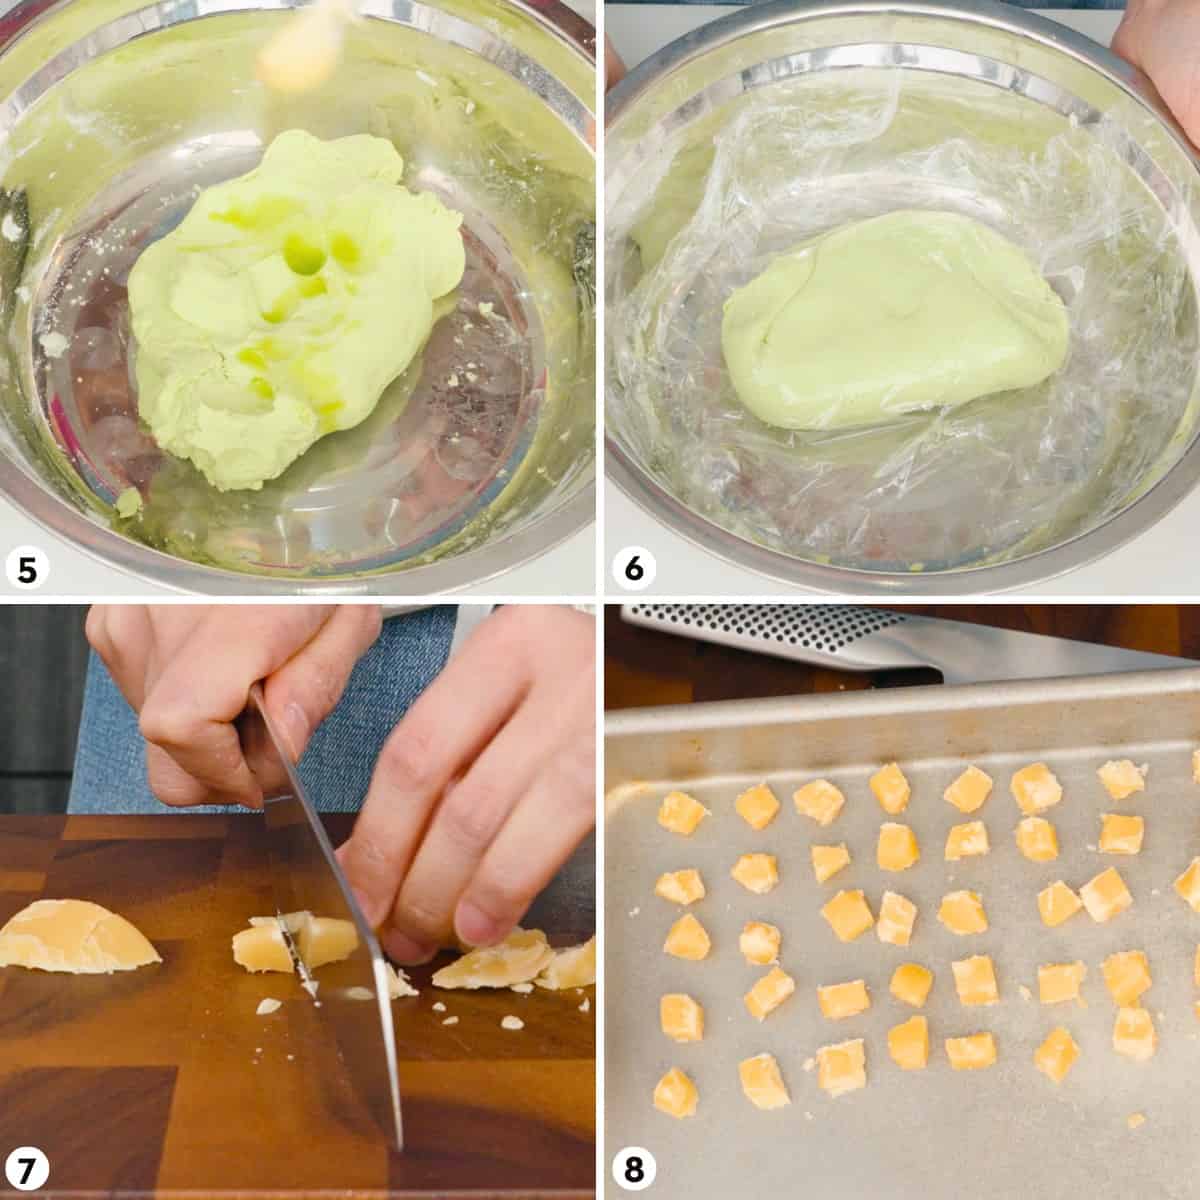
- Rinse soy beans and soak in plenty of water. If using whole beans, soak for at least 10 hours; if using split beans, soak for at least 3 hours. To check if soybeans have fully hydrated, split the beans in half and check if there is any darker colour in the center of the bean (dark spot means it hasn't fully hydrated).
- If using whole beans, remove the skins from the beans (they have a weird aftertaste.) To remove the skins, leave the beans in the soaking water and scrunch them in your hands and the skins will be rubbed off.
- Once you have removed a lot of skins, pour off the water and most of the skins will come out with it. Add more water and repeat the process until most of the skins have been removed.
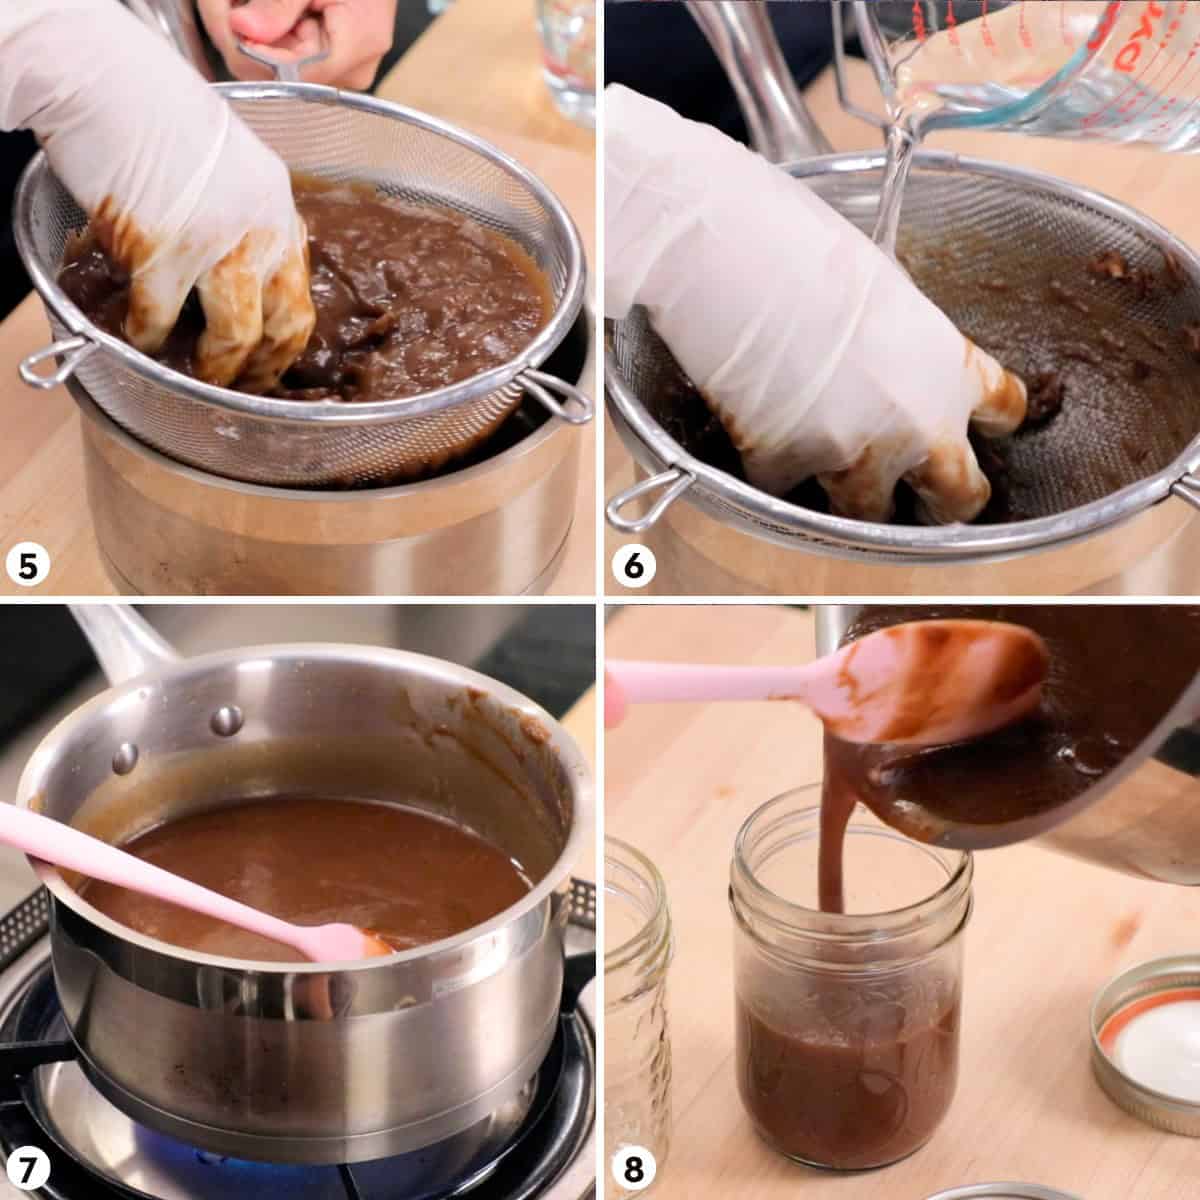
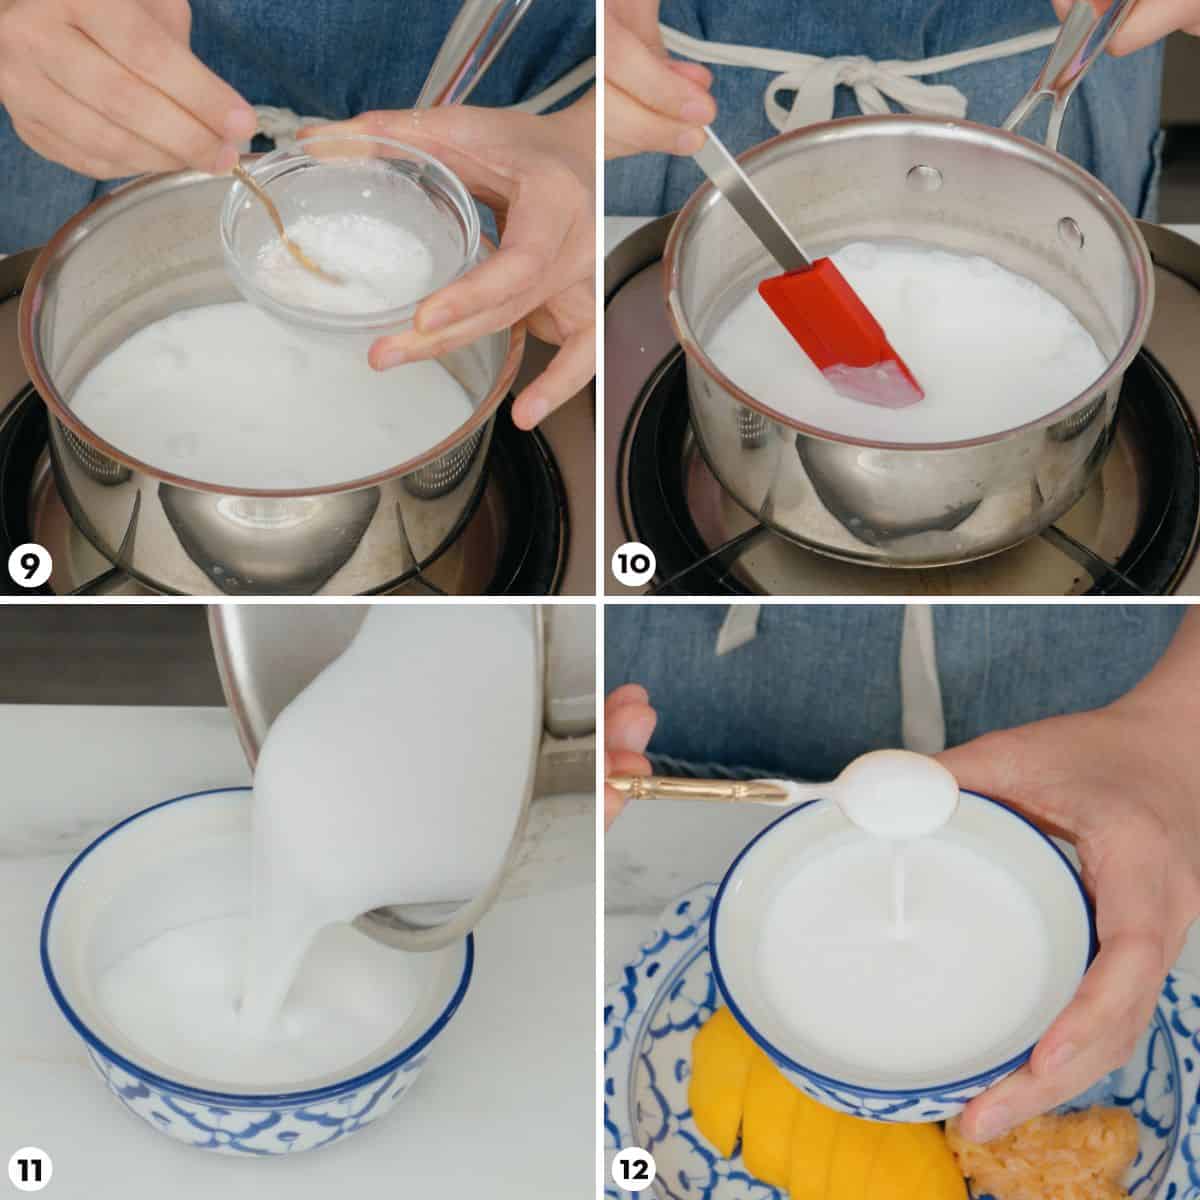
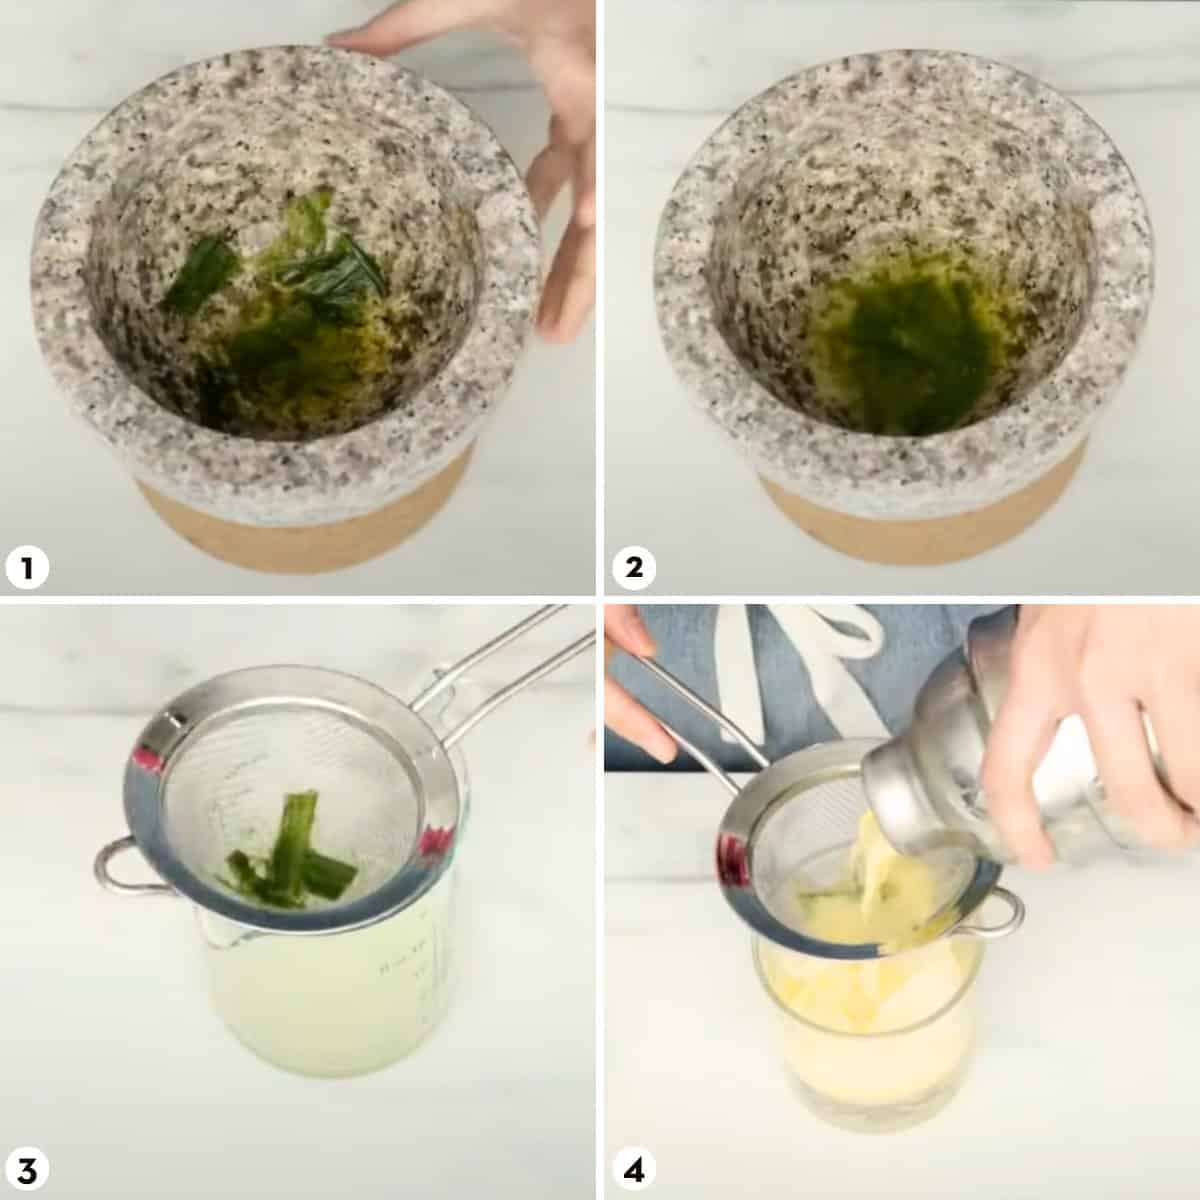
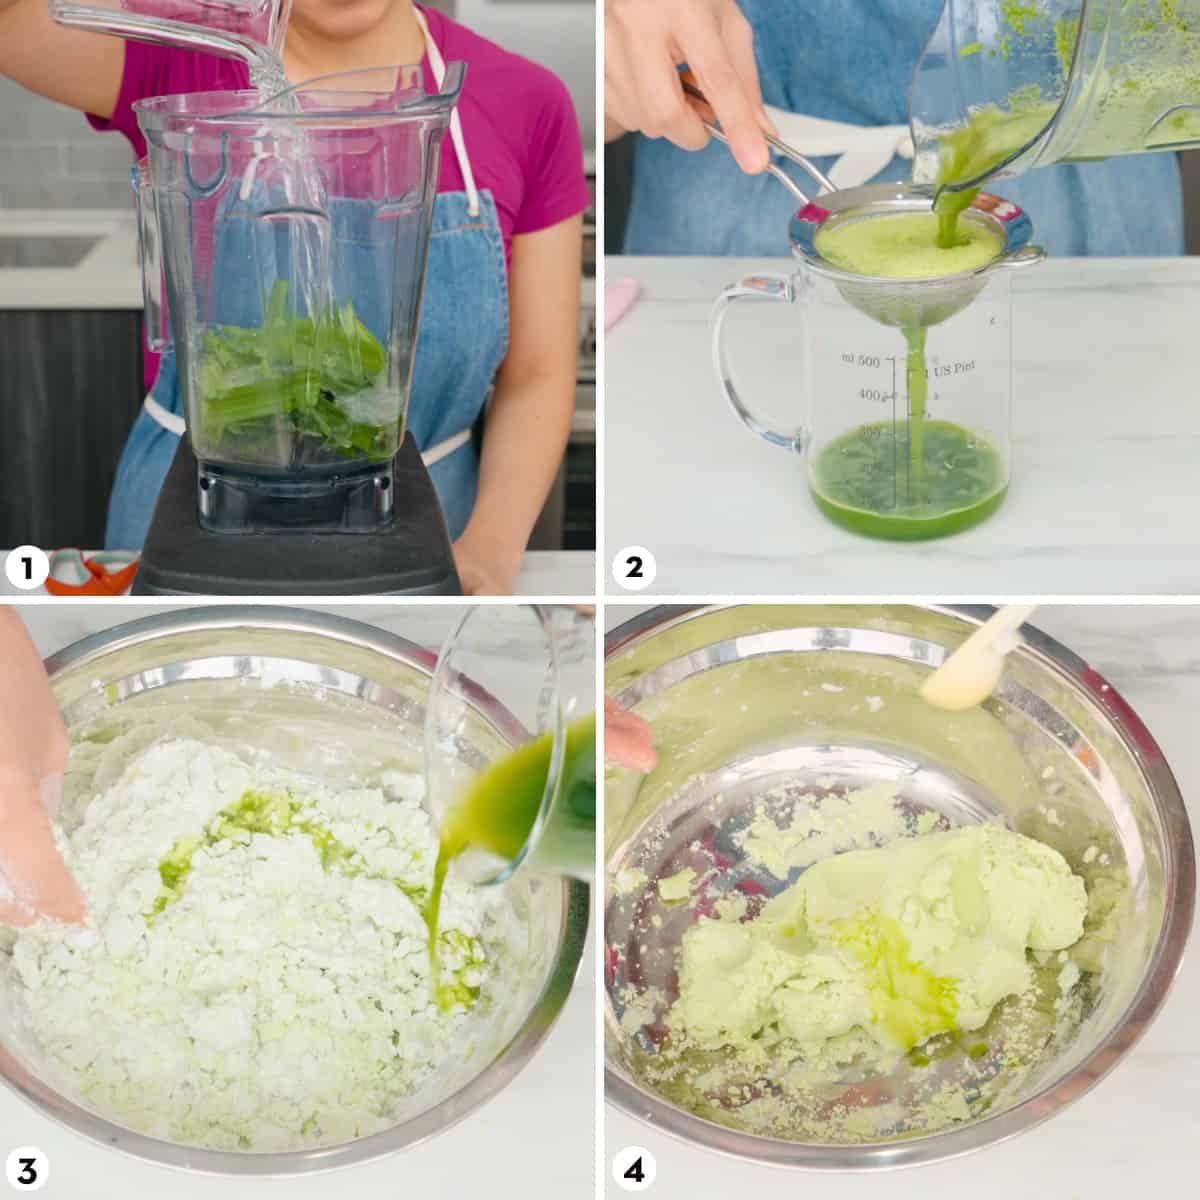
- In a blender, blend the beans until smooth with just enough water to get it going. Once blended add more water to thin it out, leaving about 1 ½ cups of water for later. Set a sieve or colander over a pot and line it with muslin or several layers of cheesecloth.
- Pour half of the puree into it, stir to strain off most of the liquid, then gather the edges of the cloth, and squeeze the remaining milk out (see video).
- Open the cloth, then pour in half of the remaining water to "rinse" out any remaining soy milk. Strain and squeeze. Repeat with the other half of the puree.
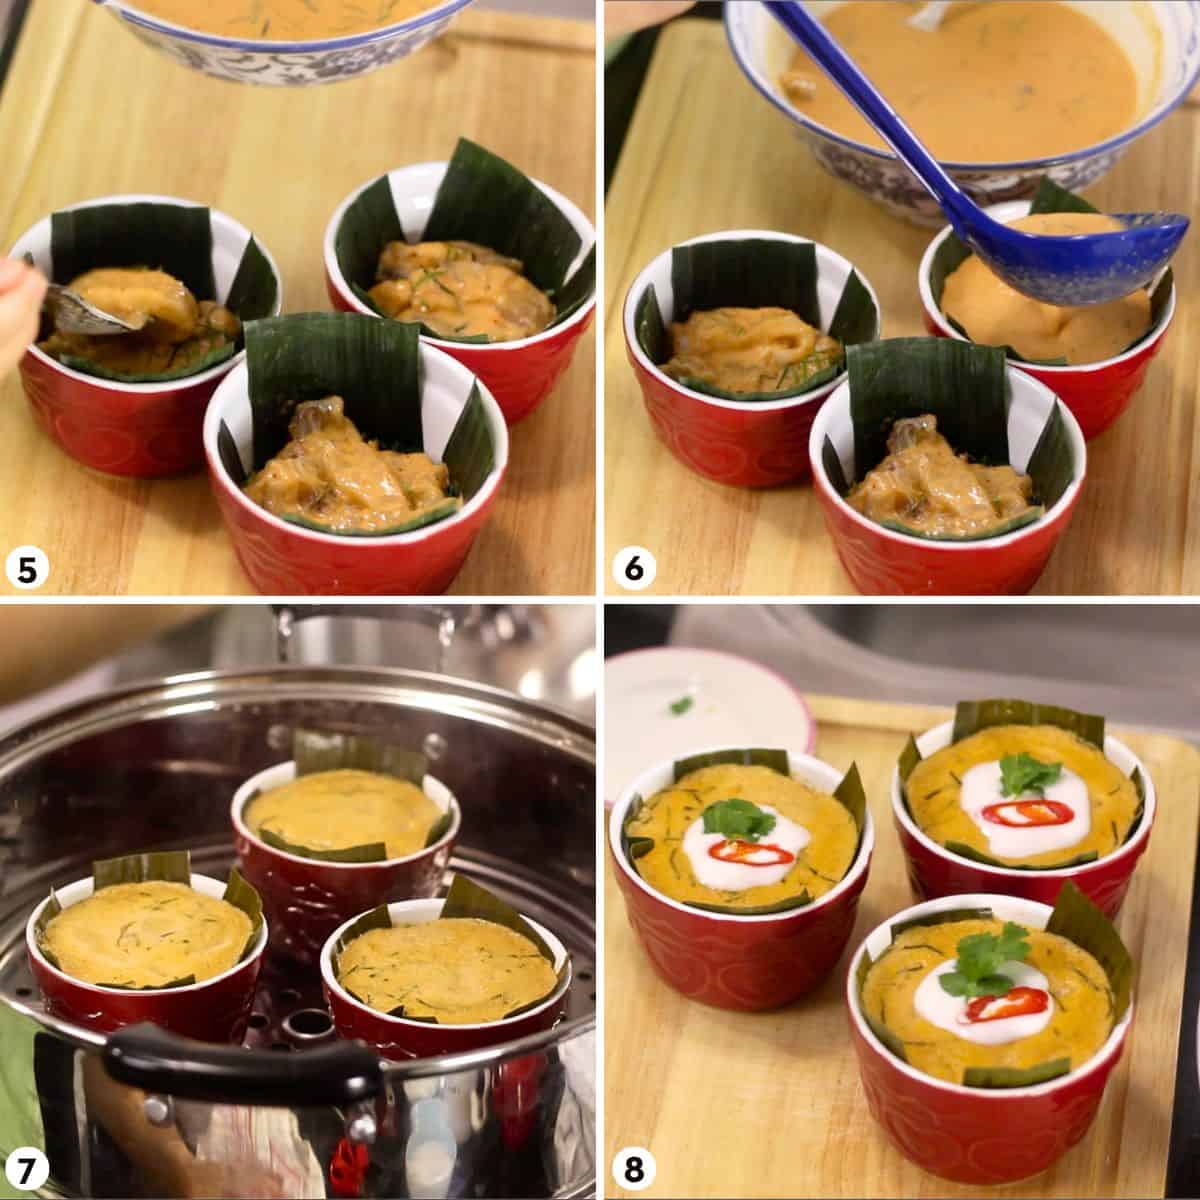
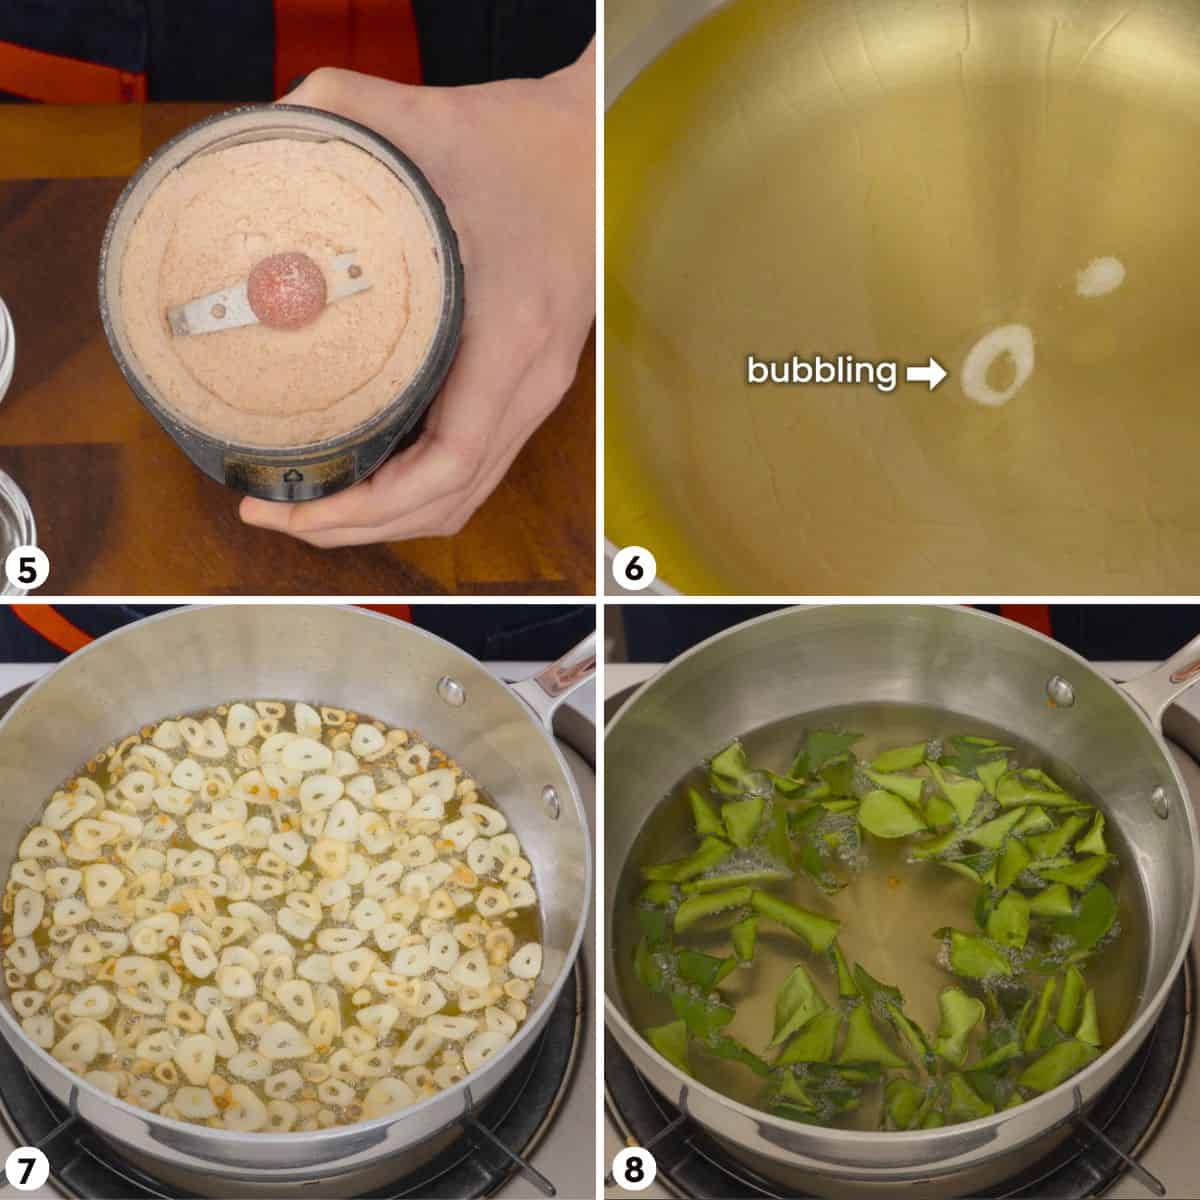
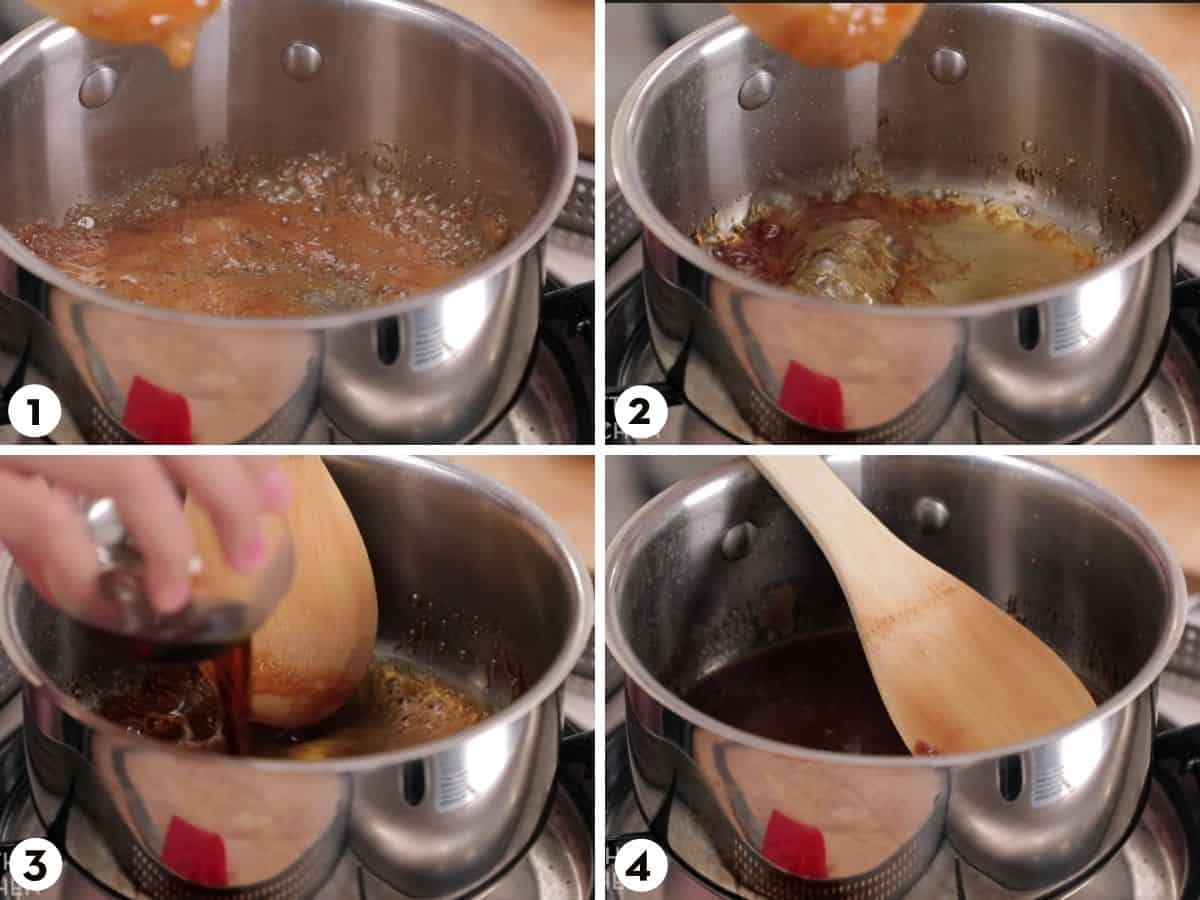
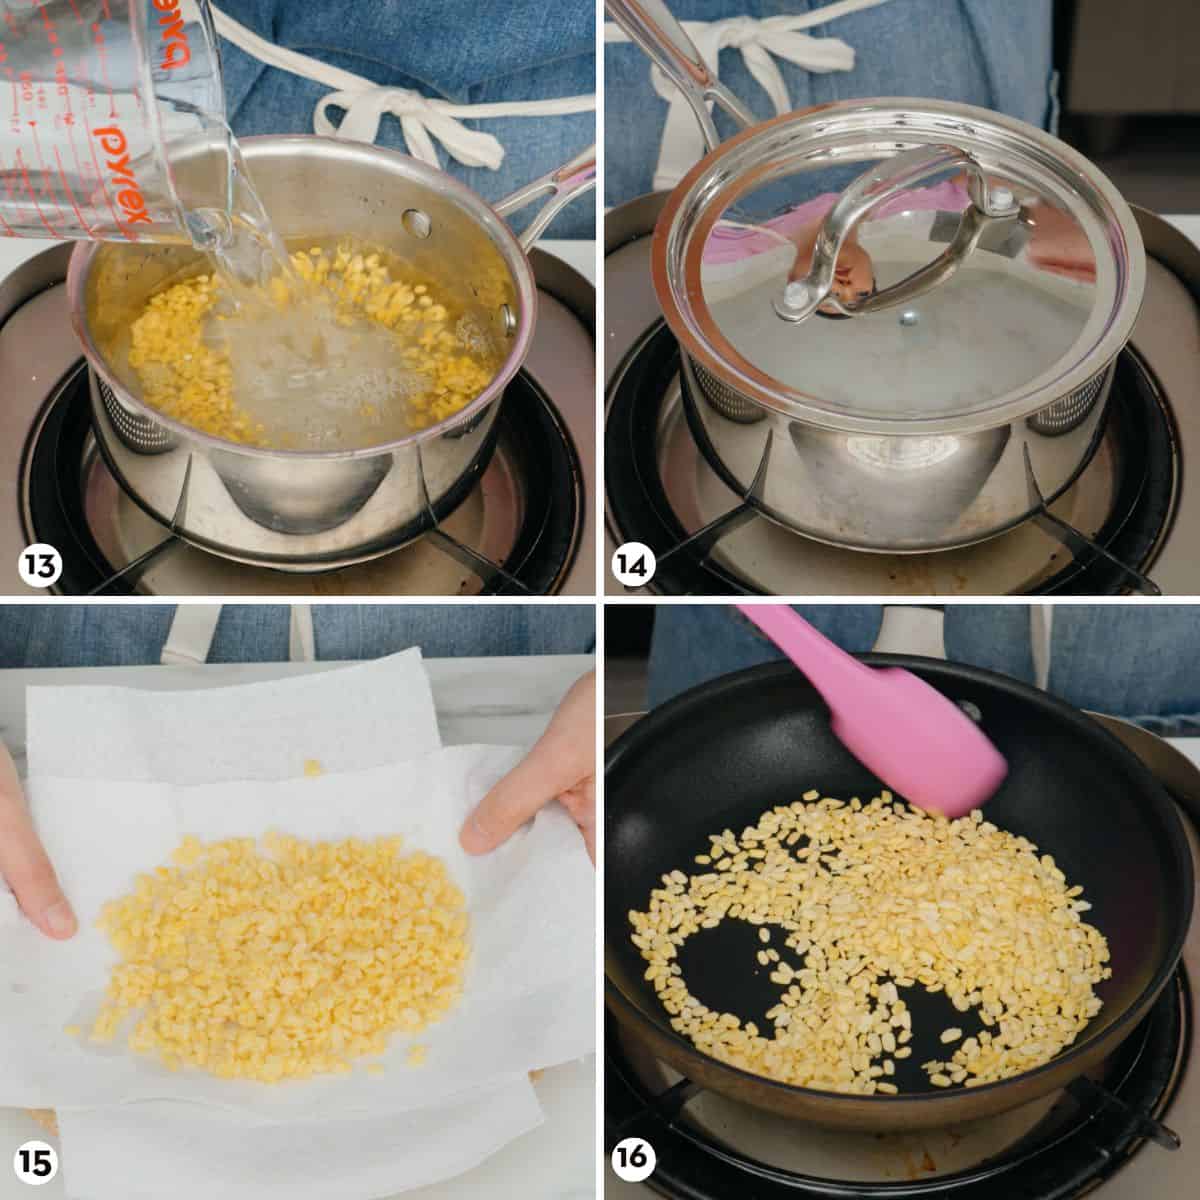
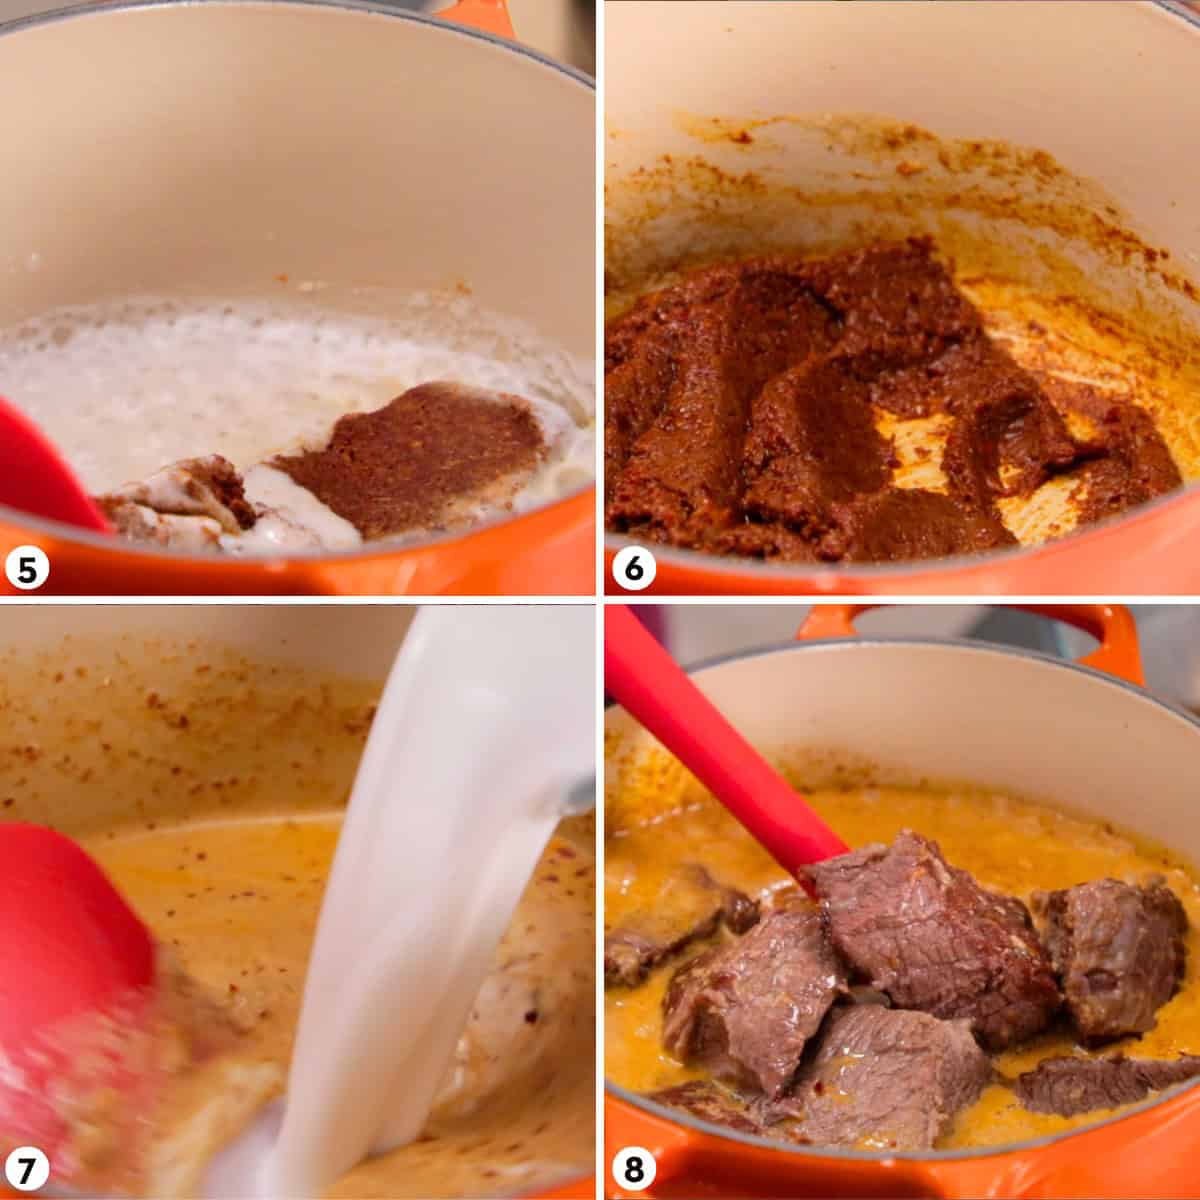
- Heat the soymilk with pandan leaf (if using) over meadium high heat, stirring constantly, and once it starts to bubble, lower the heat down as low as you can to maintain a gentle simmer.
- Simmer for 20-30 minutes, stirring occasionally, until the soymilk no longer has a raw, grassy smell.
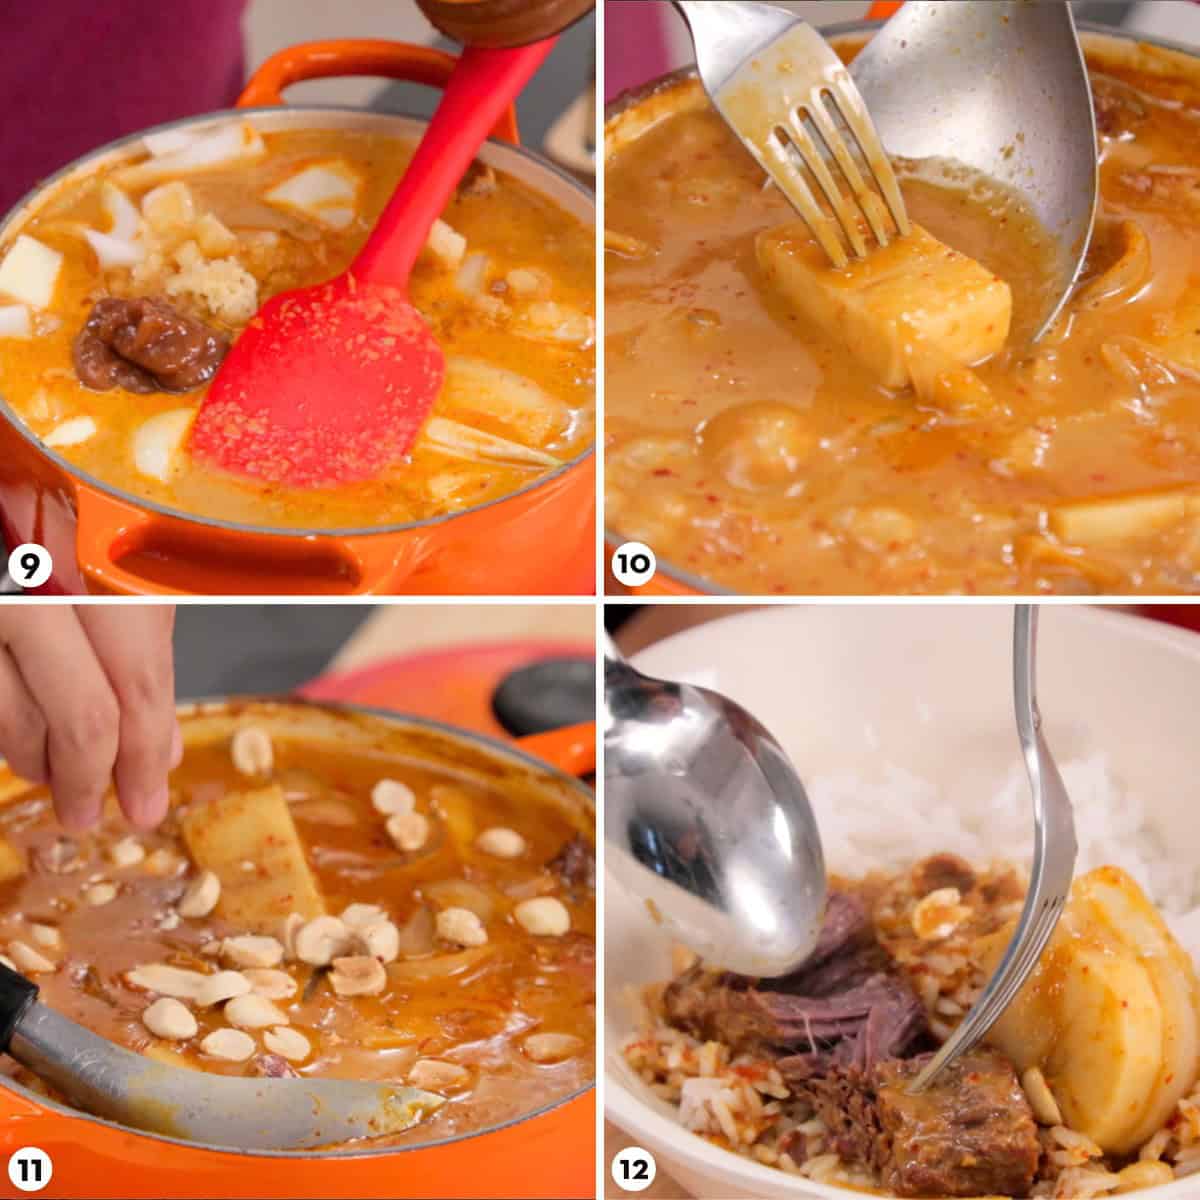
- Remove from heat, add salt and sweetener as desired. Enjoy hot or cold! You can also add any of the optional fixin's listed above to make it into a more filling, street-style breakfast.


